
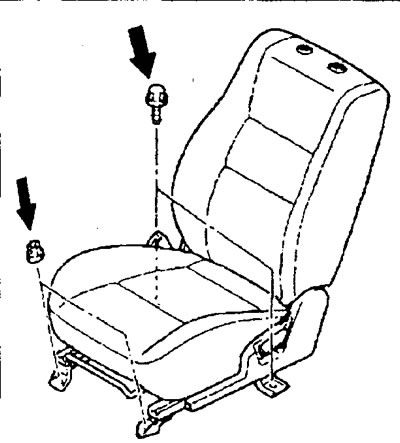
Removal and installation
- Parts are removed in the order of the numbers shown in the figure "Removing the front seat".
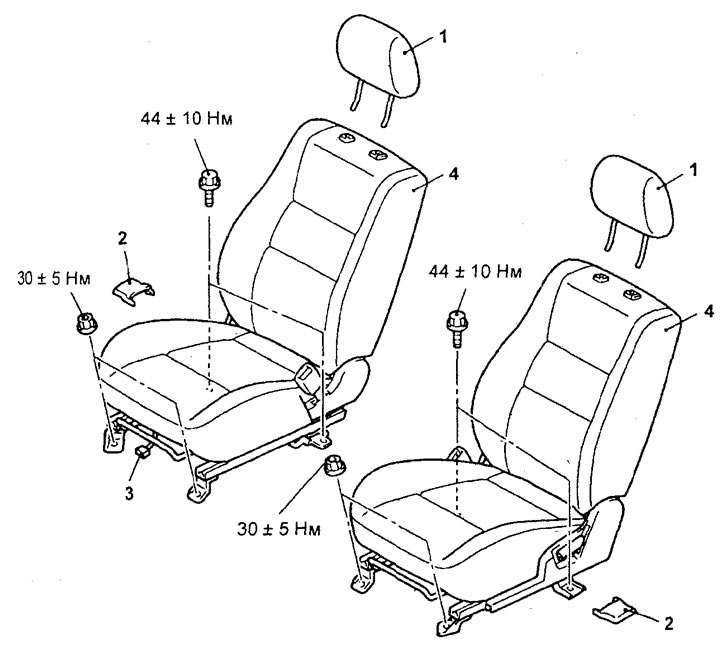
Removing the front seat. 1 - headrest, 2 - seat mounting bracket cover, 3 - driver seat belt switch harness connector, 4 - front seat assembly.
− Installation of parts is carried out in the reverse order of removal.
− When installing the parts, pay attention to the installation procedure of the front seat assembly.
A) Install the seat and pre-tighten the seat nuts and bolts.
b) Finally tighten the seat nuts and bolts to the specified torque.
Note: When tightening the bolts, make sure there is no load on the seat cushion.
Examination
1. (Modifications) Checking the power seat switch.
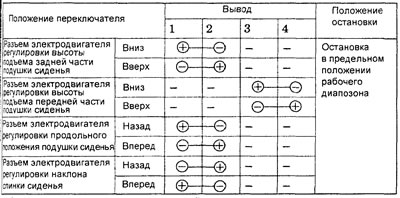
Check the condition of the circuit between the terminals of the connector at various switch positions according to the table below.
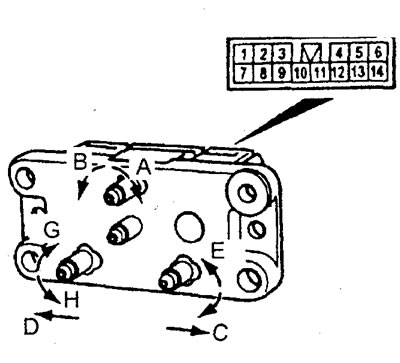
Table. Checking the seat adjustment motors.
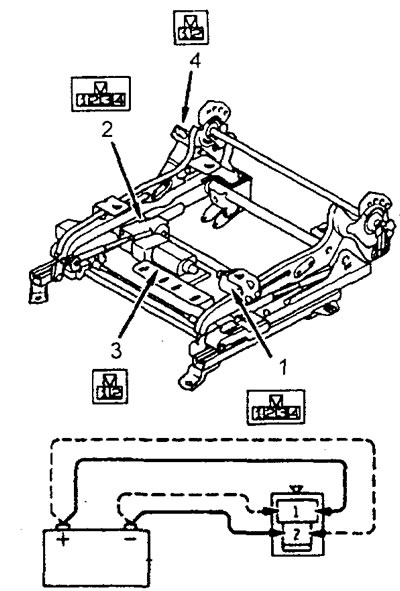
2. Checking the seat adjustment motors.
A) Disconnect the harness connectors for each motor.
b) Check the smoothness and correct operation of the control mechanisms for each electric motor according to the table by connecting the power (battery voltage) to his conclusions in the table below.
V) If a malfunction is found, check the seat adjustment mechanism assembly.