



Note: The coolant replacement procedure and filling capacities are given in the chapter "Maintenance and general check and adjustment procedures".
Checking the tightness of the cooling system
1. Make sure the coolant level reaches the radiator filler neck. Connect the radiator filler cap valve tester and apply a pressure of 160 kPa, then check for coolant leaks from the hose connections or the cooling system hoses themselves.
Attention:
- Thoroughly remove moisture from the surface of all parts being tested.
- When removing the radiator cap tester from the radiator filler neck, be careful not to allow coolant to splash (flow out).
- When connecting and disconnecting the tester, as well as during testing, be careful not to deform the radiator filler neck.
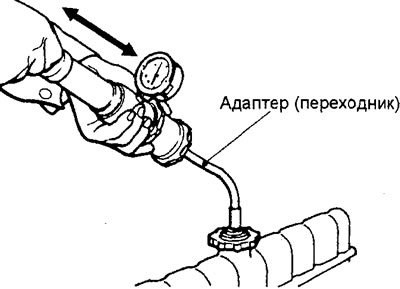
2. If there are coolant leaks, repair or replace the relevant parts.
Checking the opening pressure of the radiator cap valve
Note: Before checking, make sure the radiator cap is clean (free from dirt), as rust or other foreign matter on the cap gasket may cause incorrect pressure gauge readings.
1. Use the special adapter to connect the radiator cap to the tester.
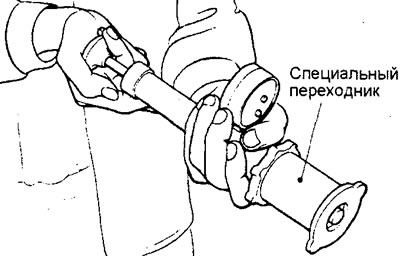
2. Increase the pressure until the pressure gauge needle stops.
Nominal value - 74 - 103 kPa
The maximum permissible value is 64 kPa
3. Replace the radiator cap if the pressure shown on the pressure gauge is below the maximum permissible value.