
Conclusions on the traction relay

M, B and S - conclusions
Checking the gap travel of the traction relay gear
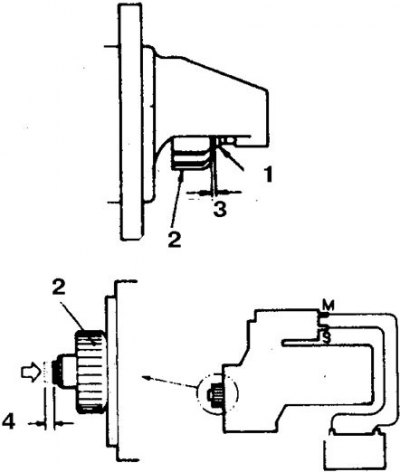
1. Limiter; 2. Gear; 3. Clearance; 4. Gear travel
Adjusting lining of the traction relay
Starter rear cover
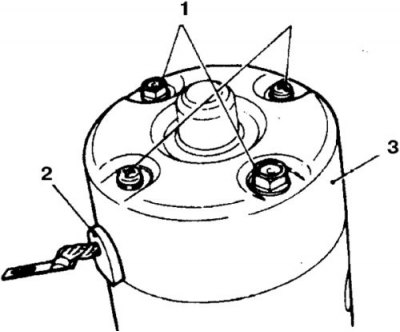
1. Tie bolts; 2. Winding output; 3. Rear starter cover
Examination
1. On the non-working relay, disconnect the terminal at terminal M and touch the jumper connected to the battery to terminal S. If the relay operates, then the wiring or ignition switch is faulty. Otherwise, replace the relay. You can also ask an assistant to turn on the starter (by disconnecting the coil wire at the distributor) and measure the voltage between terminals M and B.
2. If the voltage at terminal B is close to the battery voltage on a working starter, and at terminal B it is very different, then replace the relay.
Removal and installation
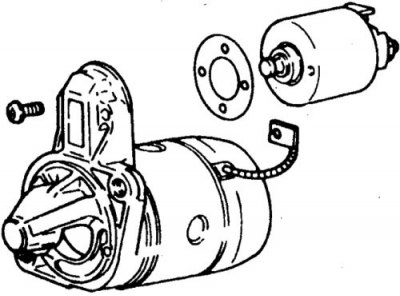
1. Remove the starter.
2. Disconnect the terminal on terminal M.
3. Loosen the screws, unhook the plunger from the plug and remove the traction relay, taking care not to lose the gaskets. Measure the thickness of the gaskets and determine their number.
4. Install gaskets and relays, tighten screws.
5. Check the gap between the gear and the limiter by connecting to the terminals S and M of the relay (+) And (-) battery poles for no more than 10 s. On a geared starter, check gear travel. Gap (gear stroke) should be 0.5–2.0 mm. Adjust with shims if necessary.
6. Install starter.
Brush replacement
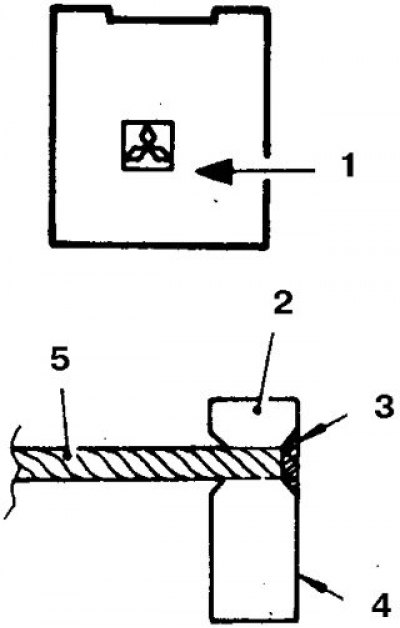
1. The lower edge of the stamp is the wear limit line; 2. Brush; 3. Soldering; 4. Branded side; 5. Wire
1. On the removed starter, disconnect the M terminal, unscrew the coupling bolts and remove the rear cover.
2. Raise the springs and remove the brushes, remove the brush holder from the rear cover.
3. Check the brushes. If the wear reaches the brand of the company, then replace the brushes.
4. To replace, crush the worn brushes and carefully strip the brush wire 6 mm. Insert the wire into the new brush from the non-stamped side and carefully solder without letting the solder run out from the opposite side.
5. Reassemble in reverse order.