



Contents: Removal ⤓ Installation ⤓
Removal
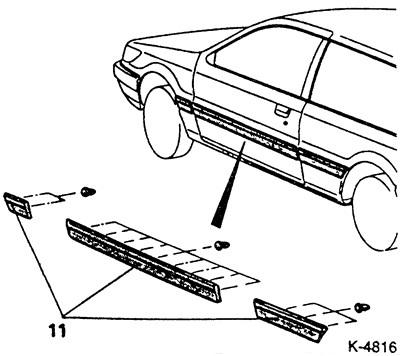
The side protective molding is attached with clips. To release the clips, you can use a wide spatula or a screwdriver.
Note: COLT/LANCER produced since 9.88 has additionally glued molding.
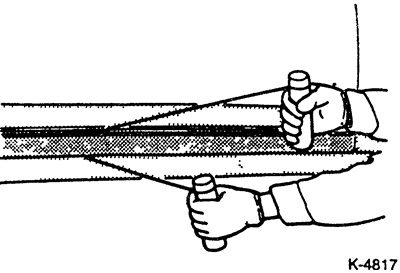
Separate the adhesive joint with a nylon cord (0.8 mm diameter kite cord). For convenience, wind both ends of the cord onto wooden handles. When approaching the clamp, lift the molding at this point. To make it easier, heat the molding with a hair dryer to 40°C.
Installation
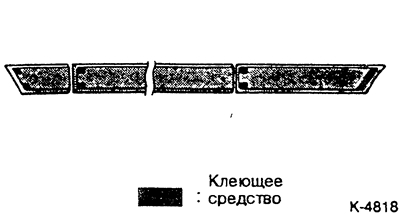
COLT/LANCER manufactured since 9.88: Wash the bonding area on the body with petrol. When installing a new moulding, remove the protective film from the marked areas. When re-installing the old moulding, remove the adhesive residue with petrol and apply double-sided adhesive tape 1 mm thick and 5 mm wide to the marked areas, see the figure. Heat the moulding and body to a temperature of 40° to 80°C and press the moulding to the body.
Snap each clamp into place by hitting it in the middle with the palm of your hand.