
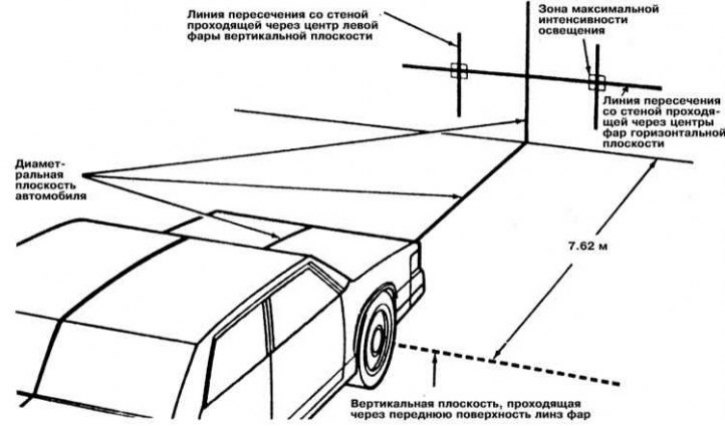
Note. The map of the lamps used and the layout of the lighting fixtures are given in Specifications to this chapter.
Combination headlights
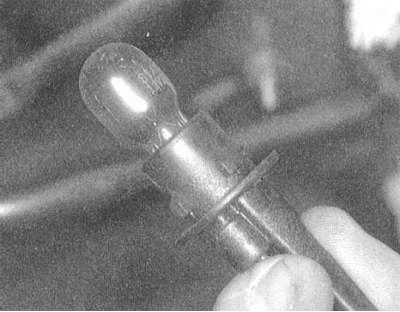
Headlights can use halogen-type lamps. The gas pumped into the flasks of such lamps is under pressure, which requires special care in handling the headlight; accidental damage to the flask can lead to fragments getting into the eyes. When servicing halogen headlights, strictly adhere to the following recommendations:
- Proceed to turn out the lamp only after its final cooling. Do not turn on the headlights until the bulb replacement procedure is completed;
- Replace lamps with protective goggles;
- When replacing lamps, avoid touching their flasks - try to hold the lamp exclusively by the base;
- Try not to shake the lamps or drop them;
- Try to keep dirt and moisture out of the flask;
- Failed lamps before disposal should be placed in the standard cardboard packaging from under the new lamp.
Removing
1. Open the hood and prop it up in the open position.
2. Disconnect the negative cable from the battery.
Attention! If the stereo system installed in the car is equipped with a security code, before disconnecting the battery, make sure that you have the correct combination to activate the audio system!
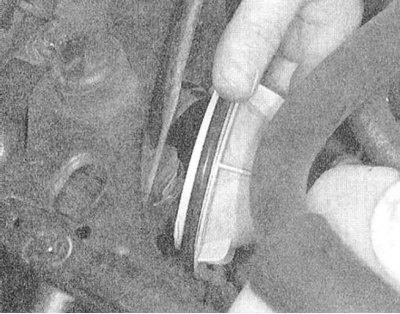
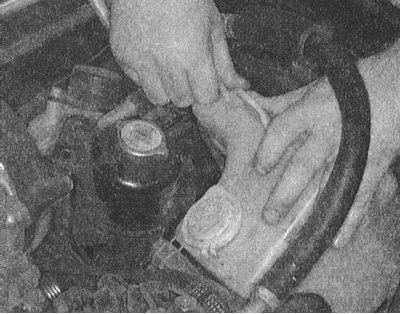
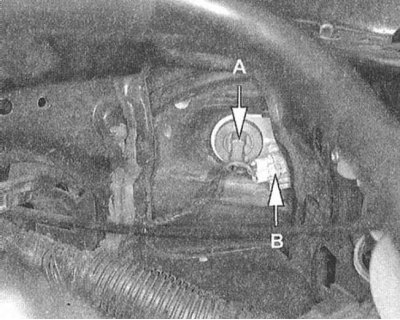
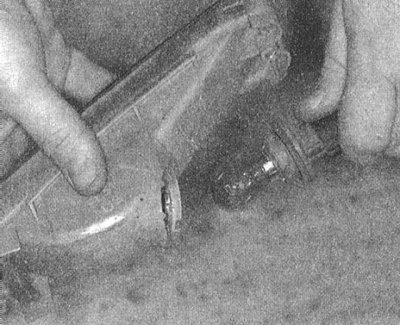
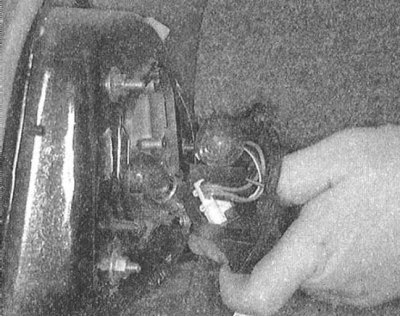
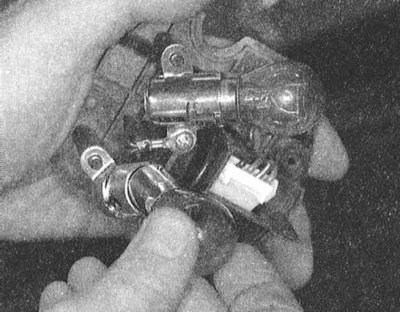
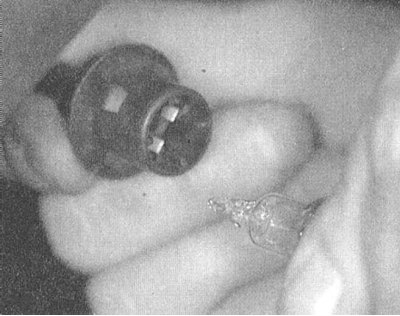
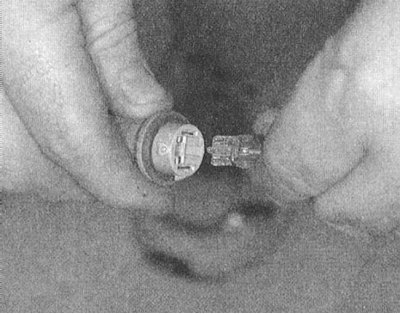
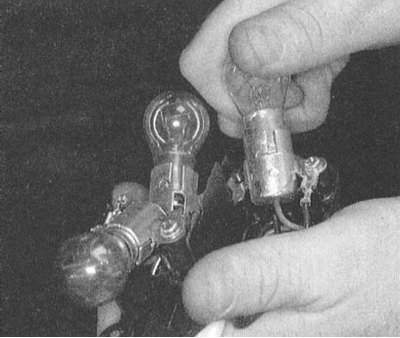
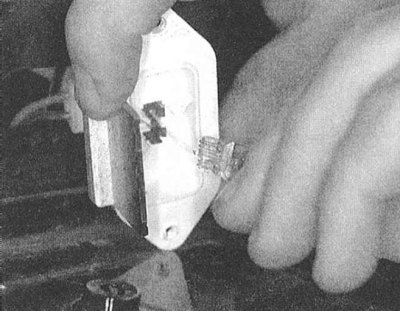
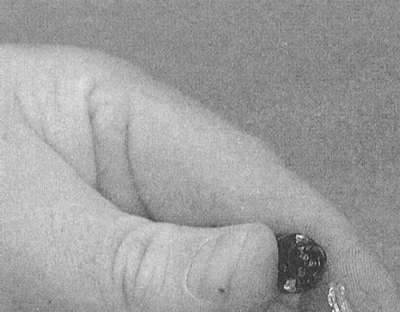
3. Turn clockwise and pull outward to remove the lamp holder cover.
4. Carefully turn counterclockwise to remove the bulb holder from the headlight housing.
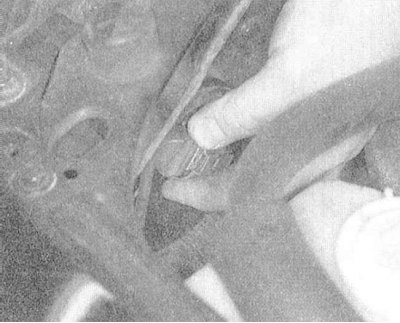
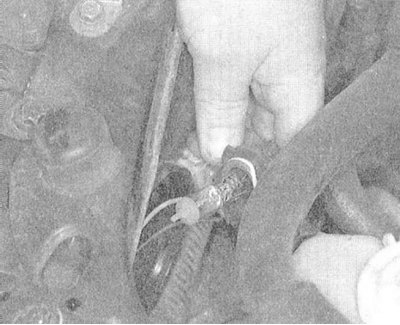
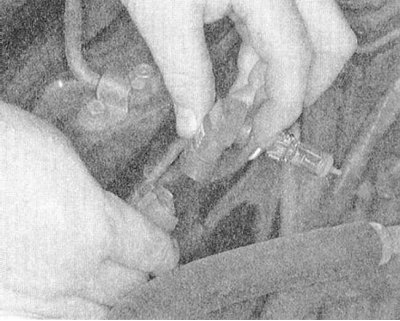
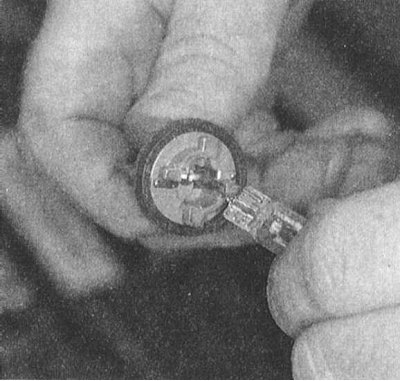
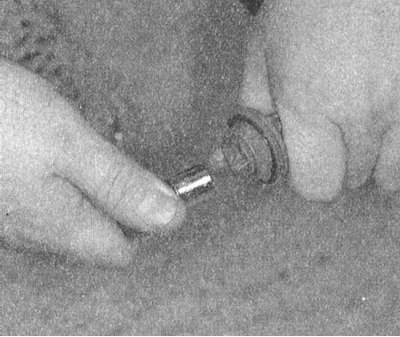
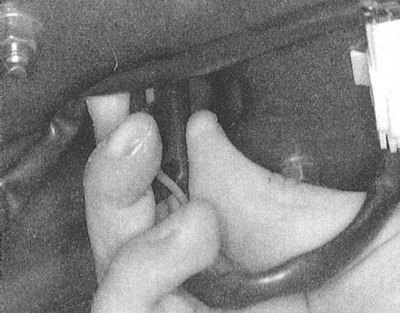
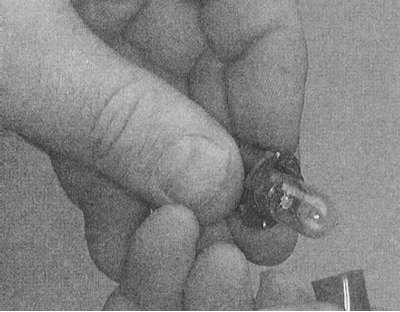
5. Holding the lamp by the base, release it from the socket.
Installation
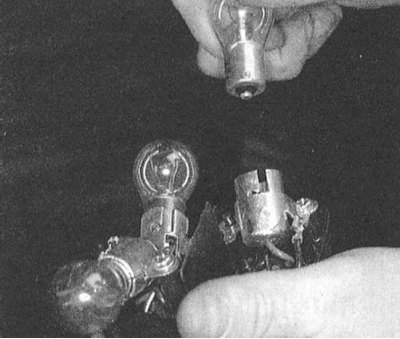
1. Holding the lamp by the base, carefully insert it into the socket.
2. Fit the assembly into the headlight housing and turn it to securely lock it.
3. Press and turn counterclockwise to replace the lamp holder cover. Make sure the cover fits securely to prevent moisture from entering the assembly or misfocusing the light beams.
4. Connect the negative cable to the battery and check the headlights for proper operation.
Front parking and marker lights
Removing
1. Disconnect the negative cable from the battery.
Attention! If the stereo system installed in the car is equipped with a security code, before disconnecting the battery, make sure that you have the correct combination to activate the audio system!
2. Remove the restricting access to the corresponding lamp component.

3. Turn the bulb holder counterclockwise and remove it from its seat.
4. To release the lamp from the cartridge, pull it along its axis.
Installation
Installation is in the reverse order. Be sure to connect the negative cable to the battery and check that the lights are working properly.
Front direction indicators
Removing
1. Disconnect the negative cable from the battery.
Attention! If the stereo system installed in the car is equipped with a security code, before disconnecting the battery, make sure that you have the correct combination to activate the audio system!
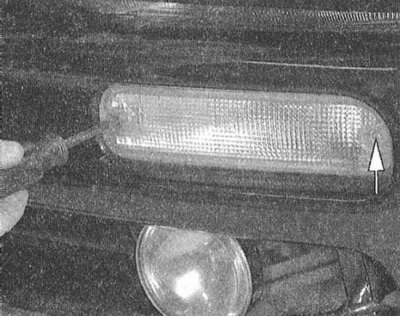
2. Turn out two screws of fastening of a lens of the index of turn.
3. Release the pointer assembly from the body panel.
4. Turn the bulb holder counterclockwise and remove it from the pointer assembly.
5. To release the lamp from the socket, pull it along its axis.
Installation
Installation is in the reverse order. Be sure to connect the negative cable to the battery and check that the lights are working properly.
Rear direction indicators, brake lights and parking lights
Removing
1. Disconnect the negative cable from the battery.
Attention! If the stereo system installed in the car is equipped with a security code, before disconnecting the battery, make sure that you have the correct combination to activate the audio system!
2. Open the tailgate/trunk lid. Disconnect the relevant wiring, release the clips and remove the rear trim panel of the appropriate rear combination lamp assembly.
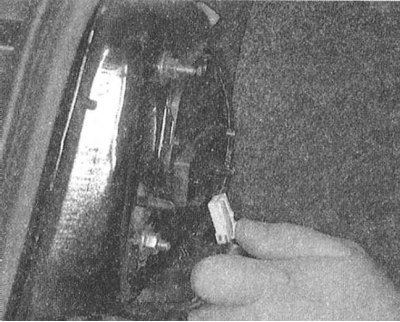
3. Turn to release the appropriate bulb holder from the lamp assembly housing.
4. To release the bulb from its socket, push it down and turn it 1/8 turn counterclockwise. Pull the lamp out of the lamp holder.
Installation
Installation is in the reverse order. Be sure to connect the negative cable to the battery and check that the lights are working properly.
Reversing lights
Removing
1. Disconnect the negative cable from the battery.
Attention! If the stereo system installed in the car is equipped with a security code, before disconnecting the battery, make sure that you have the correct combination to activate the audio system!
2. Open the luggage compartment lid.
3. If equipped, remove the trim panel installed on the inside of the trunk lid.
4. Turn the bulb holder 1/4 turn counterclockwise and release it from the appropriate lamp assembly.
5. To release the lamp from the socket, pull it along its axis.
Installation
Installation is in the reverse order. Be sure to connect the negative cable to the battery and check that the lights are working properly.
Side marker lights
Removing
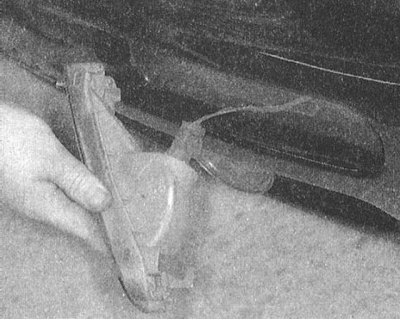
1. Turn out two fixing screws and remove assembly of the corresponding lantern from the body panel of the car.
2. Turn the bulb holder counterclockwise and release it from the lamp assembly.
3. To release the lamp from the socket, pull it along its axis.
Installation
Installation is in the reverse order.
Upper level stop lights
Galant models 1994÷1998 issue
Removing
1. Disconnect the negative cable from the battery.
Attention! If the stereo system installed in the car is equipped with a security code, before disconnecting the battery, make sure that you have the correct combination to activate the audio system!
2. Open the luggage compartment lid and disconnect the electrical wiring from the upper level brake light assembly - the brake light is accessible from under the rear saloon shelf.
3. Turn out fixing screws and take a lampholder from assembly of a stoplight.
4. Pressing lightly, turn the lamp clockwise and release the lamp from the socket.
Installation
Installation is in the reverse order. Be sure to connect the negative cable to the battery and check that the lights are working properly.
Models Mirage to 1996 vol., Galant to 1993 vol. and Diamante 1992÷1996. issue
Removing
1. Disconnect the negative cable from the battery.
Attention! If the stereo system installed in the car is equipped with a security code, before disconnecting the battery, make sure that you have the correct combination to activate the audio system!
2. On Mirage and Galant models, loosen the square retainers or mounting bolts and remove the cover from the top level brake light assembly.
3. On Diamante models, to remove the cover, carefully press its side ones inward.
4. Push the bulb inward, turn it clockwise and remove it from the bulb holder.
Installation
Installation is in the reverse order. Be sure to connect the negative cable to the battery and check that the lights are working properly.
Models Mirage since 1997, Galant since 1999 and Diamante since 1997 issue.
Removing
1. Disconnect the negative cable from the battery.
Attention! If the stereo system installed in the car is equipped with a security code, before disconnecting the battery, make sure that you have the correct combination to activate the audio system!
2. Open the luggage compartment lid and disconnect the electrical wiring from the upper level brake light assembly - the brake light is accessible from under the rear saloon shelf.
3. Turn the bulb holder counterclockwise and release it from the lamp assembly.
4. Pressing lightly, turn the lamp clockwise and release the lamp from the socket.
Installation
Installation is in the reverse order. Be sure to connect the negative cable to the battery and check that the lights are working properly.
License plate lights
Removing
1. Disconnect the negative cable from the battery.
Attention! If the stereo system installed in the car is equipped with a security code, before disconnecting the battery, make sure that you have the correct combination to activate the audio system!
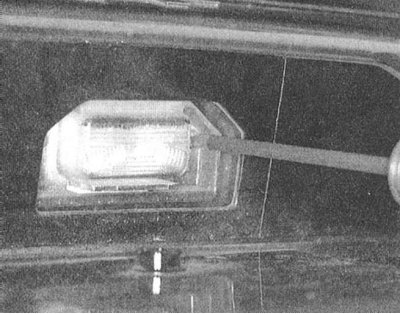
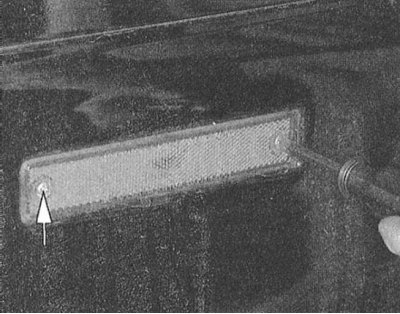
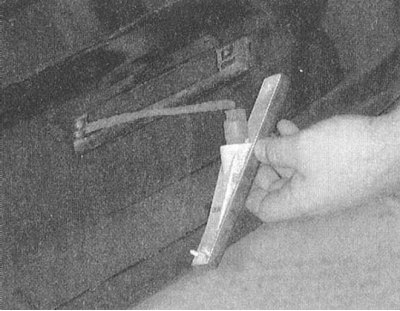
2. Turn out two screws of fastening of a lens of a lantern of illumination of license plate.
3. Remove the lens from the rear wall of the luggage compartment lid.
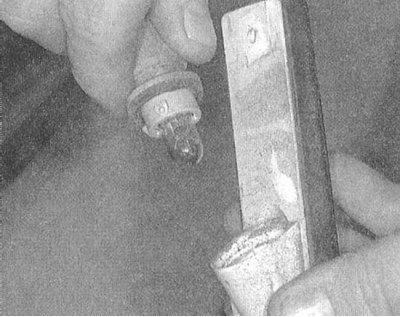
4. Pull the bulb out of the bulb holder by pulling it towards you.
Installation
Installation is in the reverse order. Be sure to connect the negative cable to the battery and check that the lights are working properly.
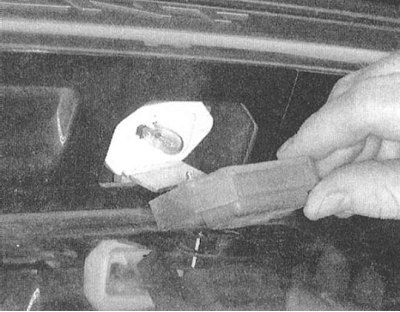
Salon lamps
Removing
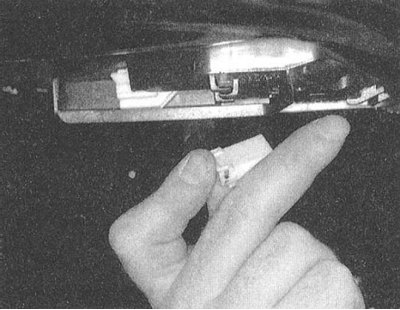
1. Gently prying with a small screwdriver, remove the cover of the corresponding lamp.
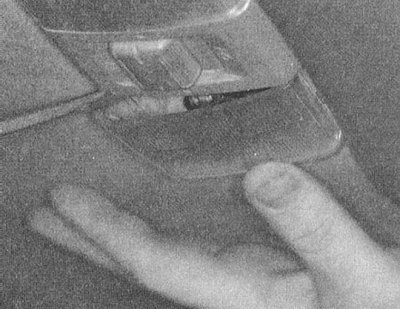
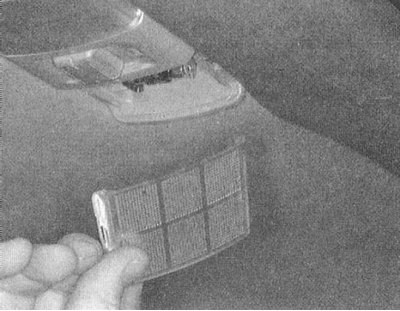
2. Release the lamp from the spring contacts.
Note. If the lamp is equipped with tapered bases, slightly depress the retainer/contact spring.
Installation
1. Check the condition of the working surfaces of the contacts, if necessary, clean them.
2. Installation is carried out in the reverse order. Make sure that the lamp is securely fixed in the socket.
3. In conclusion, make sure that the fixtures are working properly, then reinstall the cover.
Dashboard illumination lamps
Removing
1. Disconnect the negative cable from the battery.
Attention! If the stereo system installed in the car is equipped with a security code, before disconnecting the battery, make sure that you have the correct combination to activate the audio system!
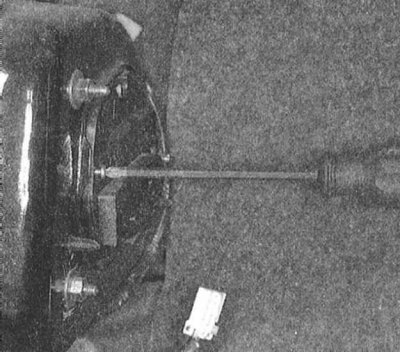
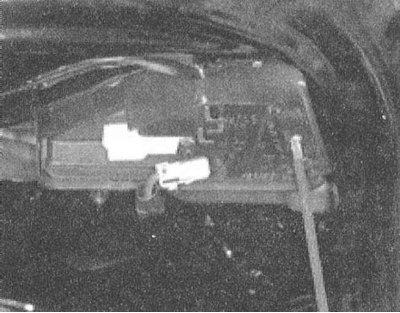
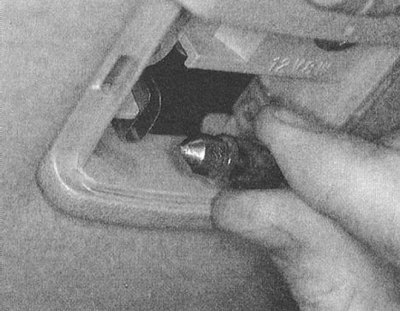
2. Remove the instrument cluster (see Section Removal and installation of a combination of devices).

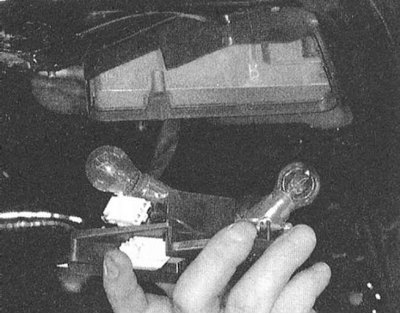
3. Turn the lamp holder of the lamp in need of replacement counterclockwise and remove it from the instrument cluster assembly.
4. To release the lamp from the cartridge, pull it along its axis.
Installation
1. Installation is carried out in the reverse order - if necessary, transfer the colored cap to a new lamp.
2. Don't forget to connect the negative cable to the battery and check if the lights are working properly.