English Русский
Български
Беларускі
Український
Српски
Hrvatski
Română
Polski
Slovenský
Magyar
Articles Bookmark Contacts Sitemap   
Company Audi Company Ford Company Hyundai Company Kia Company Mazda Company Mercedes-Benz Company Nissan
MitsubishiMan.ru


Home Colt Lancer Galant L200 Outlander Pajero Others
Galant 6 and 7 (1987-1998) Galant 5 (1983-1989, petrol)

Fuses, fuse links and circuit breakers (Mitsubishi Galant 6)

  • Home
  • Galant
  • 6 (1987-1998)
  • Electrical equipment
  • Equipment and devices
  • Fuses, fuse links and circuit breakers
0
Contents: Fuses ⤓ Replacement ⤓ Fusible links ⤓ Circuit breakers ⤓
To protect the contact circuits of the vehicle's electrical equipment, various combinations of fuses, fuse links and circuit breakers are used. Mounting blocks are installed in the vehicle's interior and in the engine compartment of the vehicle.

Fuses


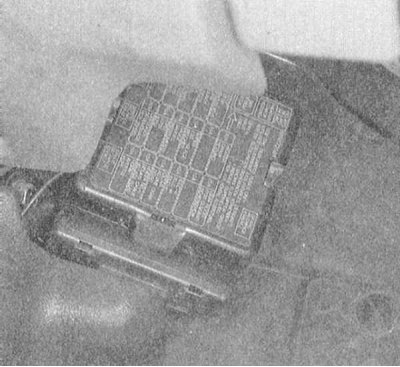
Each individual fuse is used to protect a specific electrical circuit or several circuits at once. The identification card for the location of the fuses in the mounting block is usually placed on the cover of the latter, on its outer side.
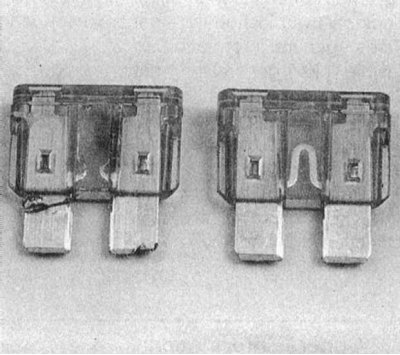


The fuse boxes contain compact fuses with bayonet terminals and, if necessary, can be easily removed from their sockets in the box with your fingers. If any of the power consumers fails, the condition of the corresponding fuse should always be checked first. Turn the ignition key to the ON position and use a test lamp to probe the open terminals of each fuse. If the lamp lights up when connected to each terminal, the fuse is OK. If voltage is present only on the power supply side, the fuse has blown. Note also that the fuse body is usually made of transparent plastic, through which the condition of the working jumper can be easily determined.


When replacing a blown fuse, make sure that the replacement fuse you install matches the type of the element that has failed. Fuses rated for different nominal current strength may physically be no different from each other, but are not interchangeable. Each electrical circuit has different operating parameters and requires different levels of protection, so replacing a fuse rated for a certain current strength with one that does not match its parameters is fraught with the most serious consequences (including a fire). The operating parameters of the fuse (nominal current strength) are usually indicated on its plastic housing.

If the new fuse also fails immediately after installation, there is no point in replacing it further - first you need to identify and eliminate the cause of the overload in the circuit. In most cases, this is a short circuit in the connecting wiring caused by damage to its insulation.

Replacement


1. The fuse box layout diagrams are presented in Specifications to this Chapter.

2. In the engine compartment, the mounting block is located in close proximity to the battery; in the passenger compartment, it is on the left under the instrument panel.
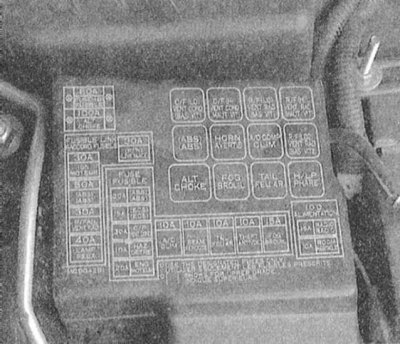

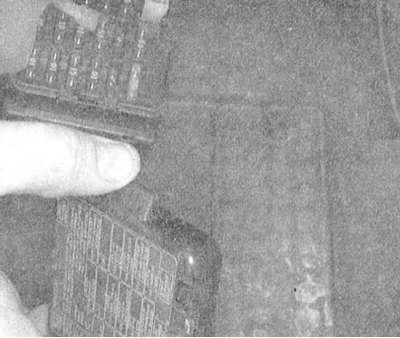
3. Remove the cover of the corresponding mounting block.
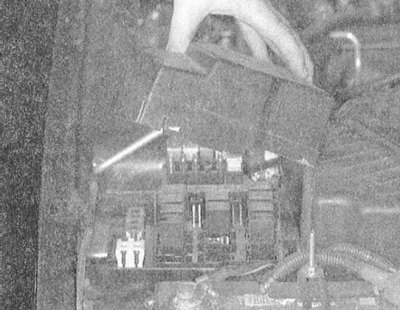


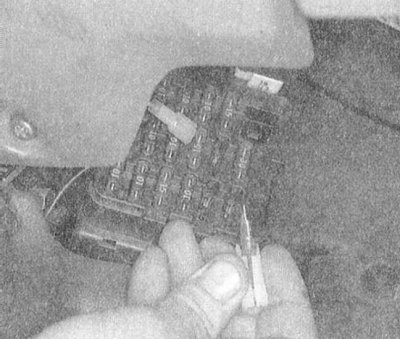
4. Visually inspect the fuse to identify it and use a special clamp to remove it from its socket.
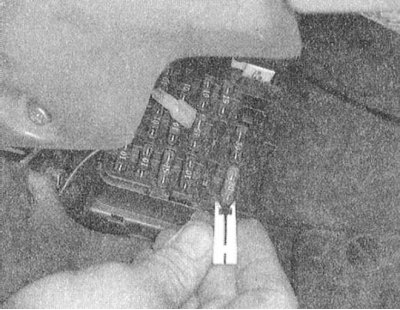

5. Examine the condition of the contact terminals in the receiving socket of the mounting block, remove traces of oxidation, replace defective terminals.
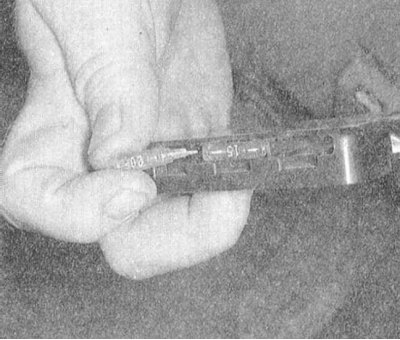


6. Install a replacement fuse in place of the faulty fuse that matches the original in terms of parameters.


Note: A spare fuse kit is usually stored in the interior fuse box.


Fusible links


1. Fusible links are used to protect circuits in which, for some reason, conventional fuses cannot be used, such as the ignition system circuit, as well as for power circuits in which high-amperage current circulates.

2. The main set of fuse links is mounted in the engine compartment near the battery. The second group is located in the adjacent fuse/relay box.

3. If a fuse link fails, it is extremely important to determine the cause of the overload in the corresponding electrical circuit.

4. Failed fuse links of the usual type are not subject to restoration repair. Make sure that the replacement element fully corresponds to the failed one in its nominal characteristics.

Circuit breakers


Circuit breakers are used to protect components of the on-board electrical system such as headlights and electric motors for window lifters, door lock actuators, etc.

On some models, the circuit breakers automatically return to their original state after tripping. If the overload that caused the circuit breaker to trip was not episodic, the condition of the corresponding circuit should be checked without delay. After the fault has been eliminated, the circuit breaker returns to normal operation. Sometimes, the circuit breaker must be returned to its working state manually after the cause of the overload has been eliminated.

[Original version of the article on the website: mitsubishiman]
This article is available at: russian, bulgarian, belarusian, ukrainian, serbian, croatian, romanian, polish, slovak, hungarian
This article was reviewed by: Dmitry Vasiliev
Share with friends:
◀ Previous
Galant 6 and 7: Equipment and devices
Next ▶

Electrical Connectors — General Information
Search for causes of electrical equipment failures
On-board electrical equipment specifications
General information about on-board electrical equipment
Relays — general information and checking the correct functioning
Checking and replacing the turn signal/hazard warning flasher
Removal and installation switches
Removal and installation of sealed headlights
Adjusting the direction of the optical axes of the headlights
Similar materials for other Mitsubishi models

➤ Circuit breakers — general description Mitsubishi Colt 2 and 3 (1983-1993)
➤ Engine lubrication circuit Mitsubishi Lancer 3 and 5 (1984-1992)
➤ Location of fuses and fuse links in the car and their… Mitsubishi L200 4 (2005-2014, diesel)
➤ Fuses and fuses Mitsubishi Outlander 1 (2003-2008)
➤ Circuit breakers — general information Mitsubishi Pajero 1 and 2 (1982-1999)
➤ Fuses and fuses Mitsubishi Carisma (1995-2004)
Link in different formats to this article
Comments and feedback from visitors
No comments yet


Add up two numbers 49 + 49


Galant 6 and 7 (1987-1998) 
  • General information
  • Introduction to guide
  • User manual
  • Driving and operation
  • Maintenance
  • Power unit
  • Dismantling the engine
  • Engine overhaul
  • Cooling and heating
  • Power and exhaust systems
  • Engine electrical equipment
  • Engine management systems
  • Transmission
  • Mechanical gearbox
  • Automatic gearbox
  • Clutch
  • Drive shafts and transfer case
  • Chassis and running gear
  • Brake system
  • Car suspension
  • Steering
  • Body and interior
  • Exterior (external elements)
  • Interior (internal elements)
  • Doors, locks and windows
  • Electrical equipment
  • Equipment and devices
  • Wiring diagrams Galant
  • Wiring diagrams Mirage
  • Wiring diagrams Diamante
Galant 5 (1983-1989, petrol) 
  • General information
  • Troubleshooting
  • Maintenance
  • Power unit
  • Engine repair
  • Engine overhaul
  • Cooling and heating
  • Fuel and exhaust system
  • Engine electrical equipment
  • Reducing exhaust toxicity
  • Transmission
  • Manual gearbox
  • Automatic gearbox
  • Clutch and drive shafts
  • Chassis and running gear
  • Brake system
  • Car suspension
  • Steering
  • Body and interior
  • Exterior (external elements)
  • Interior (internal elements)
  • Doors, locks and windows
  • Electrical equipment
  • Equipment and devices
  • Electrical diagrams
MitsubishiMan.ru © 2018–2026 • Mobile version • Articles about Mitsubishi • Contacts • Sitemap: EN BG BY UA RS HR RO PL SK HU • Site search • Bookmark
Colt 2 and 3 (1983-1993) · Colt 4 and 5 (1991-2003) · Colt 5 (1995-2003) · Lancer 3 and 5 (1984-1992) · Lancer 9 (2000-2007) · Galant 5 (1983-1989) · Galant 6 and 7 (1987-1998) · L200 4 (2005-2014) · Outlander 1 (2003-2008) · Pajero 1 and 2 (1982-1999) · Pajero 4 (2006-2021) · Carisma (1995-2004) · Space Star (1998-2005) ·
This resource sets cookies 🍪 to avoid bothering you with repeated data entry.