
Alternator Installation Details on 3.0L Models Equipped with DOHC Engine
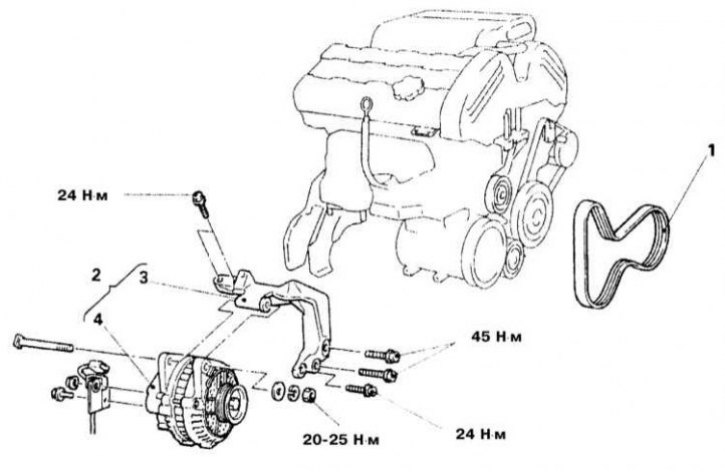
1 - Drive belt; 2 - Assembling the generator with a support bracket; 3 - Support bracket; 4 - Generator
Alternator Installation Details on 3.0L Models Equipped with SOHC Engine
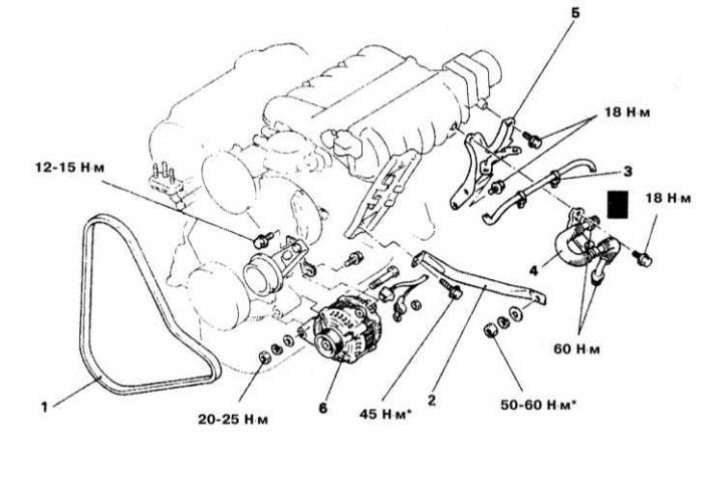
1 - Drive belt; 2 - Jet rod; 3 - EGR temperature sensor wiring (california models); 4 - EGR pipe; 5 - Mounting bracket of the upper section of the inlet pipeline (injection chamber); 6 - Generator
Alternator Installation Details on 3.5L Models
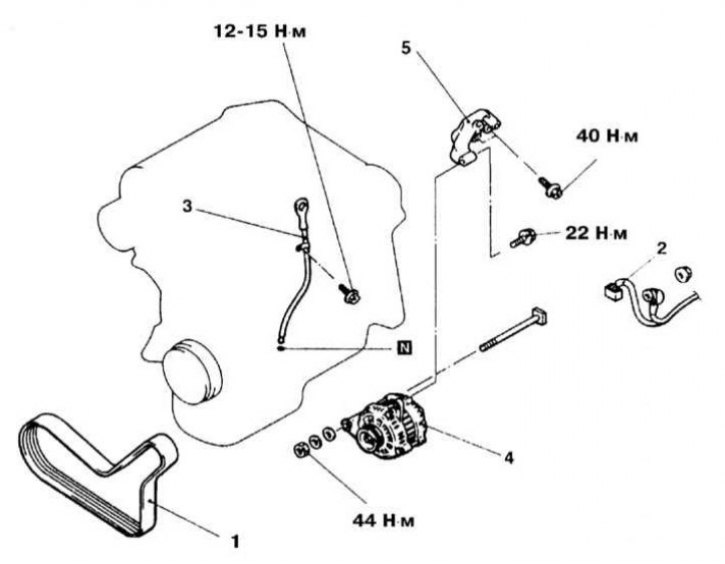
1 - Drive belt; 2 - Electrical wiring of the generator; 3 - Dipstick for measuring the level of impellent oil; 4 - Generator; 5 - Generator support bracket
Voltage test
1. Stop the engine and turn on the headlights for 15÷20 seconds to remove the surface charge from the battery.
2. Measure the battery voltage. Write down the result of the measurement.
Test without load
1. Engage neutral (models with manual transmission) / move the selector lever to position "R" (models with AT). Apply the parking brake and chock the wheels.
2. Connect a tachometer to the engine in accordance with the instrument manufacturers' instructions.
3. Turn off all onboard electrical consumers (radio, heater fan, windshield wipers, etc.).
4. Start the engine and raise its speed to 1500 rpm.
5. Read the reading of the voltmeter that registers the output voltage of the battery - it should rise by 0.5 ÷ 25 V relative to that taken during the initial check. If everything is in order, proceed to the test of the generator under load.
6. If the voltage increment exceeds the allowable range, it indicates a failure of the generator / voltage regulator.
Note. It is also possible that the condition of the electrical wiring and its contact connections will not work properly.
7. The most information about the condition of the generator can be obtained by checking it on a workbench using a special tester - act in accordance with the manufacturer's instructions.
Load test
1. With the engine running, turn on as many onboard electrical consumers as possible (high beam, heater fan, etc.).
2. Raise the engine speed to 2000 rpm.
3. Read the reading of the voltmeter connected to the battery terminals - the voltage must remain at least 0.5 V higher than the original one, otherwise the alternator / voltage regulator malfunctions. Also check the condition of the connecting wiring and its contact connections.
4. Try to test the generator on a workbench using a special tester - proceed in accordance with the instructions of the manufacturers of the device.
1.5L, 1.6L, 1.8L, 2.0L and 2.4L engines
Removing
1. Disconnect the negative cable from the battery.
Attention! If the stereo system installed in the car is equipped with a security code, before disconnecting the battery, make sure that you have the correct combination to activate the audio system!
2. Remove the access cover located on the left under the car.
3. On Galant models equipped with a turbocharging system, remove the intake duct.
4. Remove drive belts (see chapter Settings and ongoing maintenance).
5. Remove the water pump pulleys.
6. Remove the alternator top support bracket.
7. On 1.6L models, remove the battery from the pallet and the windshield washer fluid reservoir, then unscrew the upper mounting bolts and remove the cooling system radiator (see chapter Engine).
Note. Take the radiator aside without disconnecting the hoses from it.
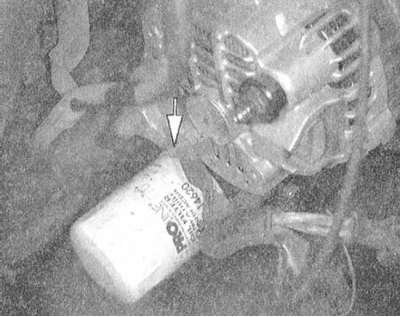
8. Disconnect the electrical wiring from the generator.
 | 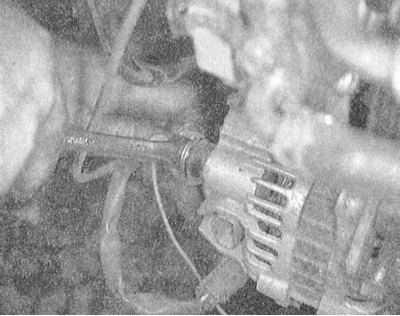 |
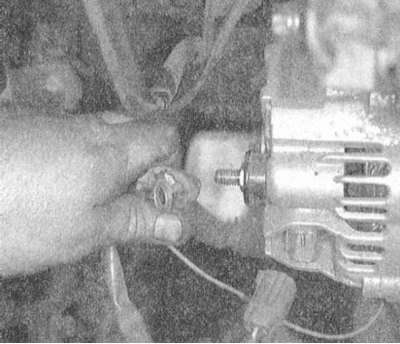 |  |
9. Turn out fixing bolts and remove the generator.
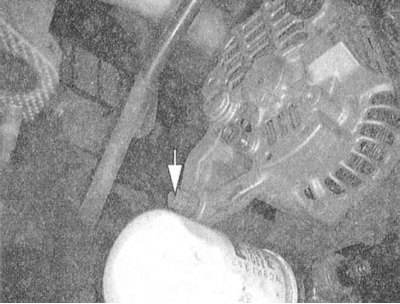 |  |
 |  |
Installation
1. Install the generator in its regular place, install the lower bolt, screw on and lightly tighten the fixing nut.
2. On 1.6L models, install the cooling system radiator and secure it with the top bolts. Install the battery tray, battery and windshield washer fluid reservoir.
3. Install the alternator top support bracket and secure the wiring harness to the assembly.
4. Install water pump pulleys.
5. Install and adjust drive belts (see chapter Settings and ongoing maintenance).
6. On turbocharged Galant models, install the air intake sleeve.
7. Install the access cover (on the left under the car).
8. Connect the negative cable to the battery and check that the charge system is working properly.
3.0L DOHC engines
Removing
1. Alternator installation details on 3.0L DOHC models are shown in the illustration.
2. Disconnect the negative cable from the battery.
Attention! If the stereo system installed in the car is equipped with a security code, before disconnecting the battery, make sure that you have the correct combination to activate the audio system!
3. Remove the headlamp washer fluid reservoir.
4. Remove the K/V fan and a pillow of the top support of a radiator.
5. Loosen the tensioner and remove the alternator drive belt.
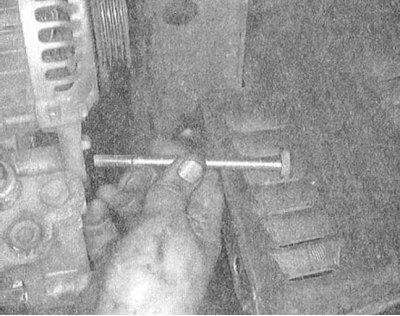
6. Turn out the top and bottom bolts of fastening of the generator.
7. Give bolts of fastening of a basic arm.
8. Remove the support bracket.
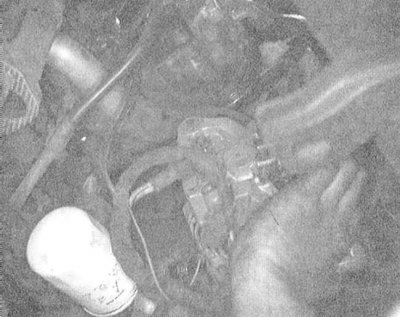
9. Disconnect electroconducting and remove the generator.
Installation
1. Install the generator in its original place and connect the electrical wiring to it.
2. Install the support bracket and tighten the fixing bolts to the required torque.
3. Fix the generator on the support bracket, tighten the fasteners with the required torque (24 Nm).
4. Install and adjust the drive belt (see chapter Settings and ongoing maintenance).
5. Establish the K/V fan and a pillow of the top support of a radiator.
6. Reinstall the headlight washer fluid reservoir.
7. Connect the negative cable to the battery and check that the charge system is working properly.
Engines 3.0 l SOHC and 3.5 l
Removing
1. Generator installation details on 3.0L models with SOHC engines and 3.5L models are shown in the illustrations.
2. Disconnect the negative cable from the battery.
Attention! If the stereo system installed in the car is equipped with a security code, before disconnecting the battery, make sure that you have the correct combination to activate the audio system!
3. Remove the air intake sleeve.
4. Release the tensioner and remove the alternator drive belt.
5. On California models, remove the rear row converter assembly.
6. Remove the torque arm of the power package.
7. On 3.0L SOHC models, disconnect the EGR temperature sensor wiring and remove the EGR pipe, also remove the air intake pressure chamber mounting bracket (upper intake manifold).
8. Disconnect from the generator electroconducting.
9. Turn out the top and bottom bolts of fastening of the generator.
10. Lower the generator down and take it from under the car.
Installation
1. Install the generator in its original place.
2. Tighten the lower fasteners of the generator with the required force (20÷25 Nm).
3. Connect the electrical wiring to the generator.
4. On 3.0L SOHC models, install the air path pressure chamber mounting bracket. Screw in the fixing bolt and tighten it to the required torque (18 Nm). Install the EGR pipe and connect the wiring to the EGR temperature sensor. Tighten the tube clamp fasteners with force (60 Nm).
5. Install the torque arm of the power unit and tighten its fasteners to the required torque (45 Nm: bolt and 50÷60 Nm: nut).
6. If removed, install the rear transducer assembly.
7. Install and adjust the drive belt (see chapter Settings and ongoing maintenance).
8. Connect the air intake sleeve.
9. Connect the negative cable to the battery and check that the charging system is working properly.