



Check if all the joints of the cooling system are dry, otherwise wipe them.
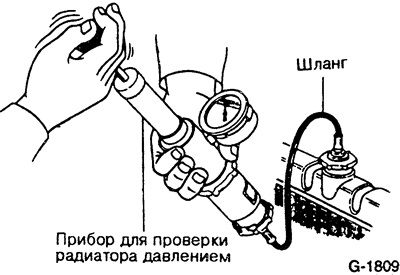
Screw the pressure tester adapter onto the radiator cap instead.
Caution: For safety reasons, place a rag around the neck. Remove the cap only after the radiator has cooled down to at least a warm state, otherwise there is a risk of scalding from hot coolant.
Using the test pump, increase the pressure in the cooling system. The pressure should be 1.6 bar.
The created pressure should be maintained in the system constant for about 2 minutes. If the pressure drops, determine the leak points in the cooling system. If the pressure is increased, the coolant will leak out in non-hermetic places.
Release the pressure and slowly unscrew the adapter.
Checking the drain valve
The drain valve is located in the radiator cap. It should open when a certain pressure value is reached in the cooling system and allow the coolant to flow into the expansion tank.
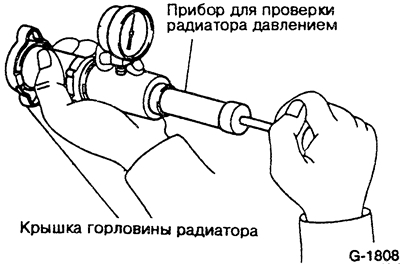
Screw the radiator cap onto the pressure tester as shown in the figure.
Create pressure. The drain valve should open at a pressure of 0.75 to 1.05 bar. Otherwise, replace the cap.
Create a vacuum. The vacuum valve should open at a pressure of 0.05 bar. Otherwise, replace the cap.
Screw the cap onto the radiator, replacing the rubber gasket.