



Work only at temperatures above 12°C, but not in direct sunlight or strong wind.
Rust removal
Cover the outline of the repair area with protective tape (tezakrep) to avoid inadvertently damaging the surrounding paintwork.
Remove all visible rust, as well as rust hidden under bubbles, with a triangular file or screwdriver, as well as coarse sandpaper with 120 grain.
Sand the edges around the damaged area, extending 1-2 cm onto the undamaged surface using 320 grit sandpaper.
The original article is on mitsubishiman
Galvanized body parts should, if possible, be cleaned only to the primer, and not to the zinc coating.
Application of anti-corrosion primer ("Primer")
Clean the repair area from dust and grease with nitro solvent and a clean cloth and let dry.
To avoid incompatibility problems, the "Primer" must be from the same manufacturer as the paint being applied. Otherwise, the paint will bubble and wrinkle.
Spray "Primer" from a distance of about 25 cm with a very narrow stream, but covering the surface. To avoid the aerosol mist getting on the surrounding surfaces, cover them with protective tape and newspaper.
After 10-5-15 minutes of airing, you can repeat the spraying. If putty is to be applied to the repair site, the "Primer" must dry well beforehand.
Puttying
There are two types of putty: two-component and thin. Two-component putty is mixed with a hardener before processing. It hardens quickly and requires quick application. It is used to level large irregularities in metal. Thin putty is viscous, it is used to level small surfaces. It can be applied in several layers. Both types of putty are available in tubes and cans, thin putty is also available in an aerosol package.
Note: Although the putty cans often recommend applying the putty directly to the metal, in any case it is advisable to prepare it with an anti-corrosion "Primer".
Apply two-component putty to the straightened or fiberglass-sealed area and let it harden. Follow the manufacturer's recommendations.
After the surface hardens, clean the uneven areas manually or with a vibration grinder. Use 180-grit sandpaper. Now you can also use waterproof sandpaper. In this case, wet the repair area generously with water (sponge) from time to time.
Finally, thoroughly wipe the repair area and let it dry.
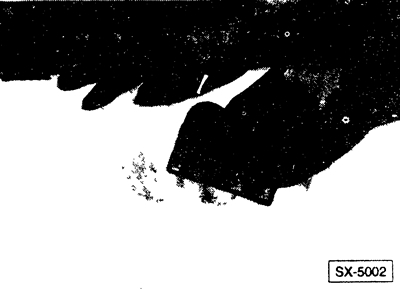
Using a wide elastic plastic spatula (trowel), apply a thin layer of thin filler to the repair area and let it harden for at least 2 hours. For large curves and contours, it is recommended to apply filler from an aerosol can.
Depending on the thickness of the applied layer, the thin putty should dry for 2 to 3 hours.
Grinding
Sandpaper comes in different grain sizes. The lower the number, the coarser the paper. For sanding two-component putty, a grain of 180 to 240 is recommended; the filler putty and old paint are sanded with water using 360 grit. For the final sanding step with water, 600 grit sandpaper is recommended.
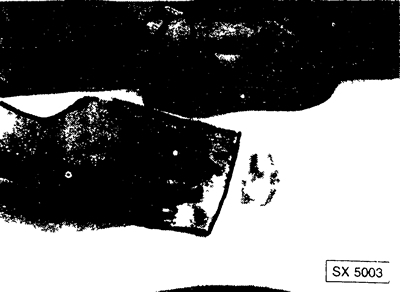
Sand the filled areas with 360-grit paper, holding a sponge over the repair area at all times. Dip the sponge in clean water from time to time.
For subsequent wet fine sanding, special waterproof finishing paper with 600 grain is best suited, while the surrounding surface is also sanded. Sand only in the direction of the longitudinal dimension of the car; at the same time, residual small scratches from sanding in the topcoat are less noticeable.
Cleaning
Before applying paint, the sanded surface, as well as the area around it, two palms wide, must be freed from traces of grease and silicone. Silicone remover is best suited for this.
After sanding, thoroughly clean the repair area and cover all surrounding parts of the car very precisely with newspaper and adhesive tape. When painting the fenders, also protect the wheels and shock absorbers.
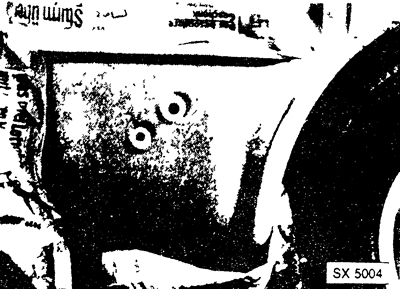
Try to tape the repair area so that the surface to be painted is always limited by the nearest molding or edge of the body, since a bump of paint appears along the edge of the tape. If the gradual transition of color to the original paint is not noticeable, tape at a distance from the repair area the width of two palms.
To collect dust, moisten the floor.