



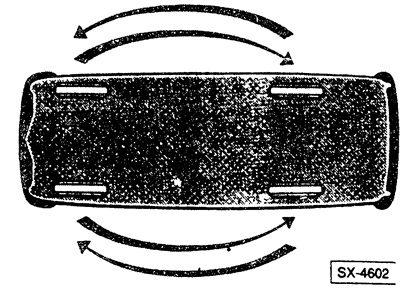
If the front tires are noticeably worn, it is recommended to replace them with the rear tires. This will give approximately the same service life for all 4 tires.
When tightening wheel nuts, always use a torque wrench. This ensures that all wheel nuts are tightened evenly.
Do not replace a single tire, but at least the dads on the same axle. In this case, always install the less worn tires at the rear. On all-wheel drive vehicles, tires of the same type and with the same profile pattern should be installed.
Caution: When replacing and removing tubeless tires, for safety reasons, also replace the valve stem.
Any traces of rust on the adjacent surfaces of the wheel rims should be removed with a wire brush. To protect against corrosion, lightly lubricate the mounting hole of the wheel rim on the hub at the rear and front with bearing grease each time the wheel is removed.
Remove wheel caps using the blunt end of a wheel wrench (from the on-board tool kit).
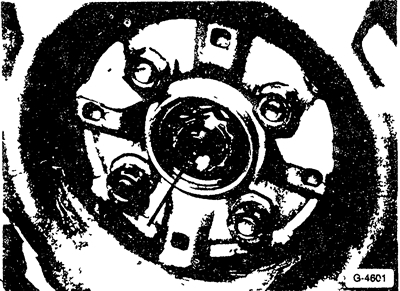
Before removing the wheel, mark the position of the wheel rim relative to the hub with chalk or a felt-tip pen so that you can later install the wheel in its original place.
Light metal wheels are coated with a layer of clear varnish to protect against corrosion. When changing wheels, try not to damage the varnish coating; touch up with varnish if necessary.
For light metal rims, use only wheel nuts specifically designed for them.
Note: If the vehicle is equipped with light metal wheels and the spare wheel has a steel rim, include the appropriate wheel nuts for the steel rim in the on-board tool kit.
Clean contaminated nuts and threads.
Tighten the nuts crosswise in several passes.
Caution: Tightening the bolts on one side or differently may cause overstressing of the wheel rim and/or hub.
Wheel nut tightening forces:
Cars produced from 9.88 to 3.92:
- 100 Nm for steel and alloy wheels.
Cars produced from 1.84 to 8 88:
- steel wheels: 80 Nm;
- alloy wheels: 100 Nm.