



Gearbox and transfer case control lever parts
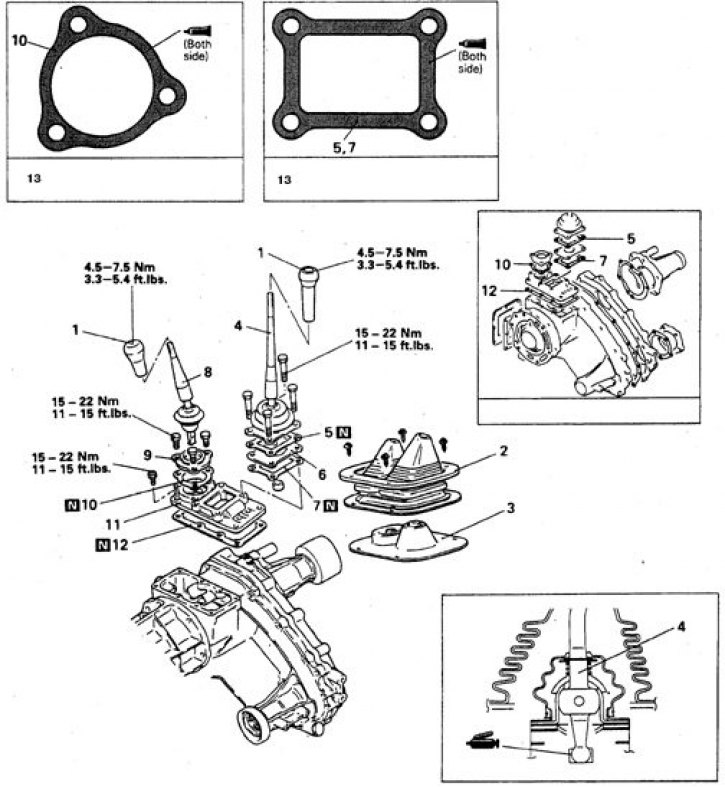
1. Handle; 2. Plate; 3, 9. Lid; 4. Gear shift lever; 5, 7, 10, 12. Gasket; 6. Frame; 8. Transfer case lever; 11. Body; 13. Apply 3M ATD N 8660 sealant on both sides
Gearbox control lever
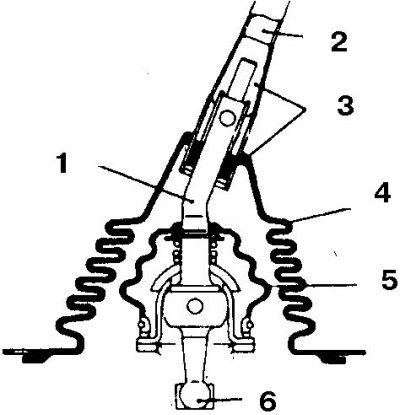
1. Lever; 2. Upper section; 3. Inserts; 4. Outer cover; 5. Inner cover; 6. Hinge part
1. Unscrew the gearbox and transfer case lever handles.
2. Loosen the screws securing the top plate and remove the plate with the cover.
3. Remove the lever assembly with the housing by moving the transfer case lever to position 2H (4N for vehicles 1992-98.) and unscrew the bolts securing the housing of the hinge part of the lever.
4. Remove 2 gaskets and frame.
5. Remove the transfer case lever.
6. Remove the housing cover and gasket.
7. After removing the levers, the gearbox should be in neutral position, and the transfer case should be in position 2H (or 4N for cars of 1992-98.).
8. Assembly is carried out in reverse order.
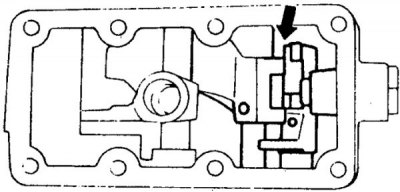
9. When installing, it is necessary to maintain a certain position of the lever socket.
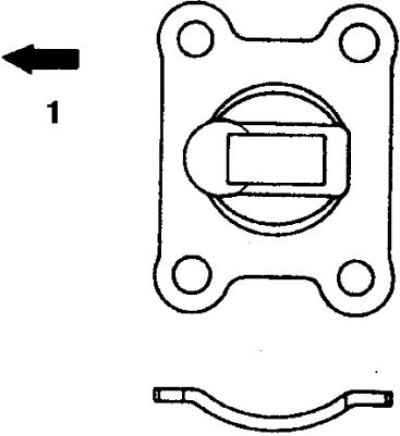
10. When assembling, it is important to correctly orient the gearshift lever frame (1 – towards the front of the car).
11. Replace all gaskets.
12. Tighten all bolts to the specified torques.