



Contents: Adjusting display brightness ⤓ Turn off the display ⤓ Selecting units of measurement ⤓ Selecting the display language ⤓ Setting the vehicle type ⤓ Change vehicle type ⤓ When removing the wire from the…⤓ Monitor care ⤓
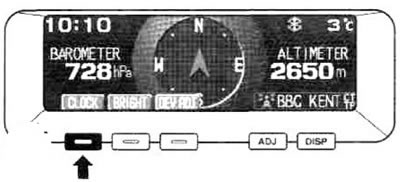
Press the ADJ button to display the function key capabilities on the screen. After 10 seconds, the display will automatically return to its previous mode.
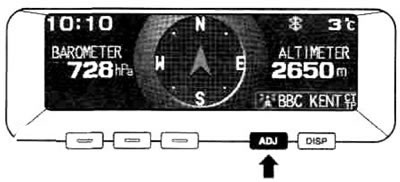
Adjusting display brightness
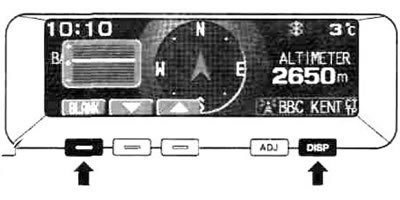
1. Press the BRIGHT button.
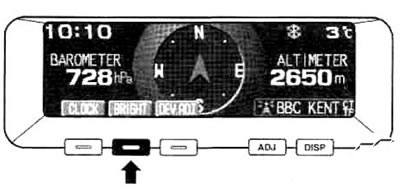
2. Press the ▲ or ▼ buttons to set the desired brightness.
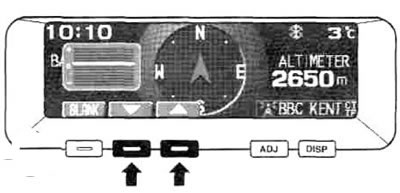
Pressing the ▲ button increases the display brightness. Pressing the ▼ button decreases the display brightness.
3. About 10 seconds after the adjustment is completed, the display will return to the previous reading mode.
Note:
- You can set the display brightness separately for when the lights are on and off.
- If no buttons are pressed, the display returns to its previous display mode after approximately 10 seconds.
Turn off the display
1. Press the BRIGHT button.
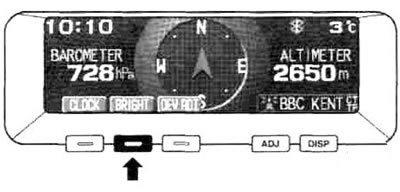
2. To turn off the display, press the BLANK function button. To turn the display back on, press the DISP button.
Selecting units of measurement
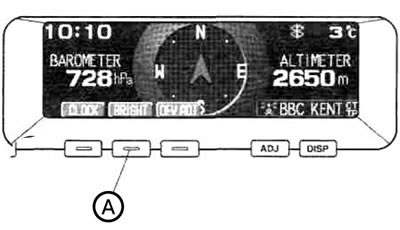
By default, the units of measurement are km/h, l/100 km, km and m. If you want to select other units of measurement, press the button (A) for more than 3 seconds. The units of measurement will change as follows:
| Indicator | Unit of measurement |
| Average speed | km/h → mph → km/h → km/h |
| Average fuel consumption | l/100 km → mi/gal → km/l → l/100 km |
| Power reserve | km → miles → km → km |
| Altimeter | m → ft → m → m |
Selecting the display language
You can select English, French or Spanish for display messages:
1. In the date and time display mode, press the ADJ button to access the function button options.
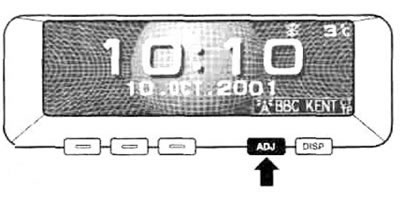
Attention: Please choose the language after stopping the car in a safe place.
2. Press the LANG button.
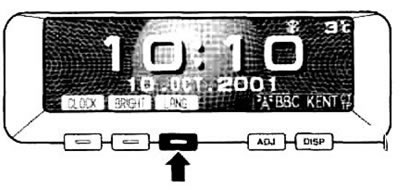
3. Set the required language by pressing the function buttons ▲ or ▼.
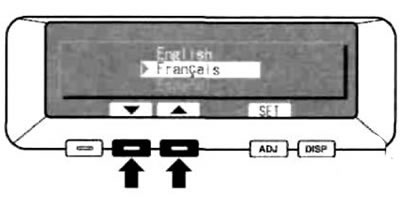
4. After selecting the language, press the SET function button.
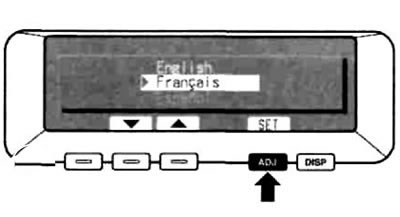
Setting the vehicle type
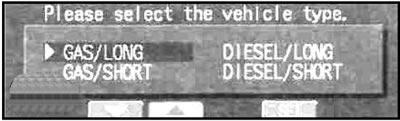
1. Press the ▲ or ▼ selection buttons to set the desired vehicle type.
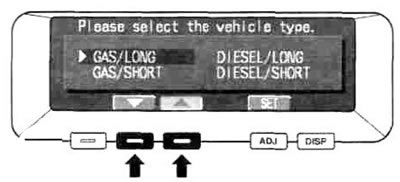
2. After completing the vehicle type selection, press the SET function button.
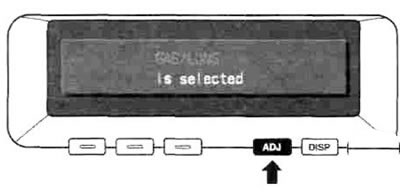
3. Once the vehicle type setting is complete, the following information will be displayed:
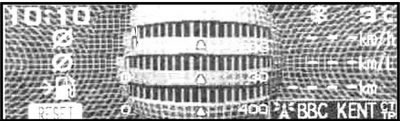
When choosing a car with a gasoline engine: Trip computer information.
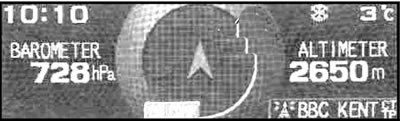
When choosing a car with a diesel engine: Compass settings window.
Change vehicle type
If the vehicle type is incorrectly installed, proceed as follows:
When choosing the wrong car with a diesel engine
1. Turn the ignition key to the LOCK position.
2. While pressing the DISP button, turn the ignition key to the START position.
3. If you press the DISP button for more than 10 seconds, this window will pop up automatically.
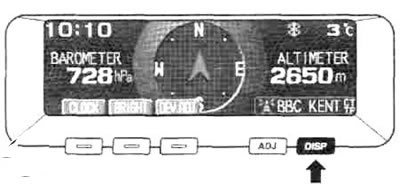
4. After a while, the display will switch to the vehicle type selection mode.
When choosing a car with a gasoline engine by mistake
[Article reprinted from the website: MitsubishiMan.ru]
1. Press the DISP button to display the trip computer information.
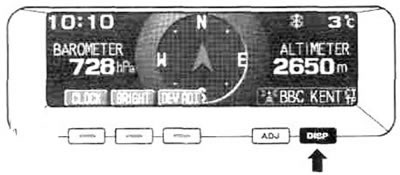
2. Press the RESET button and hold it for at least 5 seconds.
3. The procedure for selecting the vehicle type is given above.
When removing the wire from the battery terminal
After removing the battery cable, the data stored in the memory may be erased. In this case, proceed as follows.
Checking the system power supply
If the data is erased from the memory, the following message will appear on the display when the ignition key is turned to the ACC position. In this case, you need to perform the following steps:
1. Start the engine (or turn the ignition key to the ON position).
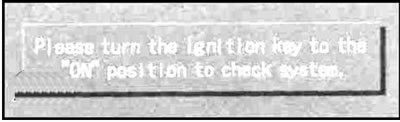
2. After starting the engine (or turning on the ignition) the following message will appear on the display:
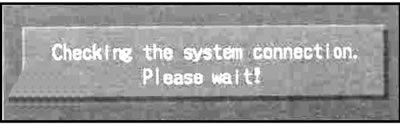
3. After a short time, a beep will sound, the connection will be established, and the following message will appear on the display:
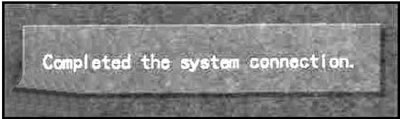
4. The display will switch to the vehicle type selection mode.
Monitor care
When the liquid crystal display is dirty (for example, fingerprints) wipe it with a dry soft cloth.
Note: Do not use a damp cloth or abrasive cleaners as this may damage the display.