



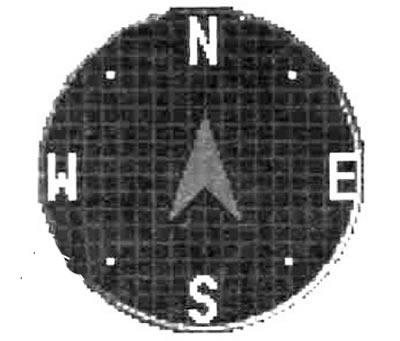
The compass shows the direction of the vehicle's movement in one of 8 azimuths.
Note.Direction of movement.
Note:
The compass reacts to the Earth's magnetic field, so it may show the wrong direction in heavy traffic and in places (or near them), where interference occurs on the Earth's magnetic field lines:
- Parking lots located in buildings and basements.
- Highways, underground cables.
- Zones above metro lines.
- Transformer stations.
- Areas along railways.
In these cases, the correct compass readings are restored after the vehicle returns to a location where the Earth's magnetic field is not distorted by interference.
Do not install ski racks, antennas, etc. on your vehicle that are attached with magnets. This will affect the compass readings.
Setting the magnetic declination
Note:
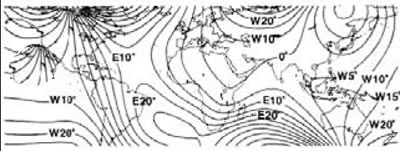
- Declension varies in different regions; its approximate distribution is shown in the figure.
- Magnetic declination can be set in 5 degree increments, from 20 degrees west (W20) to 20 degrees east (E20).
Declination is the difference between geographic north (direction to the geographic north pole) and the direction that the compass needle shows. Since declination varies from place to place, it must be re-established in each region. Otherwise, the compass will show the wrong direction. The declination is set as follows:
In the climate data display mode, press the ADJ button to display the selection buttons. After about 10 seconds, the readings will automatically disappear.
1. Press the DEV.ADJ selection buttons.
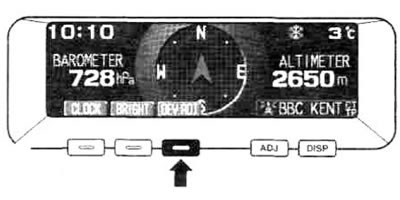
2. By pressing the selection buttons
 or ► set the required declination. If you hold the button
 or ► more than 1 second, the value will start to change rapidly.
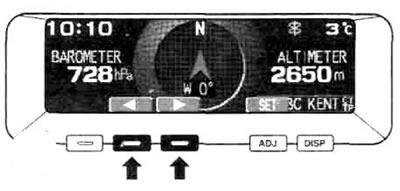
3. After setting the declination, press the SET function button.
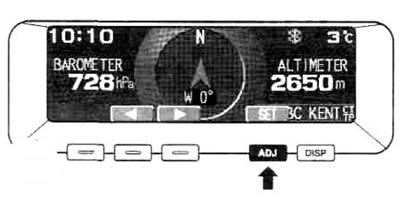
Note: For safety reasons, these steps can be performed if the vehicle speed does not exceed 3 km/h (2 mph).
Setting up the compass
Usually the compass is adjusted automatically when the vehicle is moving. However, if human intervention is required, a message to this effect will be shown on the display for approximately 7 seconds and the direction indicator will start flashing. In this case, you need to adjust the compass as follows.
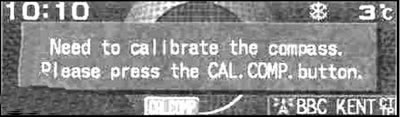
1. Press the selection buttons to select CAL.COMP.
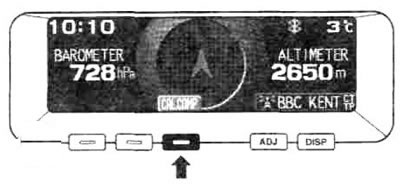
2. In a safe, open area where there are no buildings or other cars, slowly turn the car 360 degrees (come full circle).
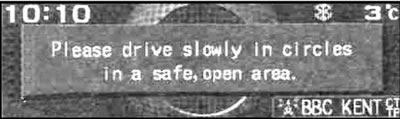
Note: If "CANCEL" appears on the display, press the CANCEL softkey to abort the calibration and return to the climate data display.
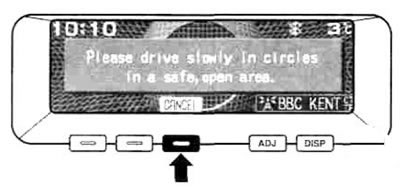
3. The adjustment will be completed automatically and the display will show the message "Completed the calibration".
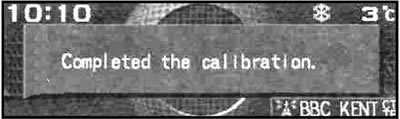
Note: If you stop the vehicle in the middle of a turn and reverse it back to its original position, the message may also appear "Completed the calibration", although the setup was not completed properly. Therefore, the car must be turned at least 360 degrees.