



Contents: Removal ⤓ Installation ⤓
Warning: The refrigerant is under high pressure. Do not loosen fasteners or remove any components until the system has been drained by a specialist. Wear safety glasses when disconnecting fittings on the air conditioning system.
Removal
1. Remove the hood cover, grille and vertical bracket (see Chapter 11).
2. Disconnect the refrigerant lines from the condenser. Use an auxiliary wrench to prevent the lines from twisting (see illustration).
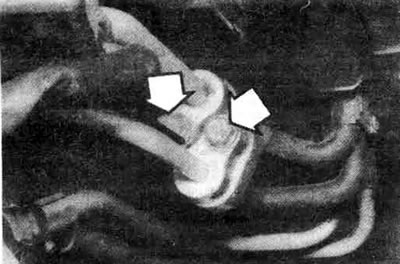
16.2a. Unscrew the bolts securing the condenser pipes
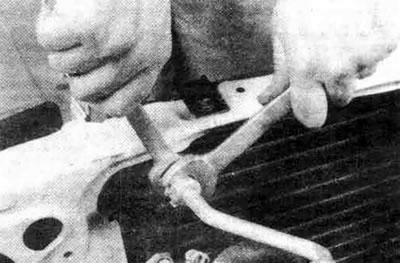
16.2b. Use an auxiliary wrench to prevent kinking of the pipes
3. Immediately plug the fittings to prevent moisture and dust from entering the system (see illustration).
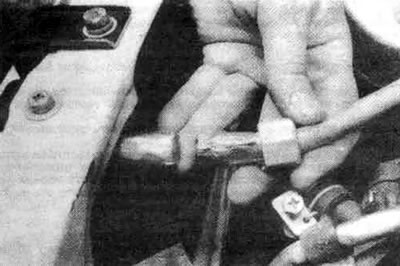
16.3. Plug the ends immediately
4 Unscrew the upper radiator mounting and move the radiator and fan assembly as far back as possible (do not disconnect the hoses). Unscrew the condenser and remove it from the vehicle (see illustration). Keep it upright to prevent oil from leaking out.
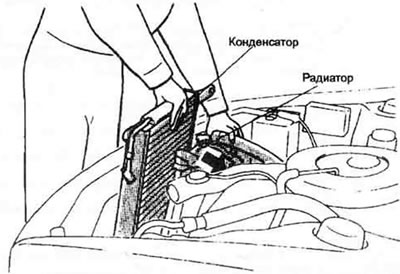
16.4. Pull the radiator/cooling fan back as far as it will go, then remove the condenser
Installation
5. Perform installation in reverse order.
6. When installing a new condenser, add 30 cc of refrigeration oil to the system.
7. Pumping, charging and checking the tightness of the system must be carried out by the same workshop that discharged the system.