



Contents: Windshield ⤓ Windshield filler application areas ⤓ Profile of application of adhesive…⤓ Removal ⤓ Installation ⤓
Windshield
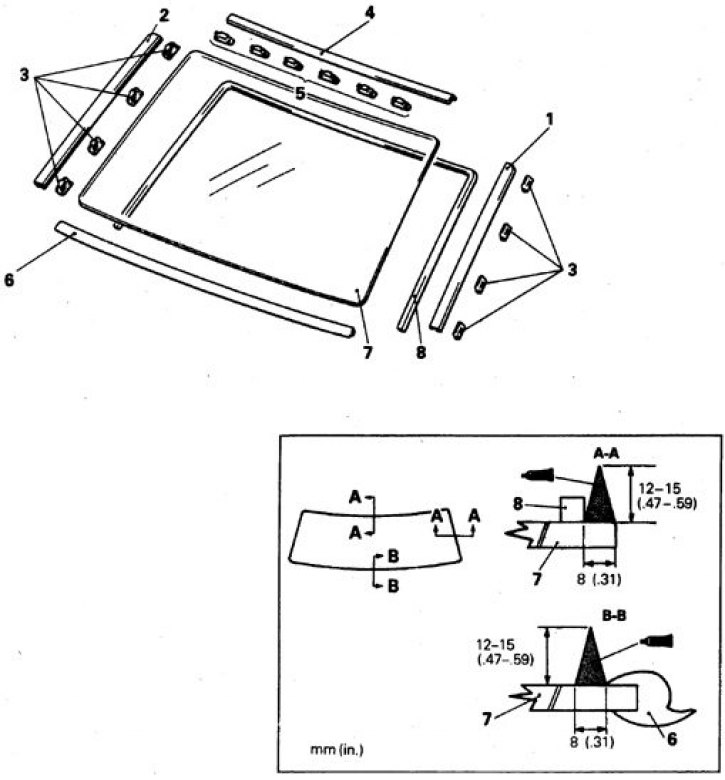
1, 2, 4, 6. Overlays; 3, 5. Latches; 7. Glass; 8. Lining
Windshield filler application areas
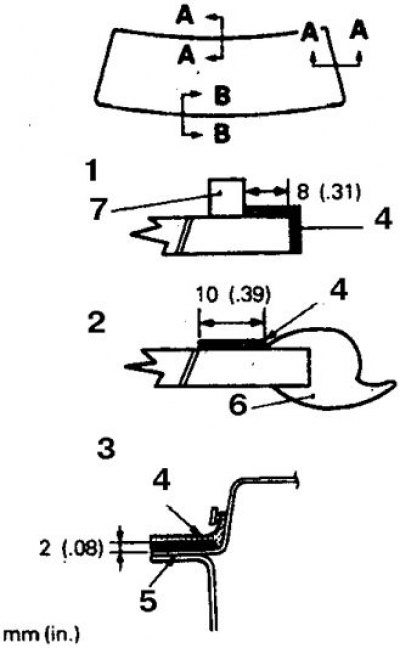
1. Section A–A; 2. Section B–B; 3. From the body side; 4. Filler; 5. Old glue; 6. Lower glass trim; 7. Seal strip
Apply glue with a syringe (type 3M Super Fast Urethane Auto Glass Sealant 8609 or equivalent) around the entire perimeter of the glass.
Profile of application of adhesive layer in different sections along the perimeter of glass
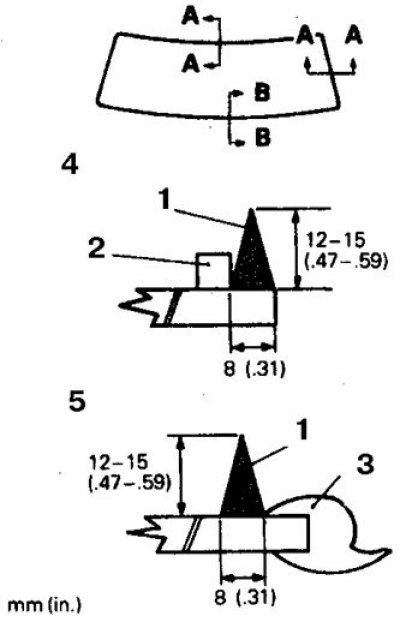
1. Glue; 2. Seal strip; 3. Bottom glass trim; 4. Section along A–A; 5. Section B–B
Removal
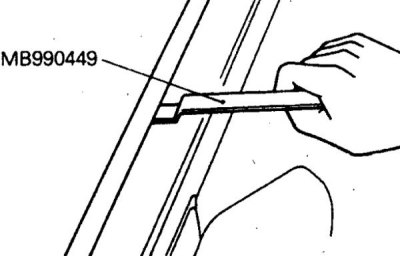
1. Using a special tool, remove the side glass trims.
2. Remove the latches.
3. On some vehicles, remove the bottom lining.
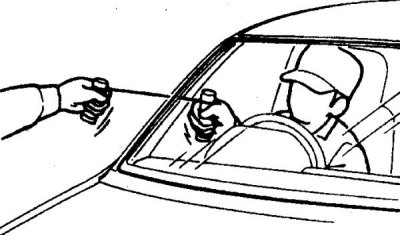
4. Cover the adjacent areas of the body with fabric tape and use a sharp drill to drill a hole in the adhesive layer of the glass, pass the wire through and cut off the layer.
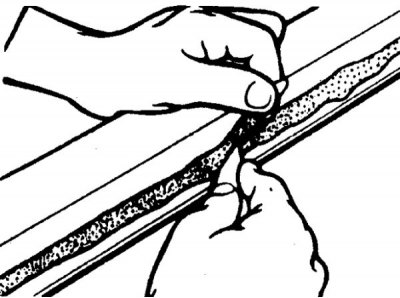
5. Level off any remaining glue from the body trim.
6. Mark the position of the glass and remove the glass using special suction cups.
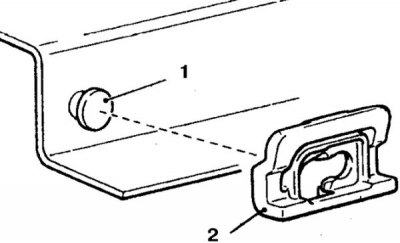
7. Replace broken latches (1 – head, 2 – windshield mounting latch)
Installation
Article reprinted from the website [www.MitsubishiMan.ru]
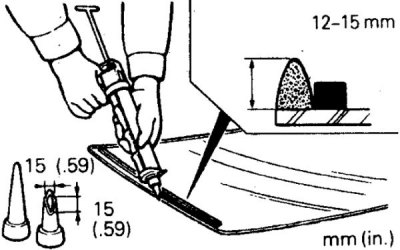
1. Apply glue in a layer 12-15 mm thick (the inset shows the shape of the syringe feed nozzle, which should be V-shaped).
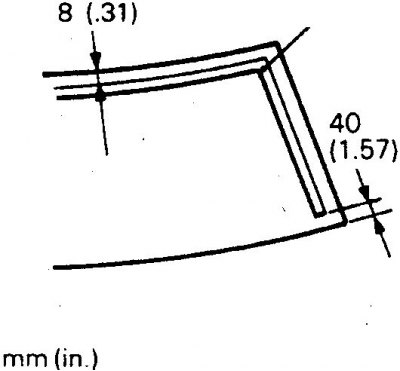
2. Stick the seal.
3. Apply the glass in place, draw a contour along the edge of the glass.
4. Install the lower trim on the glass.
5. With a sponge soaked in polyurethane filler (type 3M Super Fast Urethane Primer 8608 or equivalent) apply the composition evenly to the required areas.
6. Dry for 3-30 minutes.
7. Re-attach the glass to the place (the applied contour) and press lightly.
8. Remove any adhesive that has come into contact with the glass or body and wipe with 3M ATD 8906 solvent.
9. Wait 30 minutes for the glue to set (drying can be accelerated using a reflector, without allowing the temperature to rise above 100°C) and check the seams for tightness by watering with a weak stream from a hose.
10. Install all removed trim parts.