
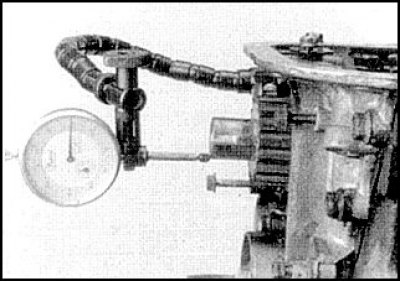
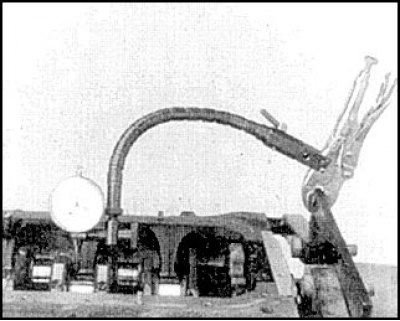
Installation of an indicator for checking the axial play of the crankshaft
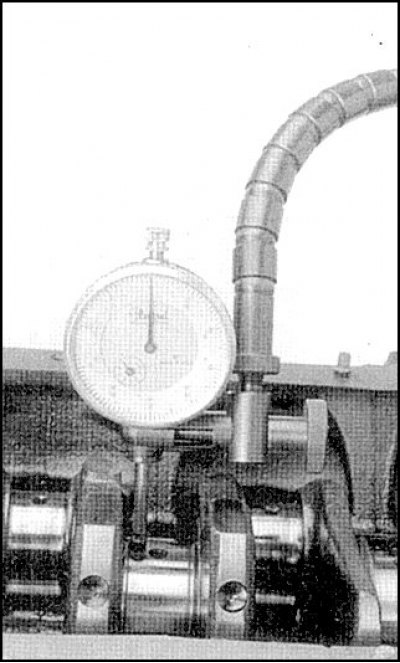
Installing an indicator to check the runout of the crankshaft main journals
Indigenous liners
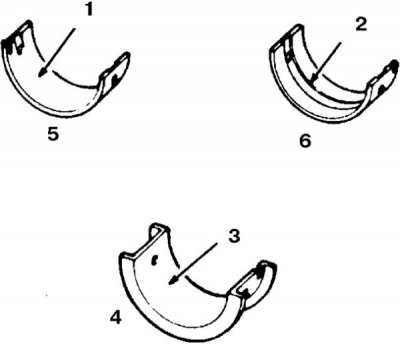
1, 3. There is no groove; 2. With groove; 4. Medium liners N 3; 5. Lower inserts N 1, 2, 4 and 5; 6. Top liners N 1, 2, 4 and 5
Tightening procedure for main bearing caps on 4-cylinder engines
Tightening procedure for main bearing caps on 6-cylinder engines
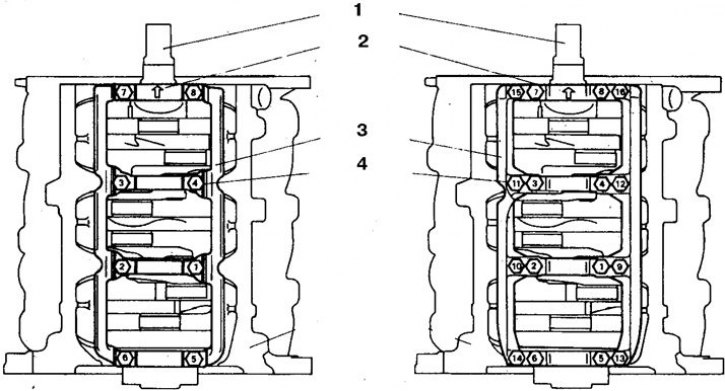
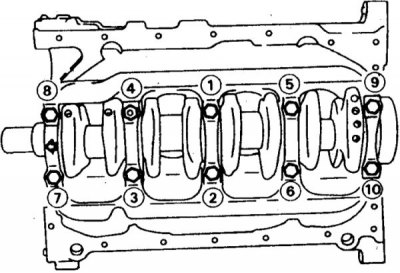
1. Crankshaft; 2. Front arrow; 3. Lid; 4. Bolt
Removing
1. Remove the engine and transmission.
2. Remove the cylinder head, timing belts, sump, oil pump, flywheel, and rear oil seal.
3. Turn the engine over and check the end play of the crankshaft.
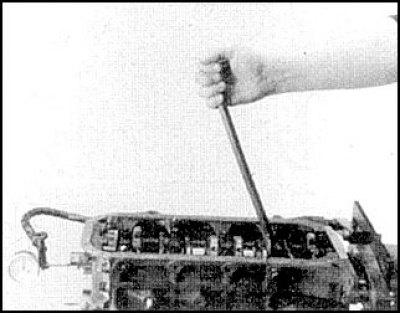
4. Turn away bolts of covers of radical bearings and remove covers, previously having marked their orientation and an accessory to the given cylinder (on part of the covers there is an arrow directed towards the front of the engine).
5. Remove the crankshaft and main bearings, which you store individually.
6. Wash the crankshaft with solvent and dry.
Cleaning and checking
1. Check the uniformity of wear of the main and connecting rod journals, the presence of scoring, cracks or local erosion on them.
2. Check up uniformity of wear of necks. If the wear is uneven, then the crankshaft journals should be reground in a car service and all bearings replaced with repair ones.
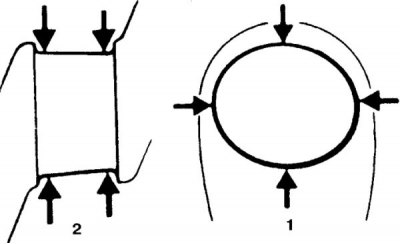
3. Measure the diameter of the main and connecting rod journals with a micrometer, compare the result with the standard value. Check ovality (1) and taper (2) main and connecting rod journals by measuring their diameter at several points along the circumference and along the neck.
4. Check the surface of the main bearings. If there are any signs of a dubious condition, or if the axial play is above normal, replace the liners. When disassembling the engine, it is recommended to change the liners.
Installation
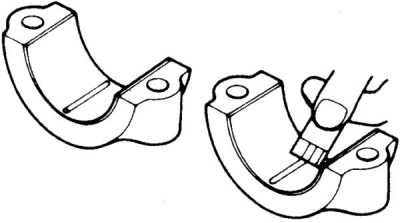
1. Check up backlashes in radical bearings on thickness of the crushed plastic caliber. To do this, place the inserts (see fig. Indigenous liners), install the crankshaft and tighten the bearing cap bolts, then carefully remove the caps. The presence of oil on the necks and crankshaft rotation during measurements are not allowed.
2. If gaps do not correspond to norm, replace loose leaves. If the replacement does not lead to normal clearance, then grind the crankshaft.
3. Check the crankshaft runout.
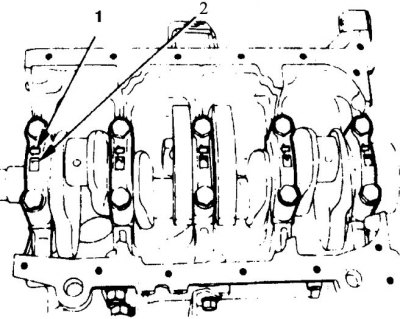
4. At final assembly, lubricate the crankshaft journals and check the alignment of the liners. Install covers (1 - orientation arrows, 2 - cover number), correctly orienting them according to the existing marks or applied during disassembly and tighten the bolts. The general tightening order is: middle cover - 2nd - 4th - front - back.
5. Without tightening, install the seals, oil receiver and pan.