



Contents: Removal ⤓ Installation ⤓
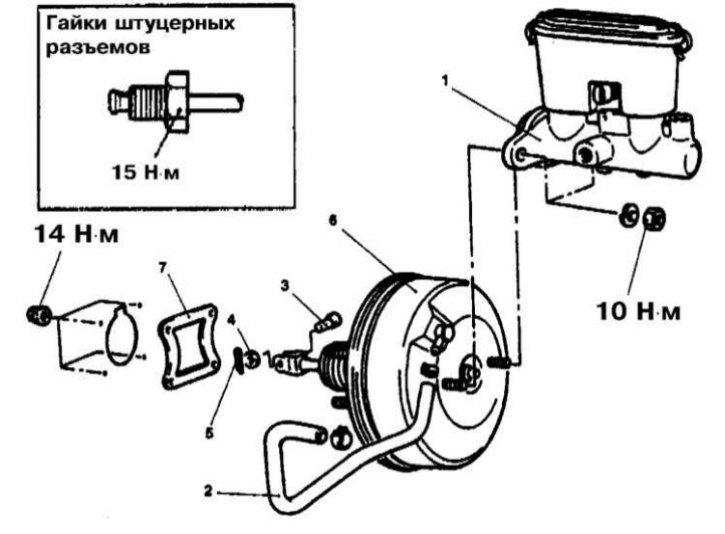
Details of the installation of the GTZ on Diamante models
1 - Assembly of the master cylinder; 2 - Vacuum hose (with built-in check valve); 3 - Push rod split pin mounting pin; 4 - Washer; 5 - Cotter pin; 6 - Vacuum booster; 7 - Sealing gasket
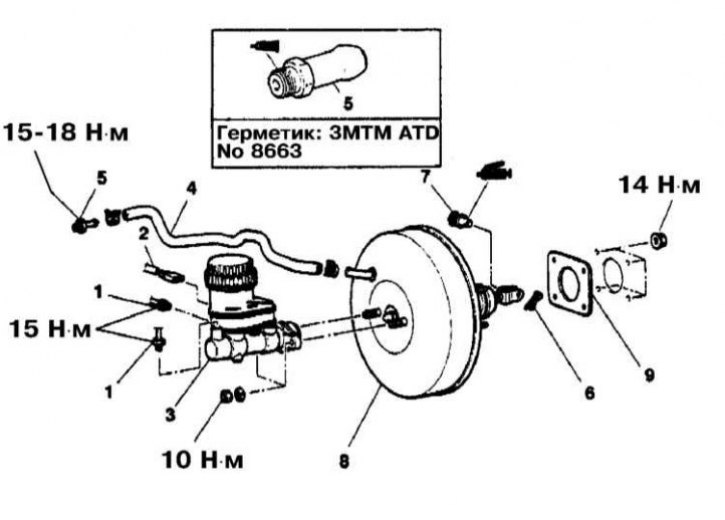
Details of the installation of the brake master cylinder on Galant models of 1994-1997.
1 - Brake pipe connection nipple; 2 - Brake fluid level sensor wiring connector; 3 - Assembly of the master cylinder; 4 - Vacuum hose (with built-in check valve); 5 - Fitting; 6 - Cotter pin; 7 - Push rod split pin mounting pin; 8 - Vacuum booster; 9 - Sealing gasket
Note: A failed brake master cylinder must be replaced. Manufacturers do not recommend attempting to perform a refurbishment of the brake master cylinder.
Brake fluid is an aggressive chemical compound and when in contact with body panels it destroys the paintwork. Before starting the procedure, cover the fenders and the front panel of the car with special covers or just old blankets.
Removal
1. The installation details of the brake master cylinder are shown in the illustrations.
2. Disconnect the negative cable from the battery.
If your car stereo system is equipped with a security code, make sure you have the correct combination to activate the audio system before disconnecting the battery!
3. Remove the plastic cover, use a syringe or rubber bulb to pump out as much brake fluid as possible from the brake master cylinder reservoir, then replace the cover.
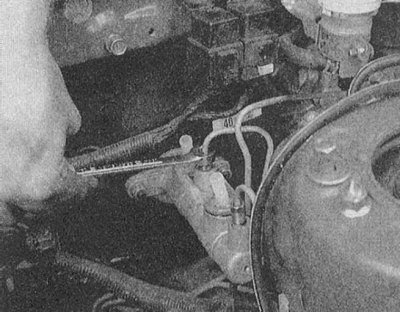
4. Disconnect from the master cylinder and immediately plug the brake lines.
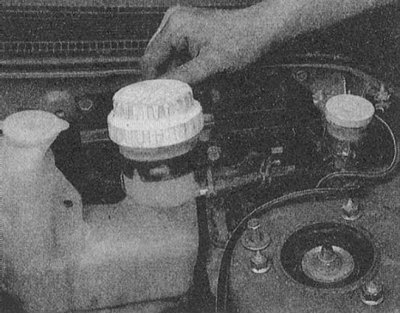
5. Disconnect the electrical wiring from the brake fluid level switch, loosen the fasteners and remove the brake master cylinder reservoir.
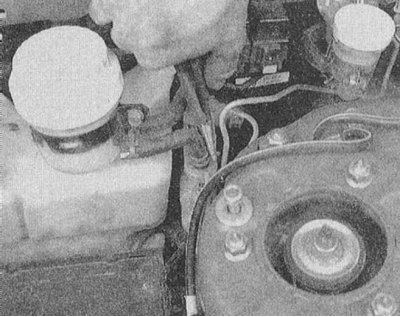 | 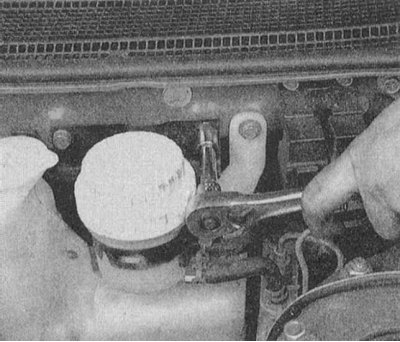 |
6. On models with manual transmission, remove the clutch master cylinder reservoir support bracket.
7. Loosen the mounting nuts and remove the brake master cylinder from the brake booster assembly.
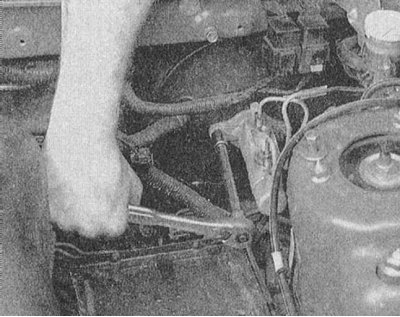 | 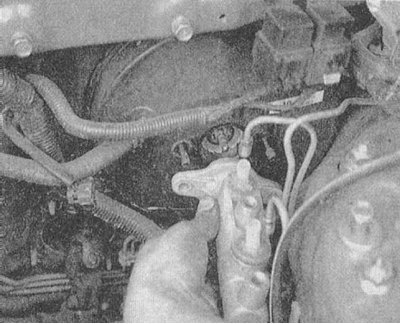 |
Installation
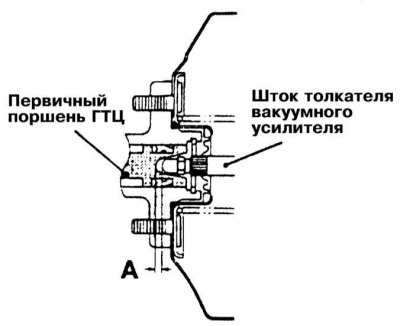
1. Adjust the gap A between the end of the vacuum booster pushrod and the bottom of the socket in the primary piston of the master cylinder. The nominal value is 0.65÷0.86 mm; with a vacuum depth in the booster of 67 kPa, the gap will be reduced to 0.1÷0.3 mm.
2. Install the brake master cylinder onto the brake booster assembly. Screw on the mounting nuts and tighten them to the required torque (10 Nm).
3. Reinstall and secure the GTZ reservoir.
4. Connect the hydraulic lines and brake fluid level sensor wiring to the reservoir.
5. Further installation is carried out in the reverse order of dismantling the components.
6. Finally, fill the reservoir with fresh DOT 3 brake fluid and bleed the hydraulic system (see Section Bleeding the brake system) and adjust the foot brake pedal (see Section Adjusting the foot brake pedal).