



Adjusting the height of the pedal position
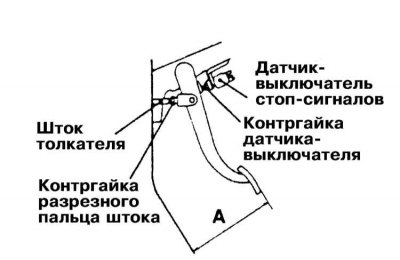
1. Measure the Height of the pedal shoe relative to the floor panel (excluding carpet). If the measurement result is outside the permissible range (176÷181 mm), make the appropriate adjustment (see below).
2. Disconnect the electrical wiring from the brake light switch sensor.
3. Loosen the lock nut and move the switch sensor away from the pedal.
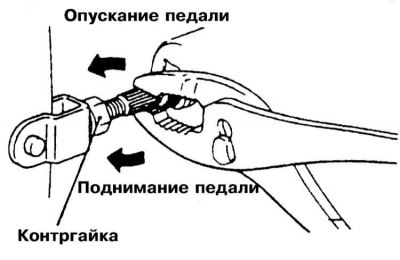
4. Loosen the lock nut of the split pin of the push rod and adjust the height of the pedal position by rotating the latter - rotate the rod with pliers. Having achieved a satisfactory result, tighten the lock nut.
5. Return the brake light switch sensor to its normal position (see Section Replacing the brake light switch sensor) and tighten the lock nut.
6. Connect the electrical wiring to the sensor switch.
7. Check the correct operation of the brake lights (see Section Replacing the brake light switch sensor).
Adjusting the pedal free travel
1. With the engine off, press the foot brake pedal several times to relieve the residual vacuum in the vacuum booster.
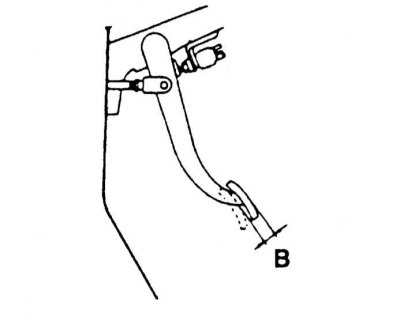
2. Having completely released the vacuum in the booster, press the pedal with your hand and estimate the amount of its travel until resistance occurs. The required value is 3÷8 mm.
3. If the pedal free play is excessively low, check that the brake light switch sensor is adjusted correctly.
4. Excessive play is usually caused by wear of the split pin/pin or pedal support bracket. Replace defective components.
The material is based on data from the website MITSUBISHIMAN.ru