
Tie rod ends
Removing
1. Disconnect the negative cable from the battery.
Attention! If the stereo system installed in the car is equipped with a security code, before disconnecting the battery, make sure that you have the correct combination to activate the audio system!
2. Jack up the car and put it on stands. Remove the corresponding front wheel.
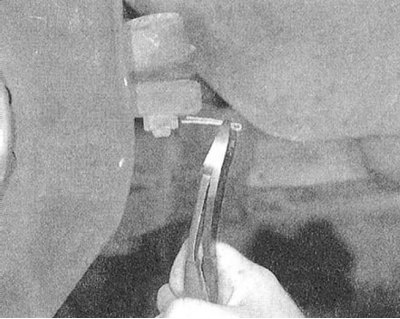
3. Remove the cotter pin and give the castle nut of the outer tie rod end on the steering knuckle assembly - the cotter pins must be replaced without fail.
 |  |
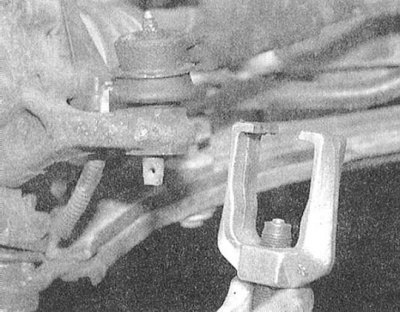
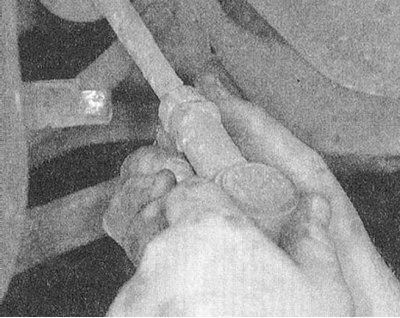
4. Using a special puller, separate the tip from the steering knuckle.
 |  |
 |
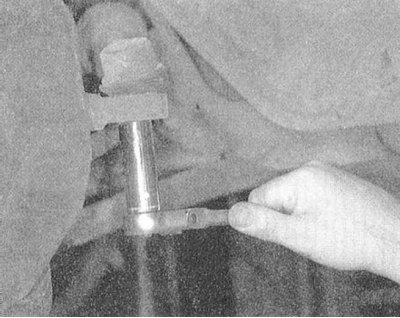
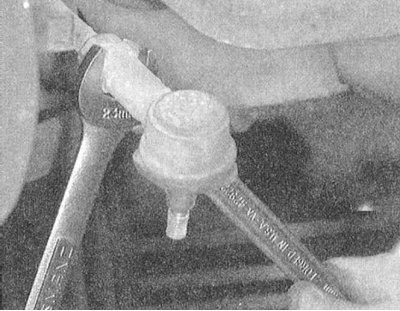
5. Mark the position of the locknut in relation to the tip.
6. Holding the tip from turning with one key, release its lock nut with the second, - the nut should be given one full turn, no more!
 |  |
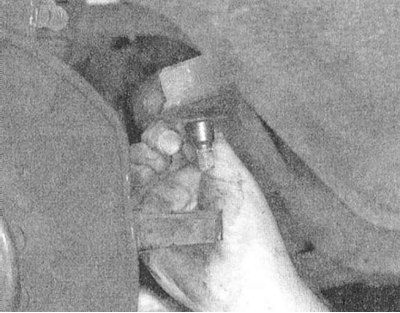
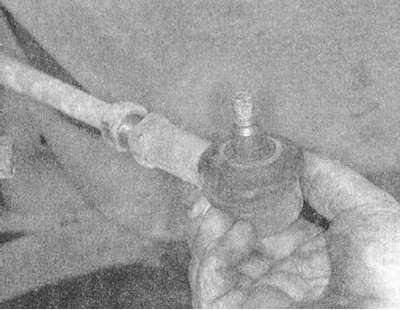
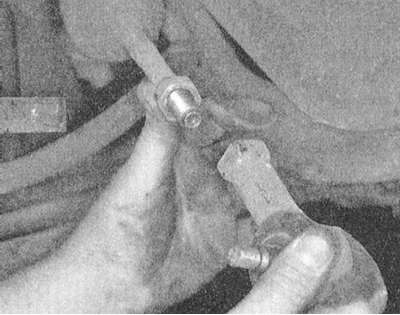
7. Rotate the tip to remove it from the tie rod.
 |  |
Installation
1. Clean the threads on the tie rod (front wheel steering).
2. Screw the tip onto the stem until it stops at the locknut, then unscrew it one full turn back and tighten the nut until the alignment marks made during the dismantling are aligned.
3. Insert the ball pin of the tip into the seat in the steering knuckle assembly, make sure the wheels are installed in a straight position, screw on the castle nut and tighten it to the required torque (34 Nm: Mirage models and 29 Nm: Galant and Diamante models). By pulling up (not letting go) nut achieve the alignment of the holes for the installation of the cotter pin. Install a new cotter pin, securely spreading its antennae.
4. Replace the wheel. Lower the vehicle to the ground and tighten the wheel nuts to the required torque (90÷110 Nm).
5. Connect the negative wire to the battery
6. Tighten the handpiece locknut to the required torque (42 Nm: Mirage models and 49÷53 Nm: Galant and Diamante models).
7. Check the angles of the front wheels, if necessary, make the appropriate adjustments.
Tie rods
Removing
1. Jack up the car and put it on stands.
2. Remove the corresponding front wheel.
3. Remove the cotter pin and give the castellated nut of the ball pin of the outer tie rod end.
4. Clean the tie rod threads with a wire brush and coat with penetrating oil.
5. Using a puller, release the tip from the steering knuckle.
6. Loosen the lock nut and remove the outer tip from the rod - count the number of turns the tip has been screwed on.
7. Loosen the locknut securing the linkage to the rack and pinion.
8. Release fastening collars and remove a corrugated protective cover of a casing of the steering mechanism.
9. Bend the tabs on the lock plate, loosen the retaining nut, and disconnect the inner end of the rod from the rack and pinion assembly.
Installation
1. After replacing the lock plate, install the rod and tighten it to the required torque (90 Nm).
2. Bend the tabs on the lock plate.
3. Replace the protective cover and secure it with new clamps.
4. Install the outer tie rod end (see previous subsection), - make sure that the tip is screwed in precisely for the number of turns fixed during the dismantling process.
5. Fix a tip in a rotary fist, screw and tighten with the demanded effort a castellated nut of a spherical pin.
6. Install the wheel and lower the vehicle to the ground.
7. Check the angles of the front wheels, if necessary, make the appropriate adjustments.