



2. Disconnect any wires that may interfere with removing the cover.
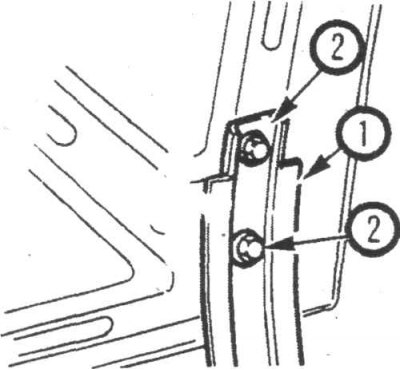
13.3 Make marks around the hinges (1) - unscrew the fastening bolts (2) of the trunk lid to remove or adjust the position of the lid
3. Apply alignment marks around the hinges (13.3).
4. Ask an assistant to support the trunk lid, unscrew the mounting bolts and remove the lid (13.3).
5. Installation is carried out in the reverse order of removal.
6. After installation, close the trunk and check if the lid is installed evenly. To adjust the position of the lid, unscrew the mounting bolts and move the lid as necessary.
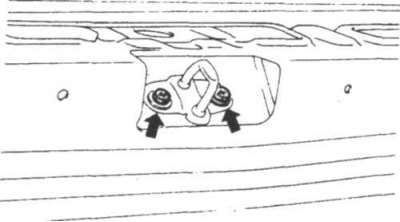
13.7a After unscrewing the bolts (indicated by arrows), move the latch
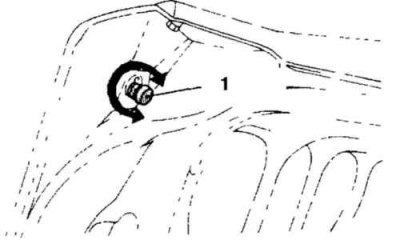
13.7b Some models have rubber stops on the corners of the trunk lids
1. Rubber stop
7. The height of the trunk lid can be adjusted by unscrewing the latch mounting bolts and moving the latch (13.7a). On some models, you can also adjust the rubber stops to adjust the height of the lid (13.7b).