



Contents: Removal and installation ⤓ Adjustment ⤓
Removal and installation
1. Cover the body panels with old blankets.
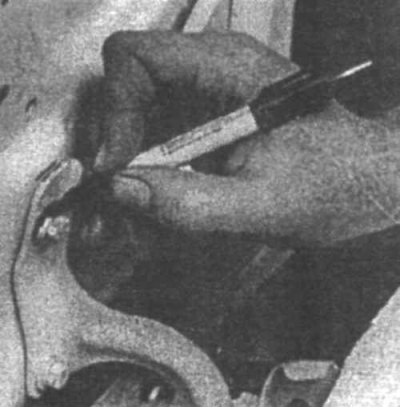
9.2 Make marks on the hinges around the bolts and also draw the position of the hinge on the hood
2. Apply alignment marks around the bolt heads to ensure correct bonnet position adjustment (9.2).
3. Disconnect any cables or wires that may interfere with removal.
4. Have an assistant support the hood and remove the bolts or screws that secure the hinges to the hood,
5. Remove the hood.
6. Installation is carried out in the reverse order of removal.
Adjustment
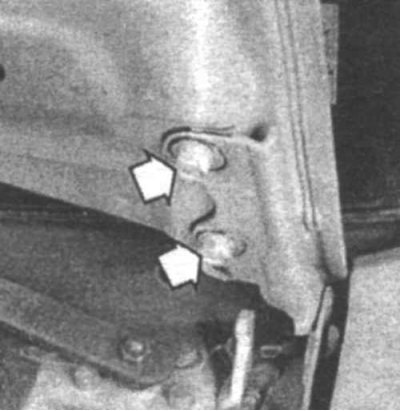
9.7 Unscrew the mounting bolts (indicated by arrows) and move the hood as necessary
7. To adjust the position of the hood, mark around the hinges (9.2 or 9.7), loosen the fastening nuts or bolts and move the hood as necessary (9.7).
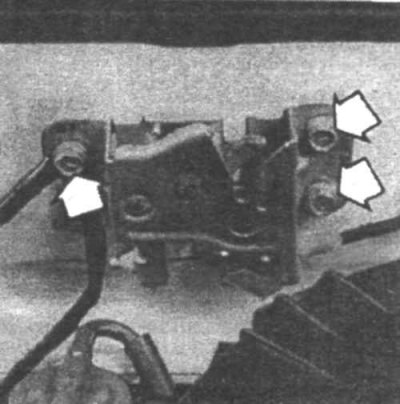
9.8a To adjust the position of the lock, make marks around the mounting screws (indicated by arrows), unscrew the screws, move the lock as necessary, and tighten the screws
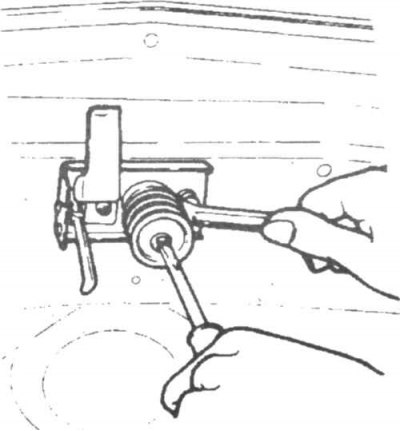
9.8b Use a screwdriver and wrench to change the position of the lock latch (not on all models)
8. Adjust the position of the hood lock (9.8a and 9.8b).
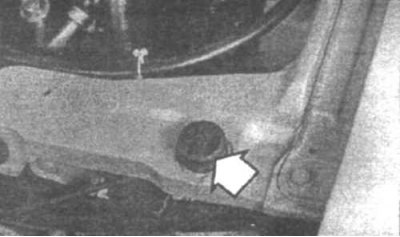
9.9 Adjust the height of the hood by changing the height of the rubber stops (indicated by the arrow)
9. Adjust the height of the rubber stops (9.9).
10. Periodically lubricate the hinges and lock.