



Contents: Examination ⤓ Replacement ⤓
Examination
1. Raise the vehicle and support it on supports.
2. Inspect the rubber boots for cuts, tears, or grease leaks. If such damage occurs, replace the ball joints.
3. Place a large pry bar under the ball joint and try to push the ball joint upward. Then place the pry bar between the steering knuckle and the lower control arm and apply downward pressure. If any movement (play) is felt during these checks, this indicates that the ball joint is worn.
4. With the help of an assistant, grasp the tire at the top and bottom and try to rock the tire in and out. Feel the ball joint stud nut. If there is any slack, the ball joint stud may be worn or the hole in the knuckle boss may be widened. Depending on the cause of the slack, replace the stud, knuckle, or ball joint.
Replacement
Note: This procedure applies to Precis models only. On other models, the ball joint is pressed into the lower control arm. On these models, if you have a replacement ball joint, remove the lower control arm (see Section 6) and take it to a workshop to have the old ball joint replaced with a new one. If you do not have a replacement ball joint, replace the entire lower control arm.
5. Loosen the wheel nuts, lift the car and place it on supports. Remove the wheel.
6. Loosen the bolts securing the ball joint to the lower arm, but do not remove them completely.
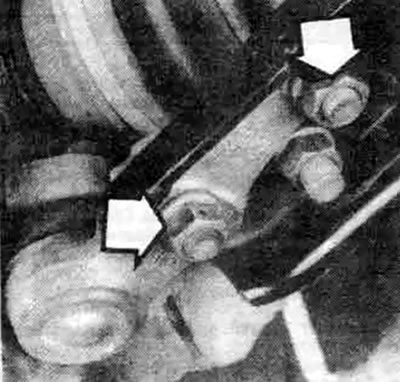
7.6 The ball joint is attached to the lower suspension arm by two bolts and nuts (shown by arrows) (Precis model only)
7. Loosen the ball joint stud nut a couple of turns. Remove the ball joint from the steering knuckle using a special puller, then unscrew the nut.
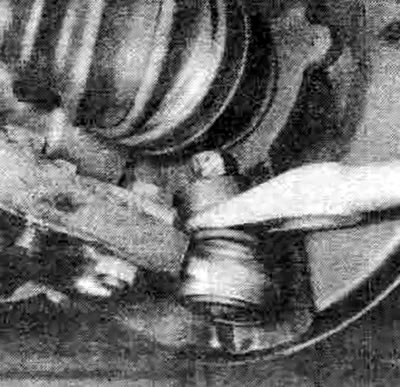
7.7. To remove the ball joint from the steering knuckle, use a fork puller; to minimize damage to the cover, apply lubricant to it
8. Unscrew the bolts securing the ball joint to the lower arm and remove the ball joint.
9. To install the ball joint, position it in the lower arm, install the two bolts, but do not tighten them completely.
10. Install the ball joint stud into the steering knuckle, tighten the nut to the torque specified in the specifications of this Chapter.
11. Tighten the ball joint to lower arm mounting bolts to the torque specified in specifications of this Chapter.
12. Install the wheel and its mounting nuts, lower the vehicle and tighten the nuts to the torque specified in chapter 1 specifications.