



2. Drain the coolant from the system (see Chapter 1). If the liquid is relatively new or in good condition, save it for future use.
3. Loosen the hose clamps, then disconnect the radiator hoses from the fittings. If the hose does not disconnect, grasp it with a pair of pliers of the appropriate size and twist, then pull the hose out, being careful not to damage the radiator fitting. If the hose is old or badly worn, cut it off and replace it with a new one.
4. Disconnect the reservoir hose from the radiator filler neck.
5. Disconnect the fan electrical connectors.
6. If the vehicle has an automatic transmission, disconnect the coolant lines from the bottom of the radiator.
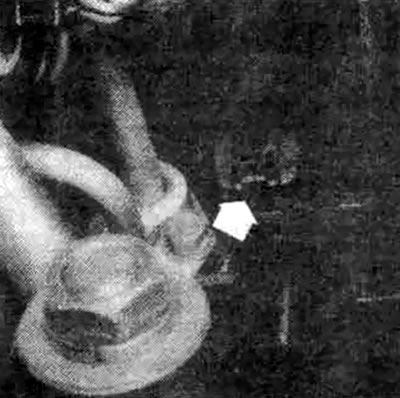
4.6. To disconnect the fan motor connector, press the tab (shown by the arrow)
7. Cap the pipes and fittings to prevent fluid leaks.
8. If equipped, remove the air intake pipe from the radiator and the air filter housing.
9. Unscrew the radiator mounting bolts.
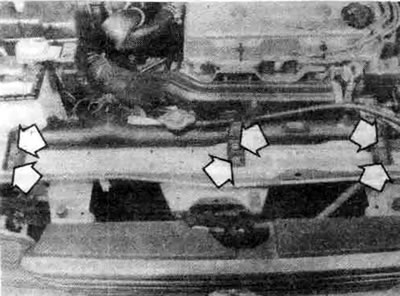
4.9. Remove the bolts securing the brackets and insulators to the radiator (2.0L Galant engine shown)
10. Carefully remove the radiator. Be careful not to spill antifreeze on the car or scratch the paintwork.
11. After removing the radiator, you can check it for leaks, damage and internal patency. If repairs are necessary, contact a specialist, as special technology is required.
12. Use compressed air and a soft brush to clean the radiator from insects and dust. Do not bend the radiator fins.
Installation
13. Perform installation in reverse order.
14. After installation, fill the cooling system with the appropriate mixture of water and antifreeze. If necessary, see Chapter 1.
15. Start the engine and check for leaks. Warm up the engine to normal operating temperature, determined by the temperature of the upper radiator hose. Check the coolant level again and top up if necessary.
16. On models with automatic transmission, check the working fluid level and top up if necessary.