



Contents: Examination ⤓ Replacement ⤓
Warning: Do not remove the radiator cap, thermostat or drain the coolant until the engine has cooled completely.
Examination
1. Before blaming the thermostat for the failure of the cooling system, check the fluid level in the reservoir, the tension of the drive belt (see Chapter 1) and the functionality of the temperature indicator.
2. If the engine warms up for a long time (determined by the temperature gauge or by the operation of the heater), then the thermostat may be stuck in the open position. Replace the thermostat with a new one.
3. If the engine is overheating, check the temperature of the lower radiator hose with your hand. If the hose is not hot and the engine is overheating, the thermostat may be stuck closed and not allowing coolant from the engine to reach the radiator. Replace the thermostat.
Warning: Do not operate the vehicle without a thermostat. The computer may remain open, which will impair the emission control system and increase fuel consumption.
4. If the lower radiator hose is hot, it means that the liquid is flowing and the thermostat is open. For further diagnostics, refer to the section "Troubleshooting" at the beginning of this guide.
Replacement
5. Disconnect the cable from the negative battery terminal.
6. Drain the coolant from the radiator (see Chapter 1). If the liquid is relatively new or in good condition, save it for future use.
7. Locate the thermostat by looking at the upper radiator hose towards the engine.
8. Loosen the hose clamp, then disconnect the hose from the fitting. If it does not disconnect, grasp it with a pair of pliers of the appropriate size and twist, then pull the hose out. If the hose is old or very worn, cut it off and replace it with a new one.
9. If the outer surface of the nipple that connects to the hose is dirty (rusted, covered with pitting corrosion), it may deteriorate even more when disconnecting the hose. In this case, you need to replace the thermostat housing cover.
10. Remove the bolts and remove the housing cover (see illustration). If the cover is stuck, tap it with a soft hammer. Be prepared for some coolant to leak out if the seal is broken.
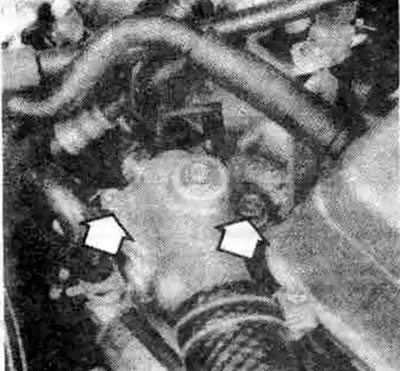
3.10 Remove the two thermostat housing cover bolts (arrows shown) to gain access to the thermostat (2.0L Galant engine shown)
11. Pay attention to how the thermostat is installed (which side is up) and then remove it.
12. Plug the engine opening with a rag, then remove all traces of the old gasket with a scraper. Remove the rag from the opening and clean the sealing surfaces with solvent or acetone.
13. Install the new thermostat into the housing. Make sure to install it with the correct side up - the spring should be facing the engine (see illustration).
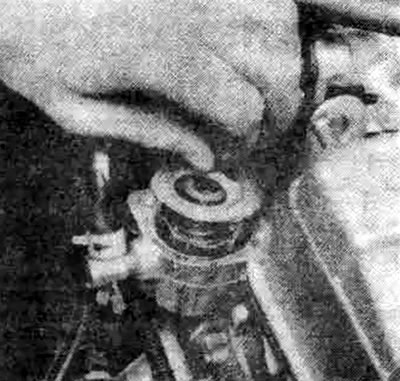
3.13. Make sure the thermostat is installed correctly; otherwise the engine will overheat and may fail (2.0L Galant engine shown)
14. Apply a thin, even coat of RTV sealant to both sides of the new gasket and install it on the body.
15. Replace the cover and bolts. Tighten the bolts to the torque specified in the specifications in this Chapter.
16. Connect the hoses to the fittings and tighten the clamps securely.
17. Fill the cooling system with liquid (see Chapter 1).
18. Start the engine and warm it up to normal operating temperature, then check for leaks and thermostat operation (as described in points 2-4).