
2. Thoroughly clean the brake mechanisms using a special cleaning compound.
Never blow off brake dust from the surface of components with compressed air or inhale it - the dust may contain asbestos that is harmful to your health!
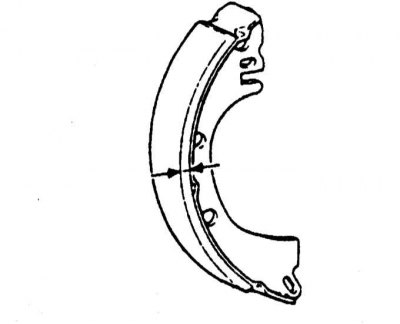
Estimate the residual thickness of the friction linings of the brake shoes (front and back), check the components for traces of brake fluid and oil contamination. If the friction lining protrudes less than 1.6 mm above the rivet heads/metal backing of the assembly, the shoes must be replaced as a set (see chapter Brake system). The shoes should also be replaced if cracks are found, areas of the linings polished to a shine, or traces of brake fluid ingress.
3. Make sure that all brake assembly springs are properly connected and in good condition (see chapter Brake system). Failure to replace deformed or weak springs can lead to premature wear of the shoes as a result of "tacking" brakes.
4. Check assembly components for signs of brake fluid leaks. Using a finger or small screwdriver, carefully pry the rubber boots off the wheel cylinder at the top of the shoes. Identification of any signs of leaks in these areas requires an immediate reconditioning of the cylinder assembly (see chapter Brake system). Also check all brake hoses and their fittings for signs of leaks.
5. Thoroughly wipe the inside of the drum with a clean cloth soaked in methanol. Avoid inhaling brake dust containing asbestos. Inspect the working surface of the drum for cracks, scuff marks, signs of overheating and other damage. If defects cannot be removed by surface treatment with fine-grained sandpaper, the drum should be sent to a car service workshop for turning (see chapter Brake system).
6. Repeat the procedure for the opposite brake components. Reinstall the drums, secure the wheels and lower the vehicle to the ground. Tighten the wheel nuts to the required torque.