
Before removing the fuel filter, it is necessary to relieve pressure in the power supply system (see chapter Power and exhaust systems)!
1. Disconnect the negative cable from the battery.
If the stereo system installed in the car is equipped with a security code, before disconnecting the battery, make sure that you have the correct combination to activate the audio system!
2. This work must be done with a cold engine (after waiting at least 3 hours after the trip is completed).
3. On most of the models considered in this Manual, the fuel filter is located in the engine compartment of the car and is attached to its rear bulkhead.
4. In order to facilitate access to the filter, remove the air cleaner cover assembly with the intake air duct (see Section Replacing the air cleaner element).
5. Wrap rags around the fittings to be disconnected (when the connector is released, fuel under residual pressure may begin to spray out), have a supply of old newspapers ready to catch spilled fuel.
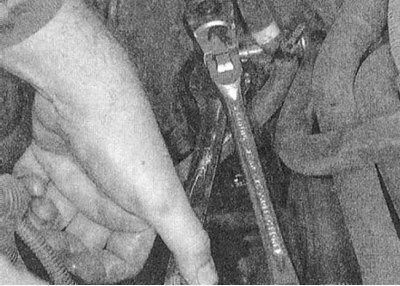
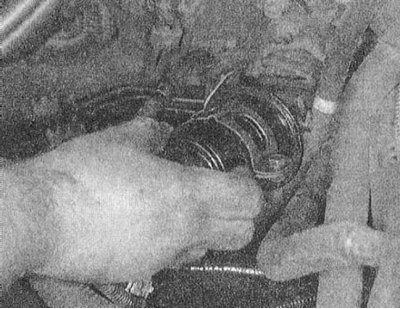
6. Having fixed the nut on the filter from turning, loosen the hollow bolt of the union connection of the inlet fuel line with the second wrench. Disconnect the pressure line from the filter, remove and discard the sealing washers - they must be replaced during assembly without fail.
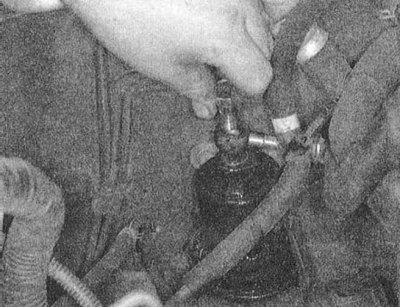
7. Proceeding in a similar manner, loosen the union nut of the outlet line barb connector on the underside of the filter. Disconnect the line.
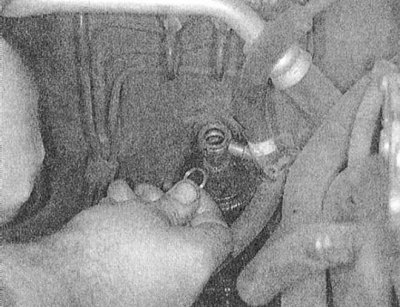
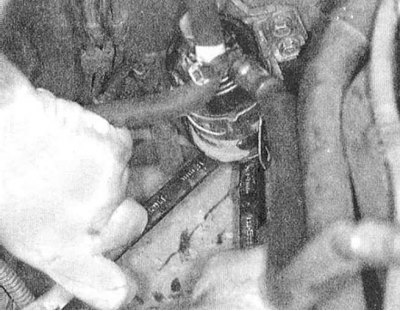
8. After loosening the two tie bolts, remove the filter from the bulkhead assembly mounting bracket clamp. If necessary, also remove the bracket.
9. Insert the filter into the mounting collar and, while only by hand, tighten the bolts - a certain slack in the filter seat will facilitate the procedure for connecting to the fuel hose assembly. Make sure that the filter is installed correctly: the direction of the index arrow must match the direction of the fuel flow in the power system path.
10. Connect to the fuel line to the underside of the filter (don't forget to replace the sealing washer), screw on and hand-tighten the union nut.
11. Connect the pressure line to the upper side of the assembly, screw in the barb connector hollow bolt and tighten it to the required torque (30 Nm), while holding the filter from turning with the second key. Tighten the union nut of the lower connector with a force of 35 Nm (again hold the assembly from turning with the second key).
12. Tighten the tie bolts of the mounting collar with a force of 14 Nm.
13. Connect the negative cable to the battery. With the ignition on, pressurize the fuel rail and check fuel system components for signs of leaks.