



Contents: ATF Replacement ⤓ Filter replacement ⤓
ATF Replacement
1. ATF replacement should be performed on a regular basis, in accordance with the vehicle"s routine maintenance schedule (see Section Schedule of current maintenance of Mitsubishi Galant/Mirage/Diamante cars). Before starting the procedure, warm up the transmission by driving the vehicle for a short time (approximately 20 minutes).
2. Prepare fresh transmission fluid of the appropriate grade (see Specifications at the beginning of the Chapter).
3. Other tools and materials required to perform the upcoming procedure include: a trolley jack, supports to secure the vehicle in a raised position, a drain tank with a capacity of at least 7÷10 l (depending on the vehicle model, - see. Specifications) and a supply of rags and old newspapers.
4. Park the vehicle on a level, horizontal surface with a hard surface, jack it up and place it on supports, ensuring free access to the transmission oil pan drain plug.
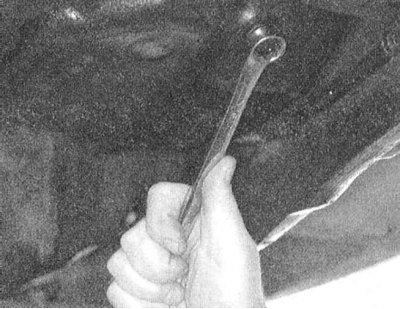
5. Place a drain container and all necessary equipment under the transmission oil pan. Try not to touch the heated components of the power unit and exhaust system located under the bottom of the car. Having properly positioned the receiving container, unscrew the drain plug - to avoid rounding the splines of the head, use a spanner to loosen the plug. When the fluid flow has completely stopped, wipe the drain plug, screw it back into its regular place and tighten it with the required force (30÷35 Nm). Check the condition of the drained fluid.
Attention! If the drained ATF has a dark (brown or black) color, has lost its transparency or smells of burning, you should contact the specialists of the car service in order to check the condition and perform the necessary restorative repair of the internal components of the AT!
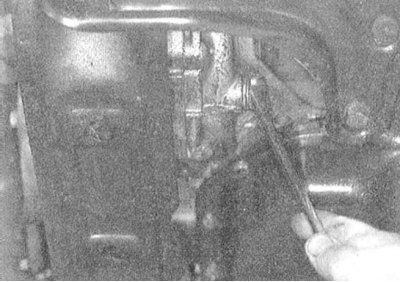
6. The differential drain plug of the main gear is also located at the bottom of the transmission housing. Move the drain container accordingly, unscrew the plug using a spanner and drain the fluid from the differential assembly. When the fluid flow has completely stopped, wipe the drain plug, screw it back into its regular place and tighten it with the required force (30÷35 Nm). Tighten the differential drain plug with the same force.
7. Lower the vehicle to the ground and fill the transmission with the required grade of ATF through the dipstick guide tube (use a long-nosed funnel) until the level reaches the appropriate mark on the dipstick (see Section Checking fluid levels).
8. Shift the transmission into position "P", set the parking brake and, while depressing the foot brake pedal, start the engine.
9. Keeping the brake pedal pressed, move the AT selector lever through all positions one by one for about 5 minutes, finally returning it to the "P" position. Without turning off the engine, check the ATF level, if necessary, make the appropriate adjustment, bringing the fluid level to the correct mark on the dipstick blade (add fluid in small portions, checking its level each time).
10. During the first few days of operation, look under the vehicle, checking the transmission for signs of developing leaks. Recheck the ATF level, adjust if necessary (see Section Checking fluid levels).
Filter replacement
1. Raise the vehicle off the ground and drain the ATF from the AT crankcase (see above).
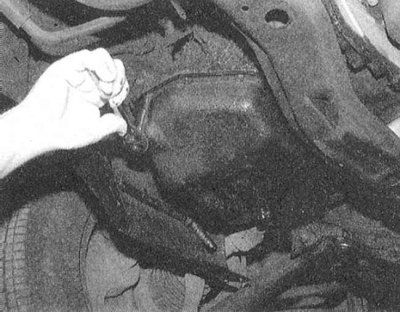
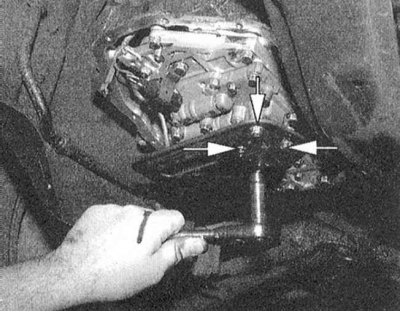
2. Having placed a drain container under the transmission oil pan, unscrew the mounting bolts located around the perimeter of the latter.
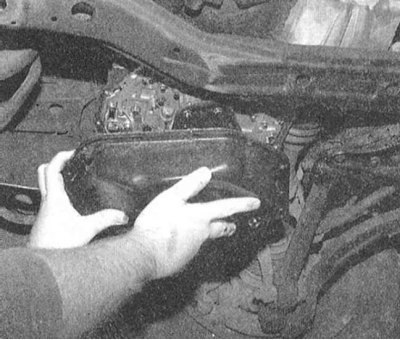
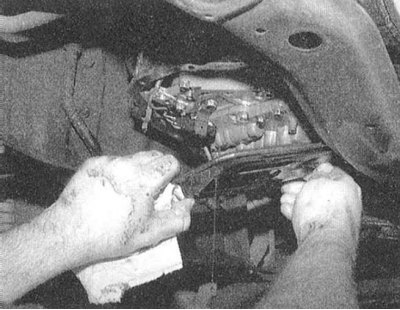
3. If necessary, tap the perimeter of the pan with a soft-faced hammer (to avoid damaging the mating surfaces, do not try to pry the pan with a lever), and carefully separate it from the transmission housing.
4. Drain the remaining liquid in the tray into a receiving container.
5. Loosen the mounting screws and remove the ATF filter from the valve body.
 |  |
6. Carefully inspect the internal surfaces of the pan, assess the condition of the filter element and the drained ATF. During use, the transmission fluid may change its originally bright red color to dark red or even brown, and also acquire a burning smell - such changes usually indicate overheating of the transmission during vehicle operation. If metal filings or particles of friction material are found in the fluid, pan or filter, you should check the condition of the internal components of the AT or rotation converter. If you are not sure when determining the condition of the fluid or filter, contact car service specialists.
7. Wash the pan with solvent and, if possible, dry it with compressed air. Use a scraper to remove traces of the old gasket material from the mating surfaces of the pan, crankcase and valve body.
Note: Be careful not to damage the mating surface of the light aluminum alloy valve body. Install a new ATF filter and tighten its mounting bolts to the required torque (7 N·m).
8. Carefully wipe the mating surfaces of the oil pan and crankcase with a rag soaked in acetone, install a new gasket, press the oil pan to the crankcase, screw in the mounting bolts and tighten them evenly in several steps with the required force (10÷12 N·m).
9. Fill the transmission with fresh ATF.