



Closed type headlights
2. Remove the radiator grille if necessary.
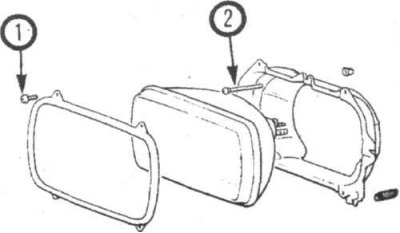
9.3 For a closed type headlight, unscrew the mounting screws (1) - to adjust the headlight vertically, tighten the adjusting screw (2) (the horizontal adjustment screw is located on the side of the headlight)
3. Loosen the mounting screws and remove the decorative frame. Loosen the mounting screws, being careful not to turn the adjusting screws (9.3).
4. Remove the retaining ring and pull out the headlight enough to disconnect the connection connector.
5. Remove the headlight.
6. To install the headlight, connect the connection connector, install the headlight in place, install the mount and mounting screws. Tighten the screws securely.
7. Install the radiator grille if necessary.
Headlights with replaceable bulb
Caution: Do not touch the glass of the bulb with your fingers, as the oil from your fingers may cause the bulb to overheat and fail prematurely.
(The material was created based on the website: mitsubishiman.ru)
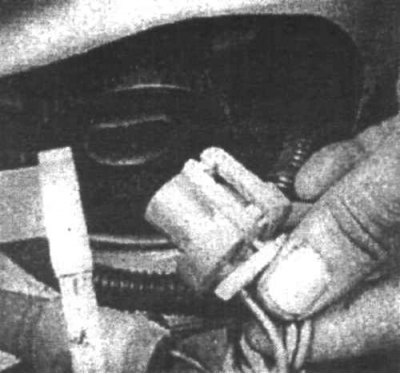
9.8 Press the locking tab and disconnect the light bulb connector
8. Open the hood and disconnect the headlight connection connector (9.8).
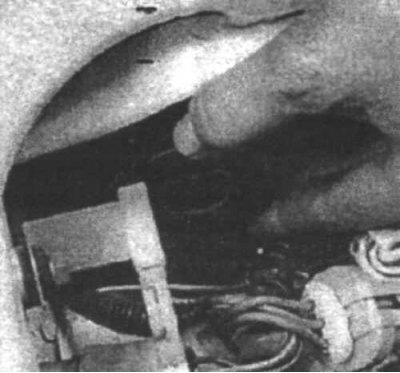
9.9 Turn the fastener counterclockwise to remove it...
9. On the back of the headlight, grasp the fastener, turn it counterclockwise and remove it (9.9).
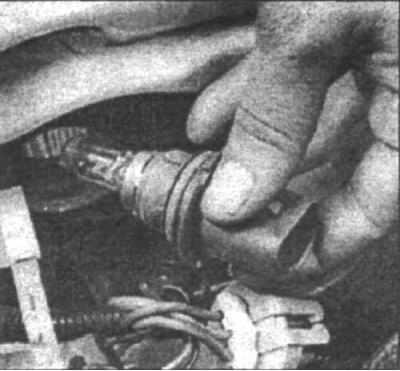
9.10...then take out the light bulb
10. Remove the light bulb from the socket (9.10).
11. Install the new bulb.
12. Install the mount and turn it clockwise.
13. Connect the connection connector.