



2. Place the axle shaft in a vice.
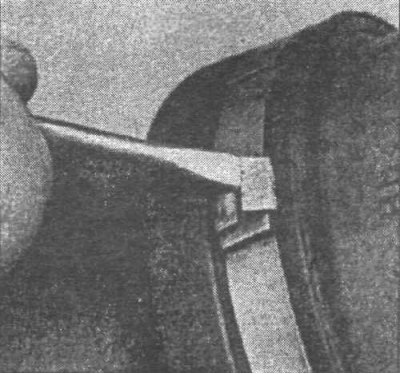
11.3 Bend back the fastening tabs with a screwdriver and remove the clamp
3. Remove the clamps securing the cover (11.3).
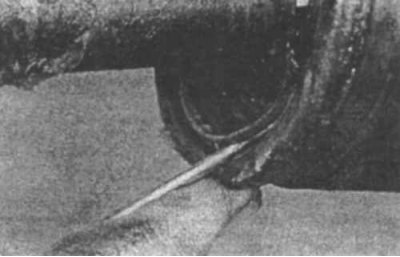
11.4 Remove the retaining ring...
4. Move the cover aside and remove the retaining ring from the outer race (11.4).
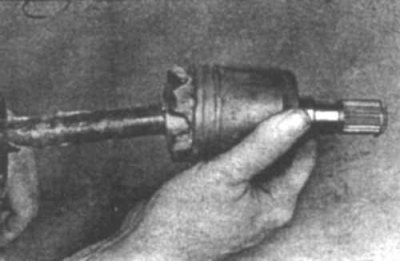
11.5a...then remove the outer race
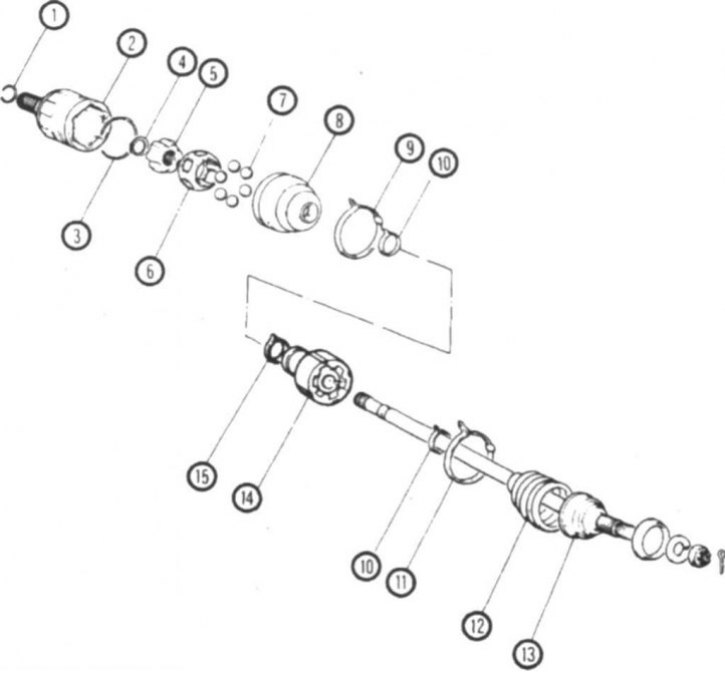
11.5b Elements of the half-shaft and CV joint
1. Retaining ring (always replace); 2. Outer ring; 3. Retaining ring; 4. Split retaining ring; 5. Inner raceway; 6. Clip; 7. Balls; 8. Inner cover; 9. Clamp; 10. Clamp; 11. Clamp; 15. Outer cover; 13. Outer CV joint; 14. Dynamic damper; 15. Dynamic damper clamp
5. Remove the outer race (11.5a and 11.5b).
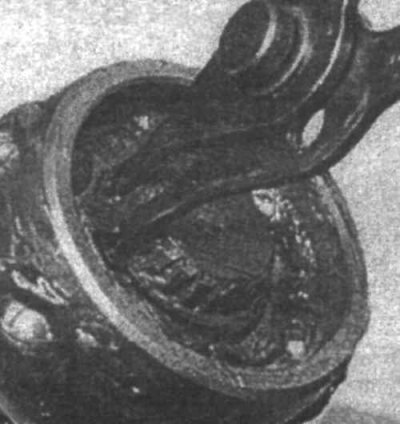
11.6 Remove the split snap ring from the end of the axle shaft
6. Remove the split retaining ring (11.6).
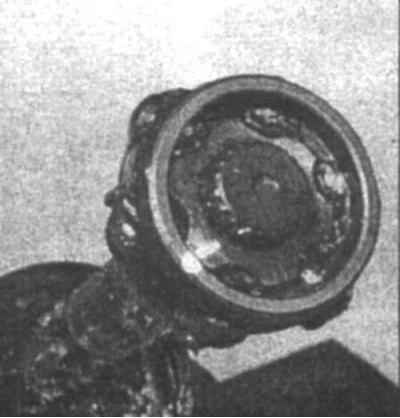
11.7 Mark the position of the inner raceway and raceway
7. Make marks on the inner raceway and race (11.7).
8. Remove the inner bearing from the axle shaft.
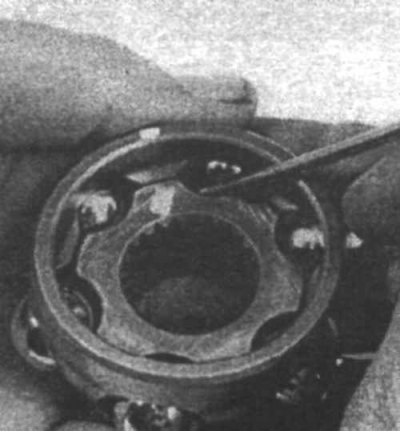
11.9 Remove the balls - be careful not to scratch them
9. Remove the balls from the clip (11.9).
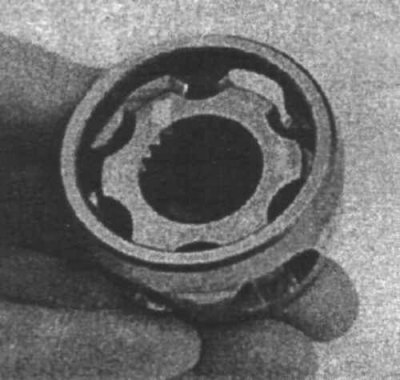
11.10a Align the projections on the inner raceway with the holes in the cage...
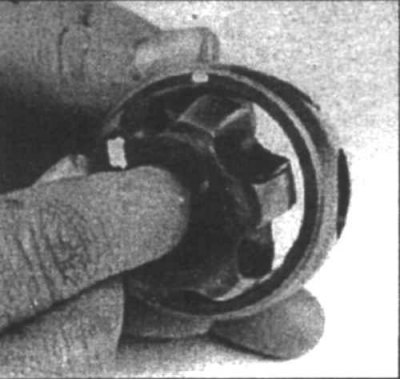
11.10b and remove the inner raceway
10. Remove the inner raceway from the cage (11.10a and 11.10b).
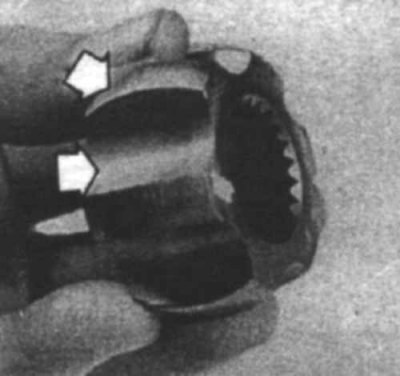
11.11a Inspect the inner raceway for corrosion and scratches
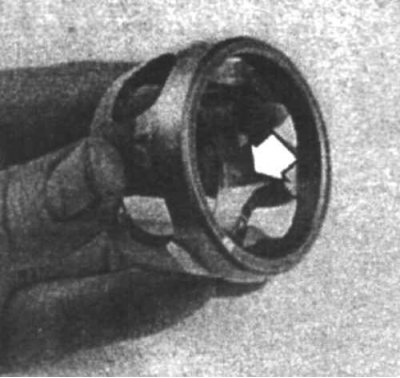
11.11b Inspect the clip for cracks, corrosion and scratches
11. Clean all components and inspect them for cracks, scratches or other damage (11.11a and 11.11b).
Assembly
12. Insert the inner race into the race.
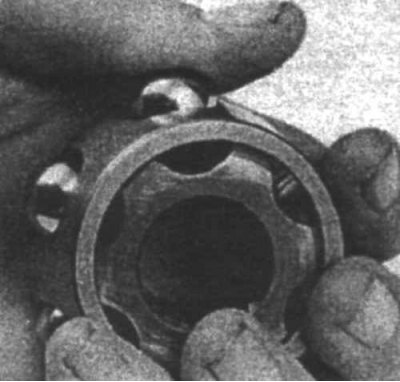
11.13 Install the balls into the cage
13. Install the balls into the cage (11.13).
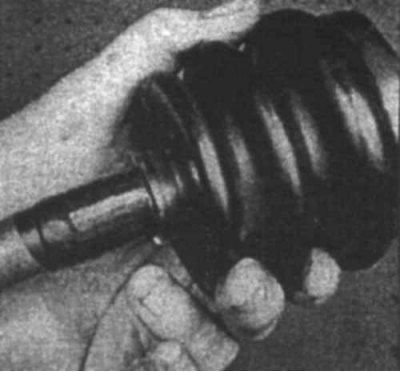
11.14 Wrap the axle shaft splines with adhesive tape to avoid damaging the boot during installation
14. Wrap the axle shaft splines with adhesive tape (11.14). Install the small clamp and boot onto the axle shaft, then remove the tape.
15. Install the inner race and collar onto the axle shaft.
16. Install the split snap ring into the groove.
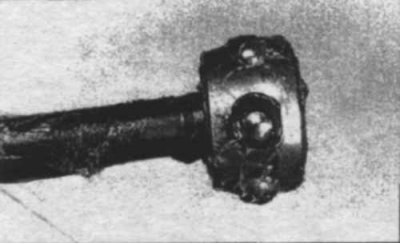
11.17 Fill the clip with grease
17. Fill the race with grease (11.17). Fill the outer race and boot with the remaining grease.
18. Install the outer race into place and install the retaining ring.
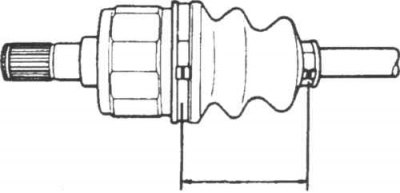
11.19 Adjust the CV joint length (distance between clamps) before tightening the clamps
19. Wipe off grease from the groove on the outer race. Install the boot and adjust the length of the axle shaft (11.19).
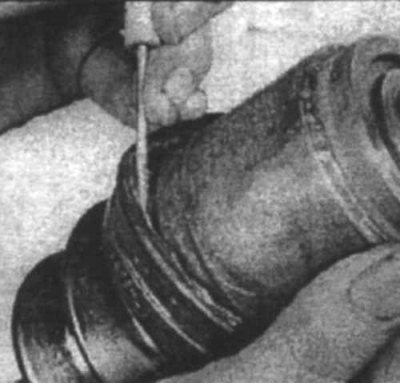
11.20 Release the pressure from under the cover by lifting the edge of the cover
20. Release the air from under the cover by lifting its edge with a screwdriver (11.20).
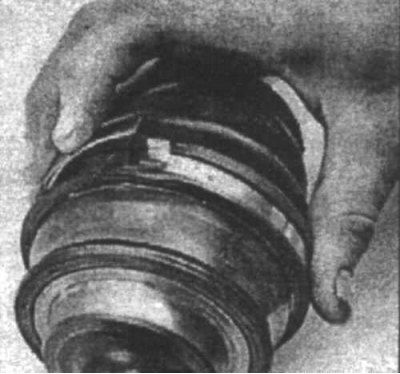
11.21a To install a new clamp, bend the end of the clamp...
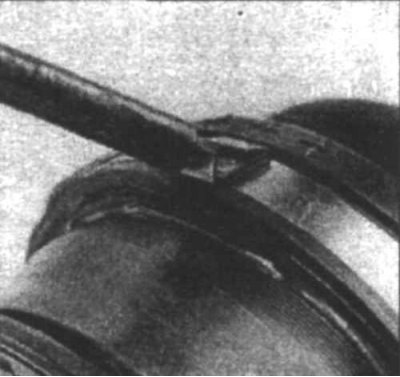
11.21b...and bend the fastening tabs
21. Install the clamps (11.21a and 11.21b).
22. Install a new retaining ring (11.7).
23. Install the axle shaft on the vehicle.
Tripod joint
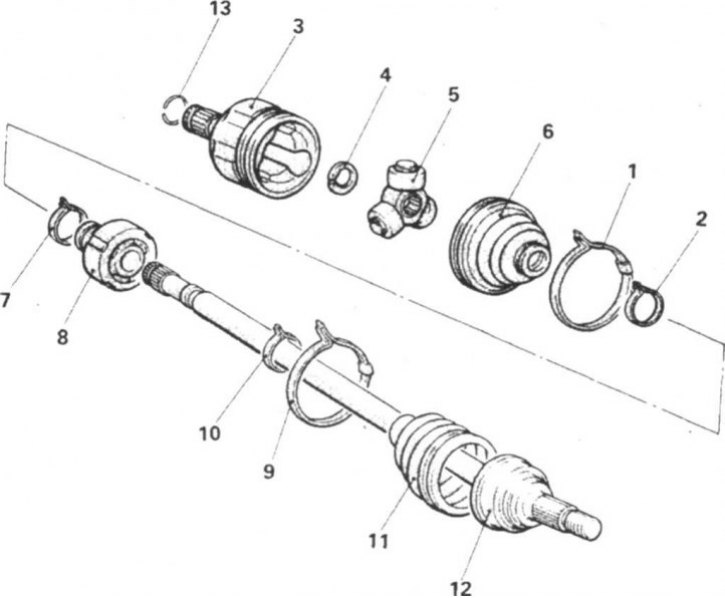
11.24 Half-shaft elements and CV joint with tripod
1. Clamp; 2. Clamp; 3. Casing; 4. Split retaining ring; 5. Tripod; 6. Cover; 7. Dynamic damper clamp; 8. Dynamic damper; 9. Clamp; 10. Clamp; 11. Cover; 12. Outer CV joint; 13. Retaining ring
24. Cut the clamps and slide off the cover (11.24). Make marks on the tripod cover and axle shaft, then remove the cover.
25. Wrap the tripod in a cloth.
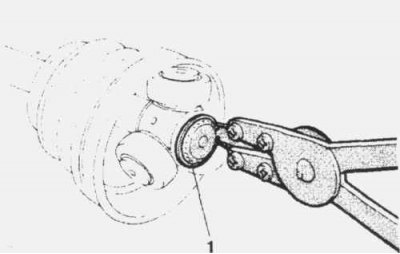
11.26 Remove the split retaining ring and remove the tripod from the axle shaft
1. Split retaining ring
26. Remove the tripod from the axle shaft by removing the split retaining ring (11.26).
27. Remove the cover from the axle shaft.
28. Clean all hinge components from old grease and inspect them for corrosion, scratches or damage.
29. Wrap the axle shaft splines with tape, then install the small clamp and boot onto the axle shaft (11.14).
30. Fill the housing with half of the grease from the repair kit and fill the boot with the remainder.
31.Install the tripod.
32. Install the casing.
33. Install the boot in place and adjust the length of the CV joint (11.19). Install the clamps and install the half shaft on the car.
Outer CV joint and cover
Removal and overhaul
34. Remove the inner CV joint from the axle shaft and disassemble it.
The article is based on data from the website [MitsubishiMan]
35. When repairing the left axle shaft, mark the installation position of the dynamic damper on the axle shaft and remove it.
36. Remove the outer CV joint boot.
Examination
37. Wash the inner and outer CV joints with clean solvent and dry them.
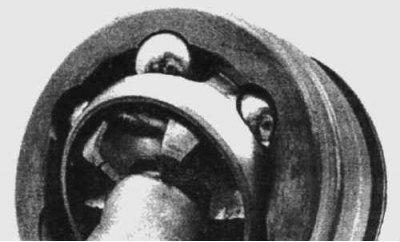
11.38 Wash and dry the joint, then turn the joint housing and inspect the bearing surface for signs of wear or damage - if the balls, inner race or race are damaged, replace the half shaft and outer CV joint
38. Turn the joint housing to gain access to the bearings and race (11.38). Inspect the bearing surface for signs of wear. If the bearings are damaged or worn, replace the axle shaft.
Assembly
39. Install the new outer boot onto the axle shaft. Fill the joint and boot with grease. Install new clamps.
40. Install the dynamic damper on the left axle shaft.
41. Clean and assemble the inner CV joint, then install the axle shaft on the vehicle.