
Warning! Remember that the dust produced during the operation of the brake mechanisms may contain asbestos, which is extremely harmful to human health. Never blow off dust with compressed air or inhale it - wear a protective mask or respirator when servicing mechanisms. Never use gasoline or petroleum-based solvents to clean brake system components - use only branded cleaners or methyl alcohol!
Note. Service the brake assemblies one by one - if necessary, the second one can be used as a sample.
Mirage models through 1992 no.
Removing
1. Jack up the car and put it on stands.
2. Remove rear wheels.
3. Remove the brake drum.
4. Before proceeding with the dismantling of components, try to remember the installation positions of all springs and clamps.
5. Remove the top return spring.
6. Remove the spring securing the shoe to the governor lever, then remove the governor assembly.
7. Remove the guide spring clips and dismantle the brake shoes by disconnecting the parking brake cable from the rear cable.
Installation
1. Thoroughly clean and dry the brake shield, check the smoothness of its protruding contact surfaces - the presence of roughness is fraught with jamming of the shoes.
2. Lubricate the contact surfaces of the shield and the anchor pins of the shoes with lithium grease.
3. Remove and thoroughly clean other brake components. Lubricate the threaded portion of the adjusting wheel with anti-seize sealant and transfer all parts to new shoe assemblies.
4. Connect the parking brake cable to the appropriate shoe.
5. Attach the shoes to the brake shield and, proceeding in reverse order of dismantling, install the fastening components of the brake assembly.
6. Adjust the shoes so that the brake drum sits on them with slight resistance (see Section Drum brake adjustment). Install the drum.
7. Screw on a new hub nut and tighten it with the required force (180 Nm).
8. Install the wheel bearing guard and adjust the rear brake shoes.
Models Galant and Mirage since 1993 issue.
Removing
1. Jack up the car and put it on stands.
2. Remove rear wheels and brake drums (see Section Removal, installation and check of a condition of a brake drum).
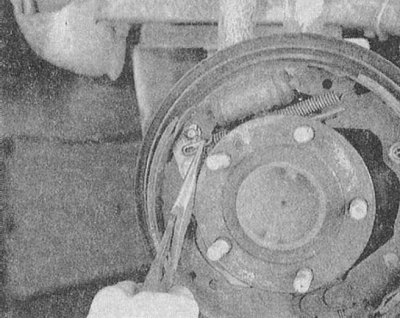
3. Remove the spring securing the shoe to the governor arm.
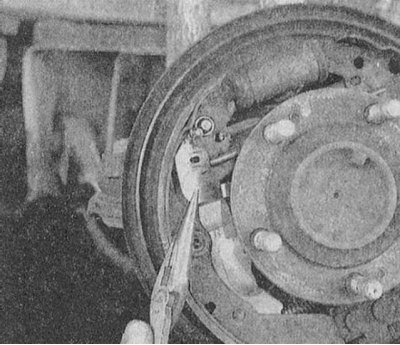
4. Remove the adjusting lever.
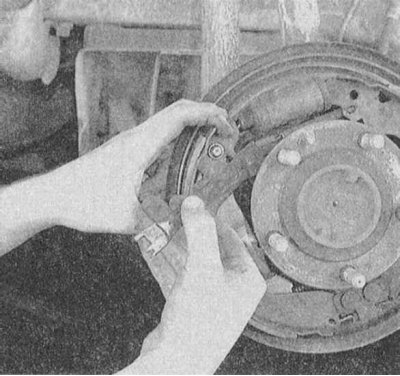
5. Remove the automatic regulator assembly.
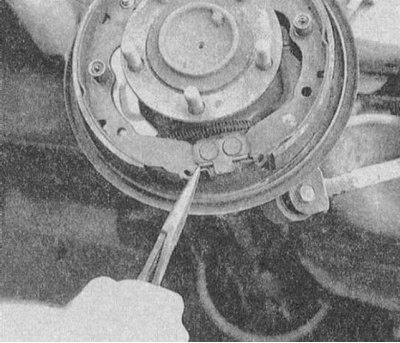
6. Remove the lower return spring.
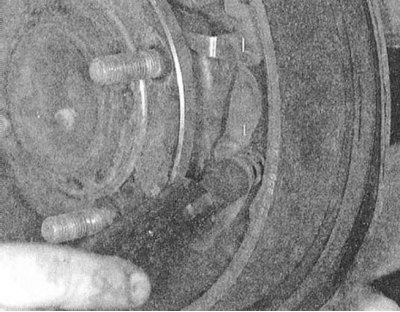
7. Remove the retainers and remove the shoe guide springs.
 | 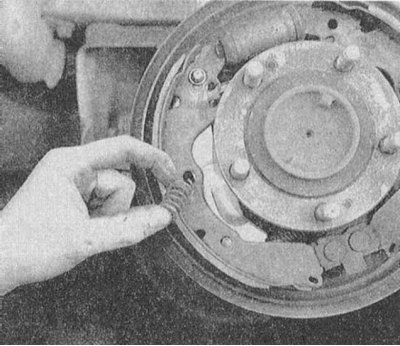 |
8. Remove the top return spring.
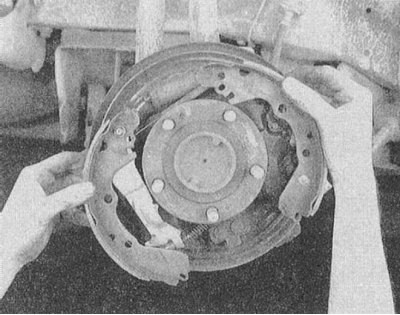
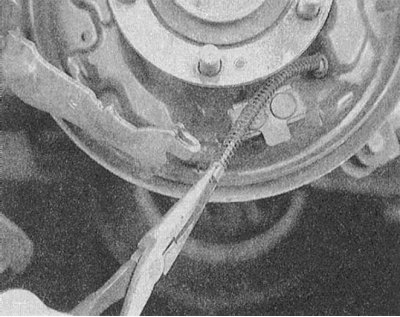
9. Remove the brake shoes, - disconnect the parking brake cable from the actuating lever on the rear shoe.
 |  |
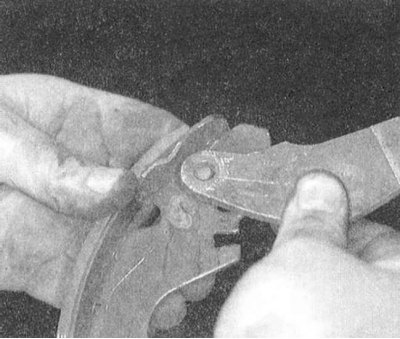
10. Remove the parking brake actuator lever from the old shoe.
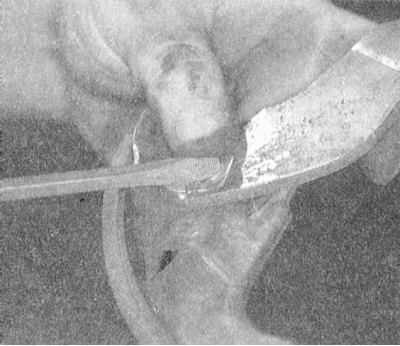 |  |
Installation
1. Thoroughly wipe the brake shield and treat the contact surfaces of the thrust lugs with special brake grease.
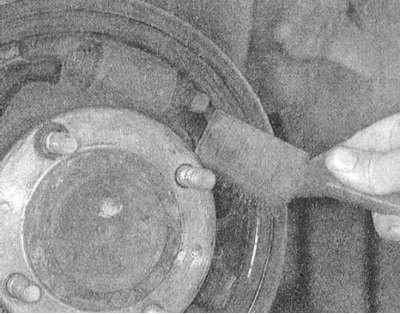 | 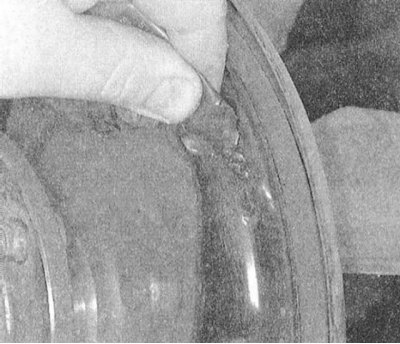 |
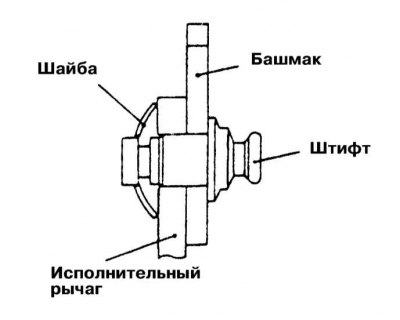 |
2. Transfer the parking brake actuator to the new shoe assembly (rear), - make sure the corrugated washer is installed correctly.
3. Clean the auto adjuster assembly and carefully lubricate the threaded part with special brake grease.
4. Connect the parking brake cable to the rear shoe actuating lever.
5. Transfer the rear shoe assembly to the skid plate and install the guide spring and anchor pin.
6. Proceeding in a similar manner, install the front shoe in its regular place.
7. Position the regulator assembly between the shoes.
8. Install the top return spring.
9. Install lower return spring.
10. Install the governor lever.
11. Install the shoe-to-adjuster arm spring.
12. Install the lever return spring. Adjust shoes and install brake drum (see Section Removal, installation and check of a condition of a brake drum).
13. In the same manner, replace the brake shoes on the opposite wheel.
14. Install the wheels and lower the vehicle to the ground.