



Lower suspension arm
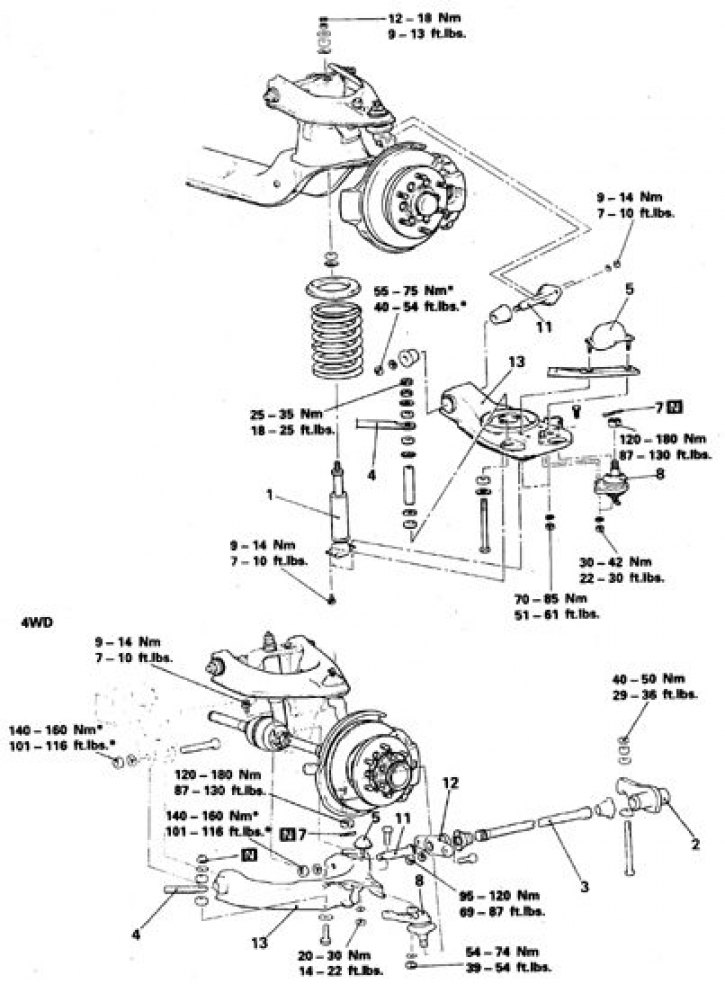
1. Shock absorber; 2, 12. Torsion arm; 3. Torsion; 4. Stabilizer bar; 5. Buffer; 7. Cotter pin; 8. Tightening ball joint; 11. Lever axis; 13. Lower arm
Removal and installation
1. Raise the front of the car, remove the wheel and mud deflector.
2. Remove the torsion bar assembly with the lever (see subsection 10.2.1).
3. Disconnect the shock absorber and stabilizer bar from the lever.
4. Remove the cotter pin from the nut and press out the lower ball joint using the MB990809-01 puller or equivalent.
5. Loosen the axle bolts and remove the lever.
Bushing replacement procedure
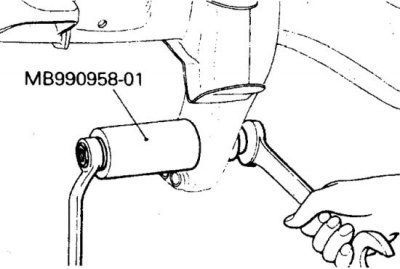 | 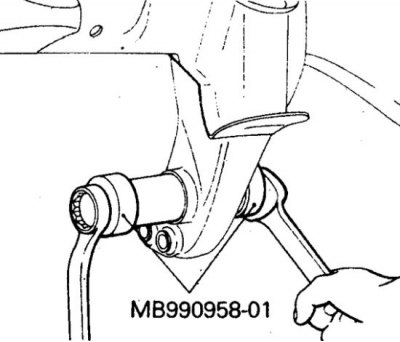 |
1. Using the MB990958-01 tool, press out the bushings (left) from the frame bracket and press in new ones (right). When removing the left bushing, remove the front axle gearbox.
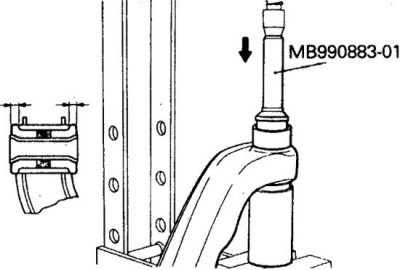
2. Using tool MB990883-01, press out the bushings from the suspension arm.
3. Moisten the new bushing with soapy water and press it in. The bushing should protrude equally on both sides.
4. Next, install the lever in reverse order. Tighten the ball joint nut to a torque of 120–180 Nm.
5. Tighten all connections to the specified torques.
The original article is on the website (mitsubishiman.ru)