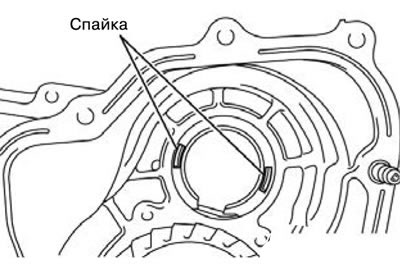
1) Install the solders (diameter 1 mm, and about 10 mm long) in the places indicated in the figure, in the transfer case housing.
2) Install the counter shaft gear into the transfer case housing.
3) Install the transfer case plate and tighten the bolts to the recommended tightening torque of 35±6 N·m.
4) Remove the transfer case plate and counter shaft gear, and then remove the broken solders.
5) If the adhesions are not damaged, use thicker adhesions (diameter 1.6 mm, and about 10 mm long) and repeat steps 2 and 4.
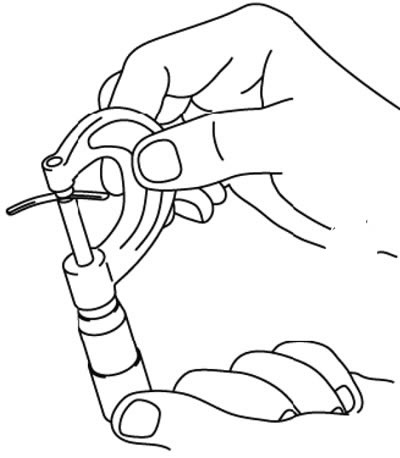
6) Measure the thickness of damaged adhesions using a micrometer and select washers according to standard values.
- Washer thickness: from (T -0) to (T -0.15) T - Thickness of broken weld, mm.
- Standard value: 0-0.15mm.
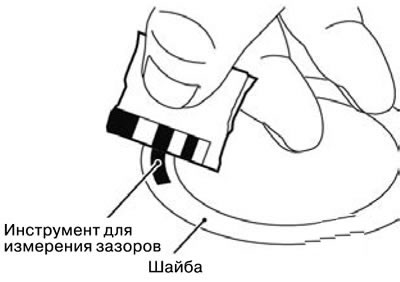
2. Perform adjustment using a gap measuring tool.
1) Place the gap measuring tool (length about 10 mm) into the transfer case housing as shown in the figure.
2) Install the adjusting washer of minimum thickness.
3) Install the counter shaft gear to the transfer case housing.
4) Install the transfer case plate and tighten the bolts to the recommended tightening torque of 35±6 N·m.
5) Remove the transfer case housing plate and the counter shaft gear, and then remove the damaged solders.
6) If the clearance gauge is not damaged, replace the washer with a thicker one and repeat steps 3 through 5.
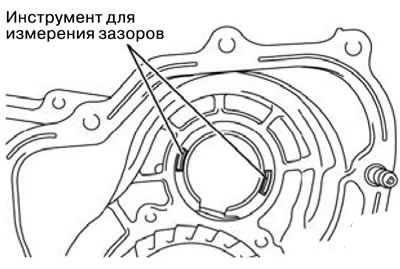
7) Measure the width of the damaged gap measuring tool at its widest point using the scale printed on the gap measuring tool packaging.
The original was published on the website (mitsubishiman.ru)
- Washer thickness: from (T - 0) to (T - 0.15) T - Thickness of the washer used for measurements, mm.
- Standard value: 0-0.15mm.