



Contents: Removal ⤓ Checking the rocker arm ⤓ Checking the rocker shaft ⤓ Checking the hydraulic tappet ⤓ Installation ⤓
Removal
Remove the suction hose and the positive crankcase ventilation valve.
Remove the timing belt cover.
Remove the cylinder head cover.
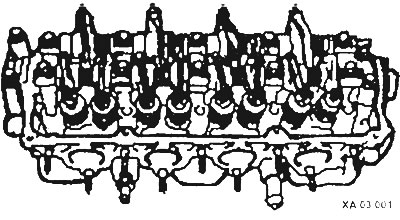
After loosening the bolts, remove the rocker arm axles.
Remove the bolts, rocker arms, and springs from the rocker arm shaft.
Checking the rocker arm
Check the rotation of the roller (arrow). If it does not rotate smoothly or is worn, replace it.
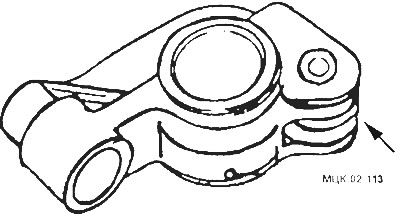
Check the surface of the rocker arms. Replace if damaged or deformed.
Check the surface of the hydraulic tappet that contacts the valve stem. If worn or damaged, replace the hydraulic tappet.
Checking the rocker shaft
Check rocker shafts for wear and damage. Replace if necessary.
Check the oil holes in the rocker shafts for cleanliness. Clean if necessary.

Checking the hydraulic tappet
Insert the air bleed wire into the hydraulic tappet hole and move the plunger up and down 4-5 times. The hydraulic tappet should be in the engine oil.
Remove the air bleed wire and use your fingers to press on the plunger (A) and (B).
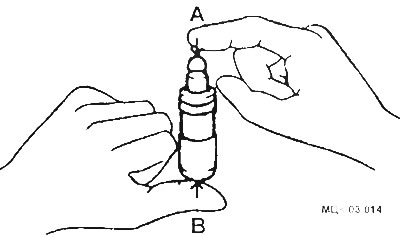
If the plunger moves even slightly, repeat the above procedures. If the plunger moves even after repeated repetitions, replace the hydraulic tappet.
Installation
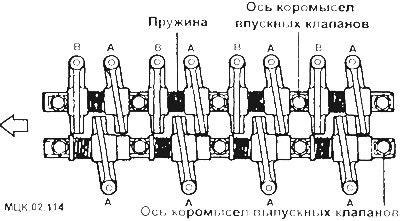
Install the rocker arms (according to the identification marks (A)) and springs on the rocker arm shafts. Install the rocker arm shafts into the cylinder head.
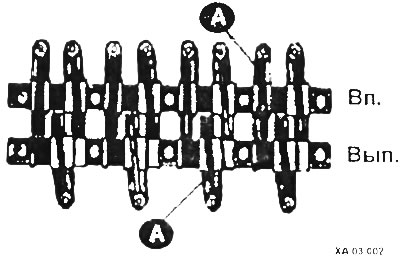
Tighten the rocker arm axle mounting bolts to the required tightening torque - 20-24 Nm
Information copied from the website: MitsubishiMan
When installing rocker arms, springs, pay attention to the difference between rocker arms of type A and B. Only rocker arms of type A are installed on the exhaust valve side.
Install the cylinder head cover and tighten the bolts to the specified torque.