



2. After changing the oil, you need to install a new oil filter.
3. Before you start work, make sure you have all the necessary tools.
4. You will need some rags and newspapers to wipe up any spilled oil. Access to the underside of the car is much easier if the car is raised on a lift or jack stands.
Warning: Do not work under a machine that is supported solely by a hydraulic or mechanical jack.
5. If you are changing the oil for the first time, get under the car and familiarize yourself with the location of the drain plug and oil filter. The engine and exhaust system components become hot during operation, so try to assess all potential hazards before the engine and auxiliary components become hot.
6. Start the engine and warm it up to normal operating temperature. While the engine is warming up, have the necessary tools ready. The oil type is specified in the section "Recommended Lubricants and Working Fluids" at the beginning of this chapter.
7. When the engine oil is warm (warm oil flows more easily and removes more oily deposits), lift the car. Make sure it is securely supported.
8. Move the necessary tools and rags under the car. Place the drain pan under the drain plug. Keep in mind that the oil will flow out with a lot of pressure at first, so position the pan accordingly.
9. Without touching any exhaust components, unscrew the drain plug from the pan using a wrench. Depending on the oil temperature, you may need to wear gloves when unscrewing the last few turns of the plug.
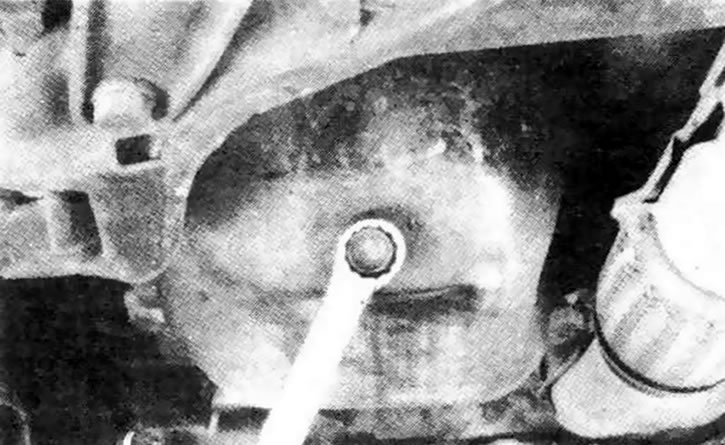
8.9. To unscrew the drain plug, use a suitable open-end or socket wrench to prevent the plug head from becoming rounded.
10. Drain the old oil into the pan. Once the oil flow has turned into a thin stream, move the pan closer to the engine.
11. After all the oil has drained, wipe the drain plug with a rag. Small metal particles may stick to the plug and immediately contaminate the new oil.
12. Clean the area around the drain plug hole, reinstall the plug and tighten it securely. If possible, use a torque wrench to tighten it.
13. Place a pan under the oil filter.
14. Loosen the oil filter by turning it counterclockwise with a special wrench. A chain or strap wrench may damage the filter housing, but this does not matter since the filter cannot be reused.
15. Unscrew the old filter completely. Be careful - there is oil inside the filter. Drain the oil from the filter into the pan.
16. Compare the new filter with the old one to make sure they are the same.
17. Using a clean cloth, remove dirt and oil from the area where the filter attaches to the engine.
18. Lubricate the rubber gasket of the new filter with engine oil.
19. Screw the filter into the engine in the direction indicated by the arrow on the filter or packaging box. Most filter manufacturers do not recommend using a wrench to tighten the filter, as overtightening can damage the gasket.
20. Remove all equipment, rags, etc. from under the vehicle, being careful not to spill any oil in the sump, and then lower the vehicle to the ground.
21. Locate the filler cap located in the engine compartment.
Original source of information: mitsubishiman.ru
22. Fill the engine with new oil through the filler neck. Use a funnel to prevent oil spillage.
23. Pour three liters of fresh oil into the engine. Wait a few minutes for the oil to drain into the pan and check the oil level with the dipstick (see section 4). If the oil level is above the MIN mark, start the engine to ensure circulation of new oil.
24. Let the engine run for about a minute. Immediately after turning off the engine, check underneath for oil leaks in the area of the drain plug and oil filter. If oil leaks, slightly tighten the drain plug or filter.
25. Now, after pumping the oil, when the oil filter is completely filled, check the oil level again with the dipstick and top up to the norm.
26. During the first few trips after changing the oil, periodically check for leaks and the oil level.