



Throttle body
1. Remove the throttle return spring and disconnect the throttle cable from the throttle body (see section 16).
2. Tag and disconnect all wires and hoses connected to the throttle body.
3. Unscrew the four nuts securing the throttle body to the intake manifold.
4. Remove the throttle body.
5. Before installing the throttle body, remove all traces of the old gasket material with a scraper.
Warning: Do not grind down the soft aluminum surfaces. Clean the sealing surfaces with solvent or acetone. Otherwise, installation is the reverse of removal, but install a new gasket on the throttle body.
Fuel manifold
6. Release the pressure from the system (see section 2).
7. Mark and disconnect all injector electrical connectors (see illustration).
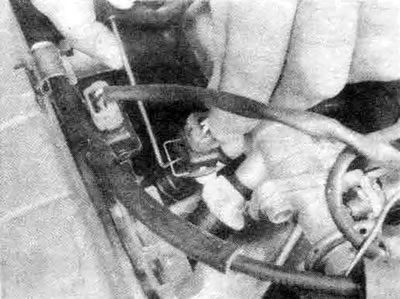
15.7. To disconnect the wiring from the injectors, first remove the metal clamps using a scriber or similar tool
8. Tag and disconnect all hoses connected to the fuel rail.
9. Unscrew the two bolts securing the fuel manifold to the intake manifold (see illustration).
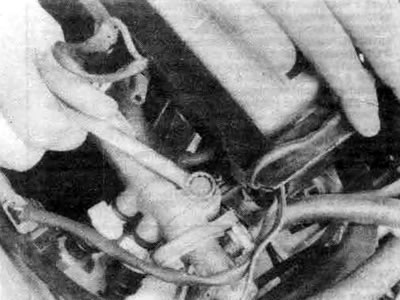
15.9. Unscrew the fuel manifold sprinkling bolts
10. Remove the fuel rail, injectors, pulsation damper and fuel pressure regulator assembly.
11. Installation is carried out in reverse order.
Note: Lubricating the injector O-rings with a small amount of fuel will make installation easier and reduce the chance of damage (see Illustration 15.15). Always use new O-rings when installing injectors, whether or not you are replacing the injectors themselves.
12. Turn the engine crankshaft to restore fuel pressure, then check the fuel system for leaks.
Fuel injectors
13. Remove the fuel manifold (see above).
14. Remove the injector(s) from the manifold.
15. Perform installation in reverse order.
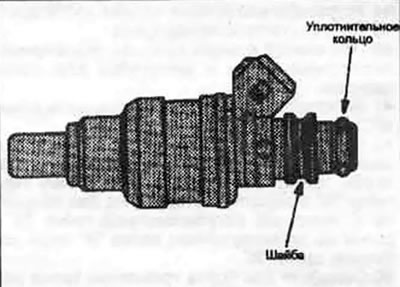
15.15 Always replace the injector sealing rings. To facilitate installation and to avoid damage, lubricate the rings with a small amount of fuel.
Note: Lubricating the injector O-rings with a small amount of fuel will make installation easier and reduce the chance of damage (see illustration). Use new O-rings. O-rings should be installed in the cylinder head.
16. Turn the engine crankshaft to restore fuel pressure, then check the fuel system for leaks.
Fuel pressure regulator
Bolt-on
17. Disconnect the vacuum tube from the regulator.
18. Unscrew the mounting bolts and remove the regulator (see illustration)
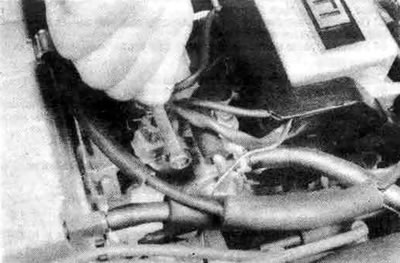
15.18. To remove a bolt-on fuel pressure regulator, simply unscrew the mounting bolts
19. Perform installation in reverse order.
Note: Lubricating the new regulator o-ring with a small amount of fuel will make installation easier.
20. Turn the engine crankshaft to restore fuel pressure, then check the fuel system for leaks.
Screwed in
21. Disconnect the vacuum tube.
22. Loosen the adjuster locknut.
23. Unscrew the regulator.
24. Perform installation in reverse order. Check that the regulator is installed as shown in Illustration 14.22.
25. Turn the engine crankshaft to restore fuel pressure, then check the fuel system for leaks.
(The material was created based on the website: MitsubishiMan.ru)