



Removal
1. Pump out the brake fluid from the reservoir.
2. Raise the vehicle and remove the wheels.
Sumitomo calipers
3. Remove the brake pads from the caliper.
4. Disconnect the brake hose from the caliper and cap its end.
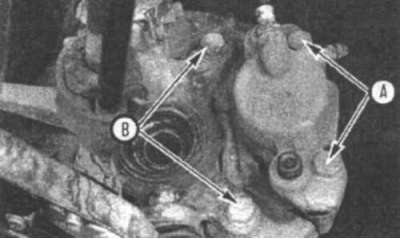
4.5 When removing a Sumitomo caliper, remove the bolts holding the caliper halves together (A) - remove the caliper mounting bolts (B) and remove the caliper from the vehicle
5. Remove the two bolts holding the caliper halves together (4.5). Remove the two mounting bolts and remove the caliper from the vehicle.
All other models of calipers
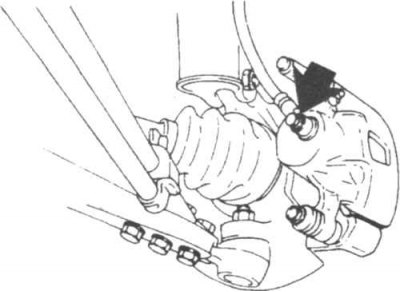
4.6 Loosen the banjo connection bolt (indicated by the arrow) on models with this connection
6. Disconnect the brake hose from the caliper and close the end of the hose (4.6).
7. Unscrew the caliper mounting bolts and remove it.
Bulkhead
8. Clean the outer surface of the caliper with alcohol or brake cleaning fluid.
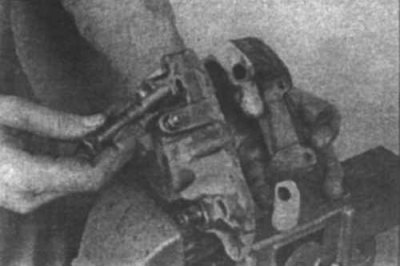
4.9a Clamp the Sumitomo caliper in a vice, remove the bolts holding the inner and outer halves of the caliper together and separate them
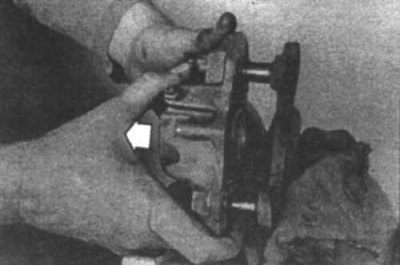
4.9b The inner part of the caliper can now be removed from the bracket
9. When disassembling a Sumitomo caliper, unscrew the two bolts holding the caliper halves together, then separate them (4.9a). Then remove the bracket (4.9b).
10. To remove the piston from the caliper:
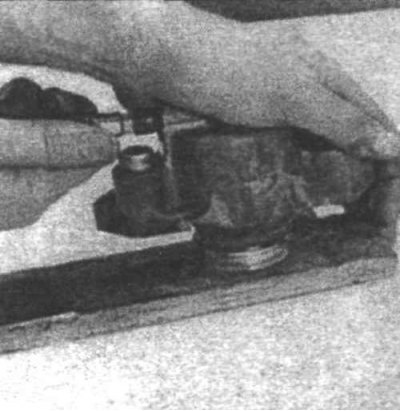
4.10a On Sumitomo calipers, place the caliper piston down and push the piston out with compressed air
- a) On Sumitomo calipers, place the caliper piston side down on the work bench and push out the piston using compressed air (4.10a).
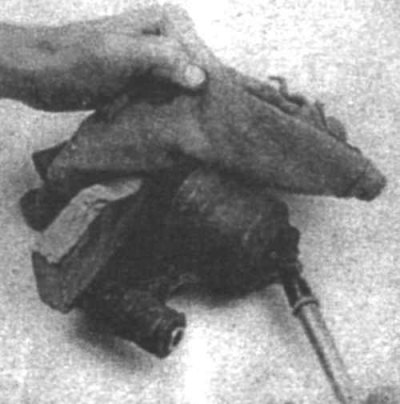
4.10b On all other models of calipers, install a piece of wood in the caliper
- b) On all other models of calipers, place a wooden block or rags (4.10b) in the caliper, then push out the piston using compressed air.
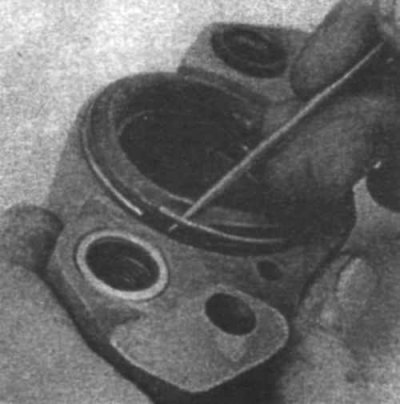
4.11 Remove the dust cover
11. Remove the dust cover (4.11).
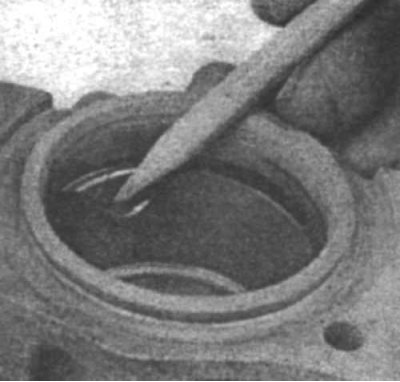
4.12 Remove the piston seal from the groove in the cylinder
12. Remove the piston seal from the groove in the cylinder (4.12).
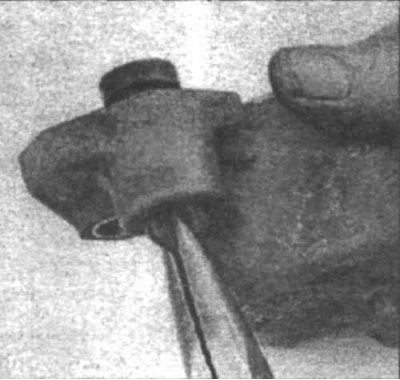
4.13 Remove the bleed screw
13. Remove the bleed screw. On Sumitomo calipers, remove the pin bushing from the caliper bracket (4.13). On all other models, remove the boots and bushings.
14. Clean the remaining parts with alcohol or brake cleaning fluid, then dry them.
15. Inspect the piston for scratches or nicks and replace it if present.
16. Inspect the cylinder for scratches, nicks or corrosion.
17. Lubricate the cylinder with clean brake fluid, lubricate the new piston seal with silicone grease or brake fluid and install the seal into the cylinder.
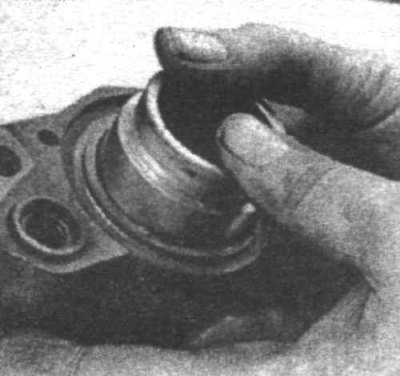
4.18a On calipers that use a retaining ring to secure the dust boot, lubricate the piston with brake fluid. Insert the piston into the cylinder and press it into the cylinder
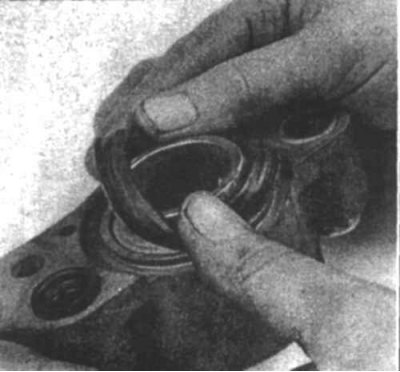
4.18b Install the boot on top of the piston.
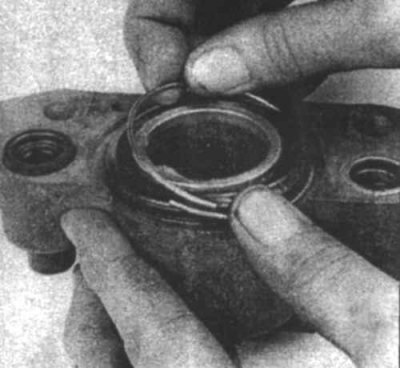
4.18v...then install the new retaining ring
18. On calipers where a retaining ring is used to secure the dust boot, lubricate the piston with brake fluid. Insert the piston into the cylinder and press it into the cylinder (4.18a). Lubricate the groove in the piston with silicone grease, then install the dust boot and retaining ring (4.18b and 4.18c).
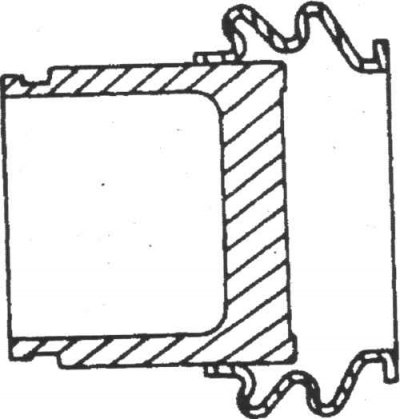
4.19a On models without a boot retaining ring, install the boot onto the bottom of the piston...
(The text of the article was taken from the website: MitsubishiMan.ru)
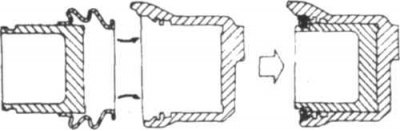
4.19b...then install the edge of the boot into the upper groove in the cylinder and lower the piston i cylinder
19. On the remaining calipers, lubricate the piston and the edges of the piston boot with silicone grease, then install the boot onto the lower edge of the piston (4.19a). Install the piston and boot into the cylinder and install the boot into the groove in the cylinder (4.19b). Then lower the piston into the cylinder.
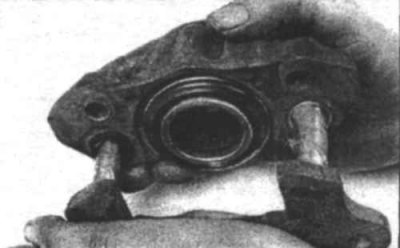
4.20 On Sumitomo calipers, lubricate the bracket pins with silicone grease, install the inner half of the caliper on the bracket
20. On the Sumitomo caliper, lubricate the caliper bracket pins with silicone grease and install the bracket on the inner half of the caliper (4.20).
Place the caliper halves together, install the bolts and tighten them to the specified torque.
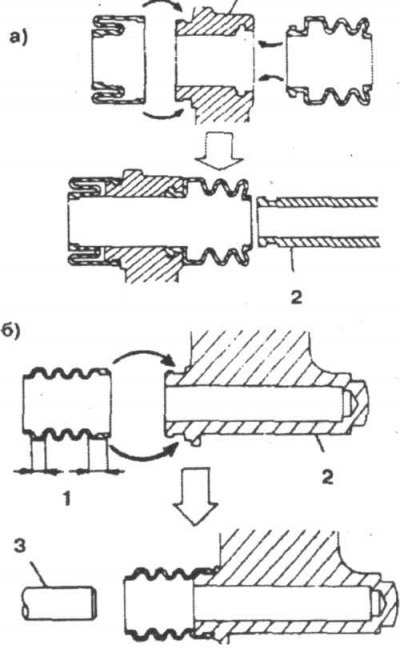
4.21 On other models of calipers, lubricate the bushings and pins, cylinders and edges of the rubber boots with silicone grease
a)
From the bushing side
1. Support; 2. Bushing
b)
From the finger side
1. Narrow Wide; 2. Support; 3. Finger
21. On all other caliper models, lubricate the bushings, caliper bores and boots with silicone grease, then install these components onto the caliper (4.21).
Installation
22. On Sumitomo calipers, install the caliper onto the brake disc. Install the mounting bolts and tighten them to the specified torque. Then connect the brake hose and install the brake pads.
23. On other caliper models, install the brake pads, then install the caliper and pins or mounting bolts and tighten them to the specified torque. Connect the brake hose.
24. Bleed the brakes.
25. Install the wheels and lower the car to the ground.
26. Press the brake pedal several times.