
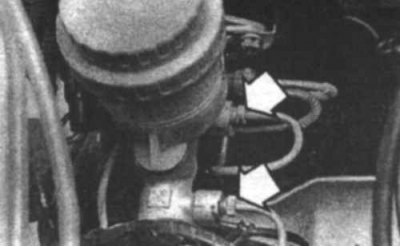
2. Pump out as much brake fluid as possible from the reservoir.
3. Place rags under the tubing connections and prepare caps or bags to cover the ends of the tubing after disconnection.
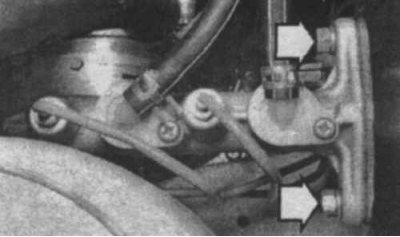
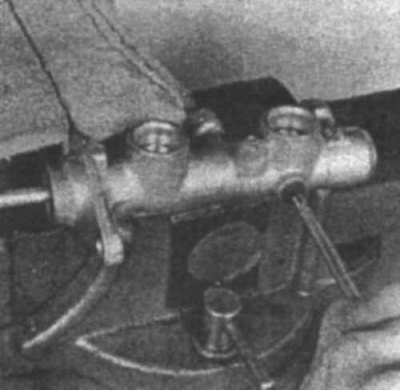
8.4 Loosen the nuts of the brake pipes (indicated by arrows)
4. Turn off nuts of connections and disconnect brake pipes from the cylinder (8.4).
5. Take the ends of the tubes away from the cylinder and close their ends.
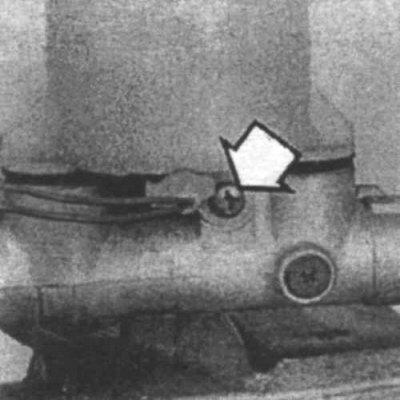
6. Disconnect the master cylinder connector, then unscrew the nuts securing the cylinder to the servo amplifier (8.6). Remove the cylinder.
8.6 Disconnect the connectors and unscrew the fixing nuts of the cylinder (indicated by arrows)
Bulkhead
7. Purchase an appropriate repair kit before starting overhaul.
8.8а Unscrew the fixing screw of the tank (indicated by an arrow).
8. Inspect the reservoir bushings for signs of leakage and remove the reservoir (8.8a and 8.8b).
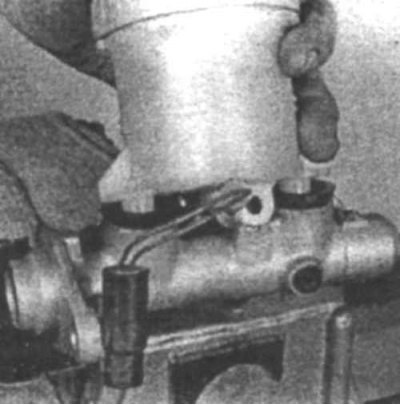
8.8b... and remove the tank
8.9 Press the pistons into the cylinder and unscrew the set screw
14. Connect the brake pipe and tighten the connection nut, then tighten the cylinder mounting bolts to the required torque.
9. Clamp the cylinder in a vise. Lower the pistons deep into the cylinder and unscrew the locking screw on the side of the cylinder (8.9).
8.10 Press the pistons inward and remove the split circlip
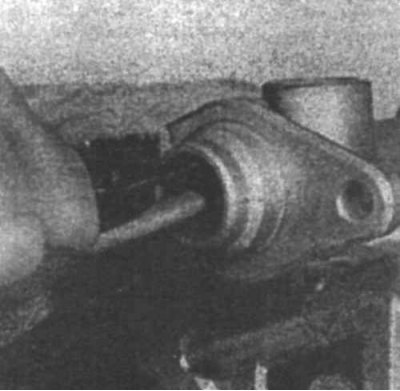
10. Carefully remove the retaining ring on the edge of the cylinder (8.10).
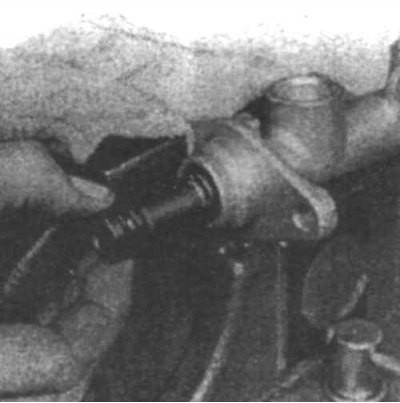
8.11a Remove the primary piston from the cylinder
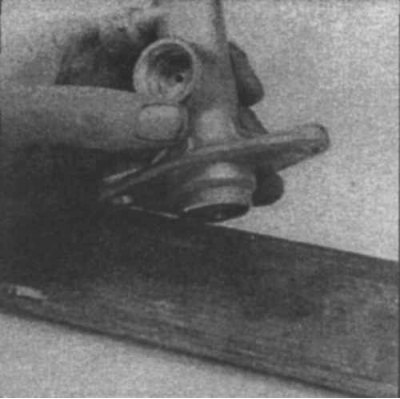
8.11b To remove the secondary piston, tap the cylinder on wood
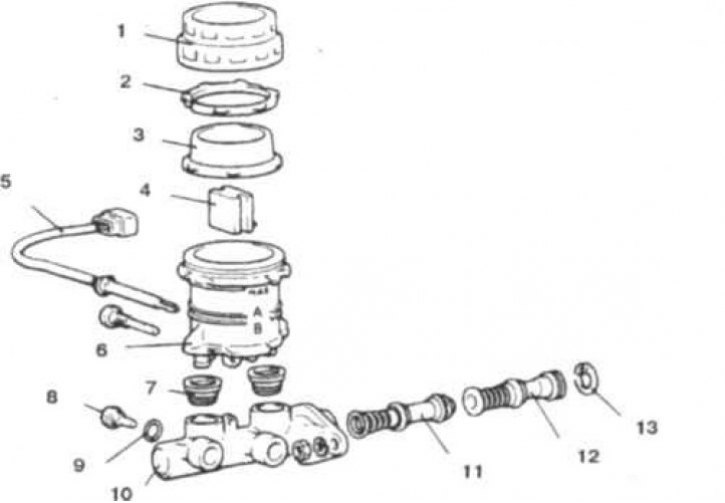
8.11v Elements of the main brake cylinder
1. Lid; 2. Rings; 3. Aperture; 4. float; 5. Brake fluid level sensor; 6. Tank; 7. Seals; 8. Locking screw; 9. Gasket; 10. Master cylinder; 11. Secondary piston; 12. Primary piston; 13. Ring; 14. Repeat this operation until all air is removed and clean brake fluid flows out of the hole, then close the plug, and repeat this operation with the second hole and plug. When pumping, it is not necessary to reinstall the plug each time - you can simply close the hole with your finger.
11. Remove the internal elements of the cylinder (8.11a, 8.11b and 8.11c).
12. Inspect the inside of the cylinder for deep scratches or other damage and replace the cylinder if necessary. Install all spare parts from the repair kit and install a new split circlip.
13. Before installing the master cylinder, it must be bled. To do this, clamp the cylinder in a vise, install plugs on the outlet holes and fill the reservoir with brake fluid. Open one plug and press the piston to bleed the air out of the cylinder, then close the plug to prevent air from being drawn back into the cylinder.
14. Repeat this operation until all air is removed and clean brake fluid flows out of the hole, then close the plug, and repeat this operation with the second hole and plug. When pumping, it is not necessary to reinstall the plug each time - you can simply close the hole with your finger.
Installation
15. Install the cylinder on the servo amplifier and lightly tighten the fixing nuts. Connect the brake pipes, then finally tighten the fixing nuts of the master cylinder and brake pipes. Fill the reservoir with brake fluid and bleed the brake system.