



Attention! Brake pads must be replaced simultaneously on both wheels.
Caution: When replacing the brake pads, it is recommended to also replace the return spring, the automatic adjuster spring and the pressure springs.
1. Raise the vehicle and remove the rear wheels.
2. Release the handbrake on the vehicle.
3. Remove the brake drum.
Precis and Colt, Lancer, Mirage (1988 and earlier models)
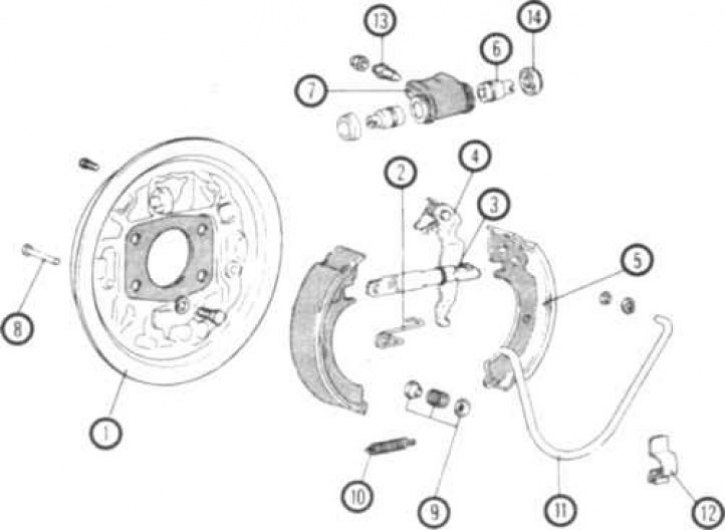
6.4a Rear Drum Brake Components (1988 and Earlier Colt, Lancer, Mirage, and Precis Models)
1. Shield; 2. Spring; 3. Regulator; 4. Handbrake lever; 5. Brake pads; 6. Piston; 7. Wheel cylinder; 8. Pin; 9. Pressure spring; 10. Fastening spring; 11. Return spring; 12. Fastening; 13. Bleed screw; 14. Cover
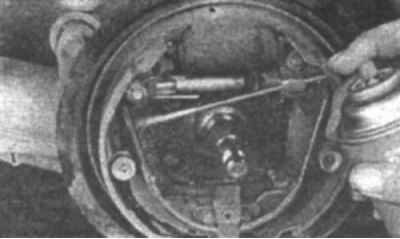
6.4b Before removing the brake components, clean them with brake cleaning fluid and dry them
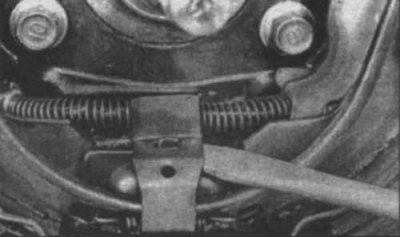
6.4v Remove the mount
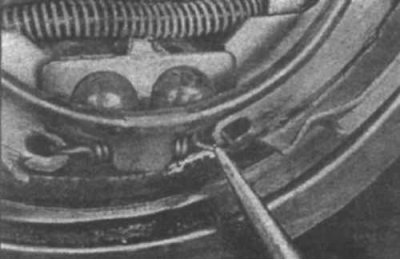
6.4g Using thin-nose pliers, disconnect the spring from the pads
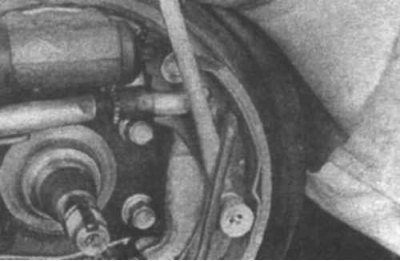
6.4d Disconnect the return spring from the pads
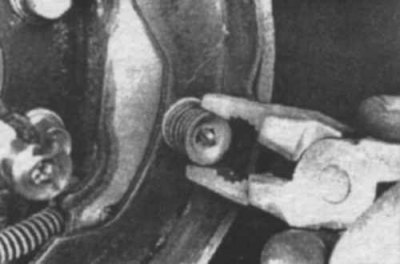
6.4e Remove the pressure springs from the brake shoes
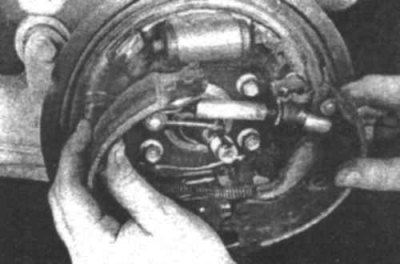
6.4zh Remove the brake pads and adjuster
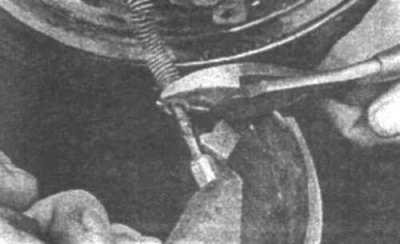
6.4з Disconnect the handbrake cable from the handbrake lever - to do this, pull the cable sheath back and disconnect the cable from the lever
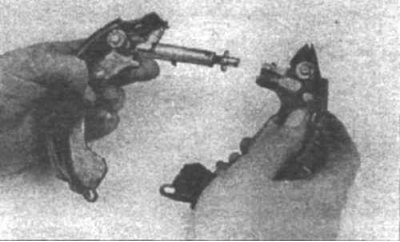
6.4and Disconnect the brake pads from each other
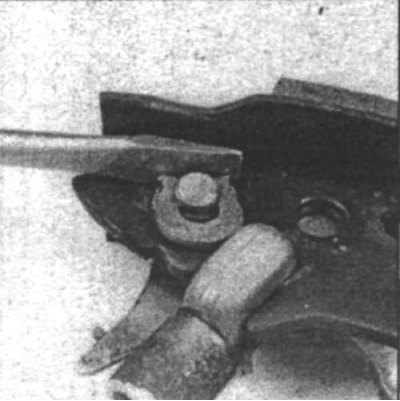
6.4k Remove the C-clamp from the handbrake lever shaft (remove the clamp only from the side opposite the lever)
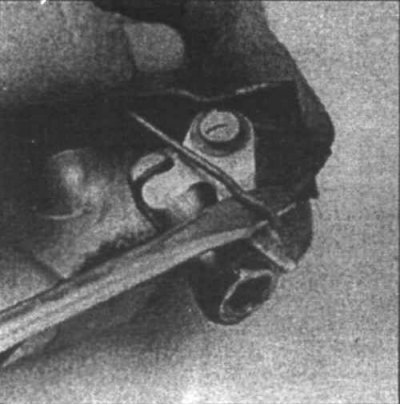
6.4L Disconnect the spring from the regulator...
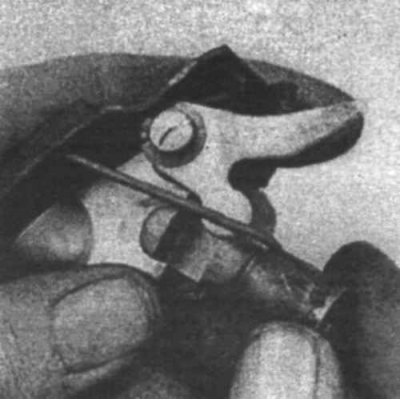
6.4m...then remove the regulator tip
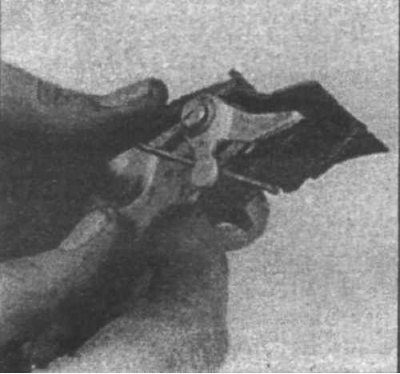
6.4н Disconnect the handbrake lever from the rear brake shoe - install the lever on the new shoe and secure it with a suitable clamp
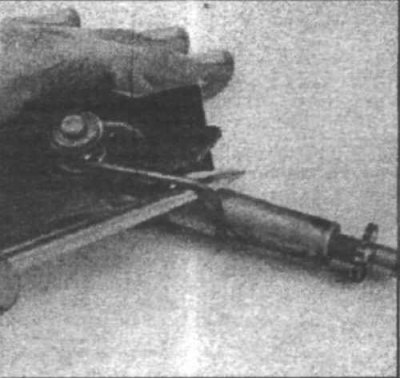
6.4о Disconnect the spring from the adjusting screw
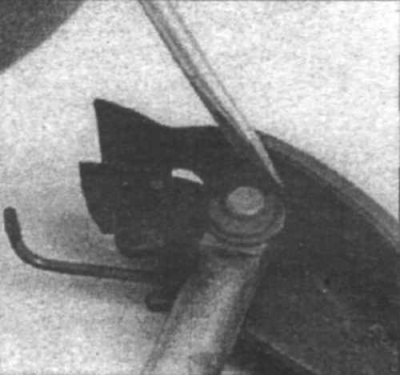
6.4п Remove the C-clamp from the back of the front shoe, then remove the adjusting screw
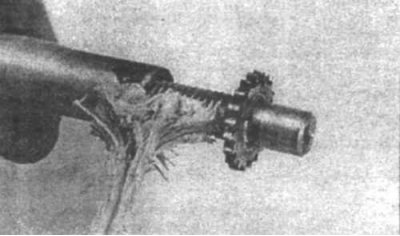
6.4p Clean the adjuster screw and lubricate the threads with multi-purpose grease - connect the adjuster to the new front shoe and secure it with a C-clamp
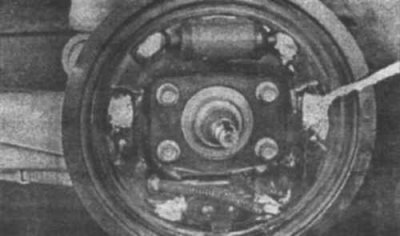
6.4c Apply a thin layer of high temperature grease to the areas of the shield that contact the brake pads
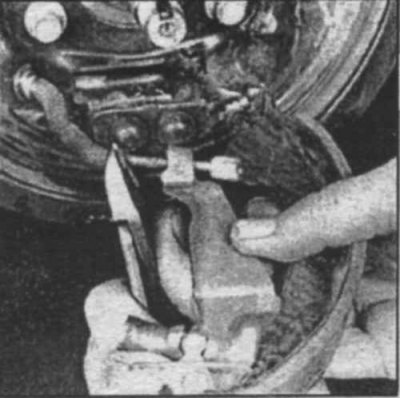
6.4t Connect the handbrake cable to the handbrake lever
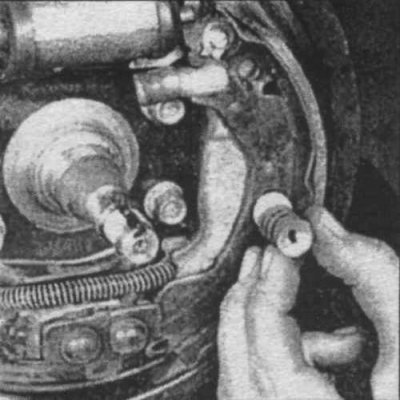
6.4у Install the rear shoe on the brake shield and install the pressure spring
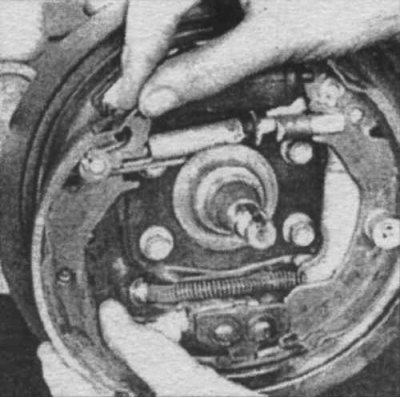
6.4ф Install the front shoe on the shield and install the pressure spring
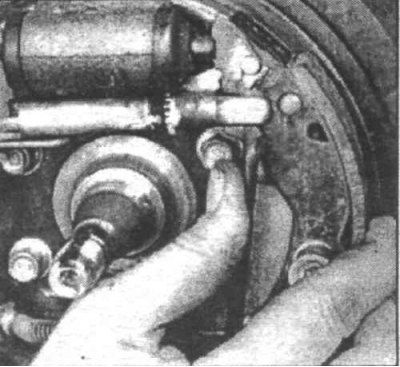
6.4x Install the return spring
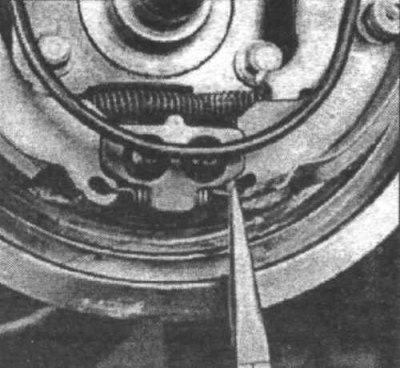
6.4c Install the retaining spring on the pads
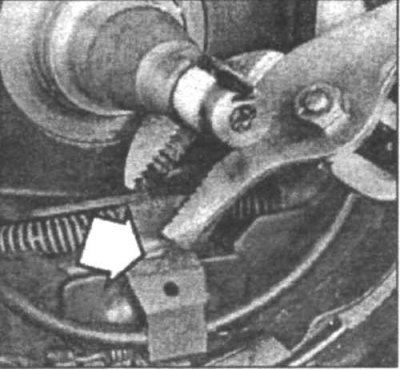
6.4h Hook the clamp spring under the shoe mount and bend it over the top of the mount (indicated by the arrow) so that it fits into the groove on the clamp
4. Check and replace the brake pads, using photos 6.4a, 6.4b, 6.4v, 6.4g, 6.4d, 6.4e, 6.4g, 6.4z, 6.4i, 6.4k, 6.4l, 6.4m, 6.4n, 6.4o, 6.4p, 6.4r, 6.4s, 6.4t, 6.4u, 6.4f, 6.4x, 6.4c, 6.4ch.
Precis and Colt, Lancer, Mirage (1989 and later), Cordia/Tredia, Galant
5. Clean the brake.
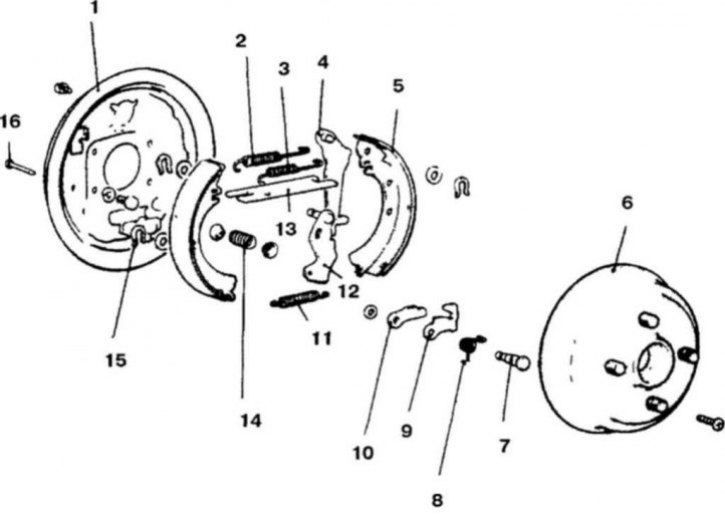
6.6a Rear drum brake components (Cordia/Tredia models)
1. Brake shield; 2. Return spring; 3. Spring; 4. Handbrake lever; 5. Brake shoe; 6. Brake drum; 7. Pin; 8. Spring; 9. Limiter; 10. Latch; 11. Fastening spring; 12. Adjusting lever; 13. Spacer; 14. Pressure spring; 15. Fastening; 16. Pin
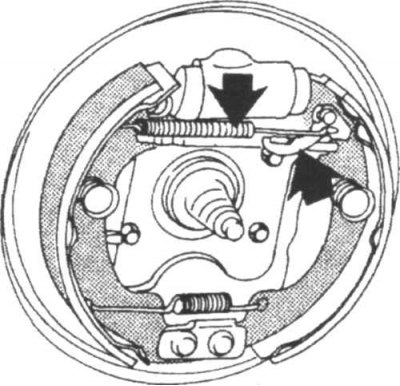
6.6v Disconnect the regulator spring, then remove the spring and lever (indicated by arrows)
6. Disconnect the spring from the regulator or regulator lever (depending on the model) and remove the lever and spring (6.6a, 6.6b and 6.6c).
7. Move the pads apart and remove the regulator.
8. Remove the return spring.
9. Remove the brake shoe pressure springs.
10. Remove the front shoe from the brake shield, then disconnect the handbrake cable from the lever.
11. Clean the adjusting screw and lubricate its threads with multi-purpose grease (6.4p).
12. Apply a thin layer of high-temperature grease to the areas of the shield that contact the brake pads (6.4c).
13. Install the handbrake lever onto the new rear brake shoe (6.4k).
14. Connect the cable to the handbrake lever and install the rear shoe on the shield. Install the pressure spring.
15. Install the front shoe onto the shield and install the pressure spring.
16. Install the return spring onto the pads.
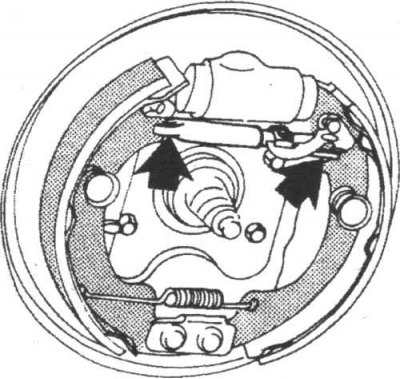
6.17 Check that the cutouts on the adjuster (or spacer) fit into the cutouts on the pads
17. Move the pads apart and install the regulator (6.17).
18. Install the regulator lever and spring.
All models
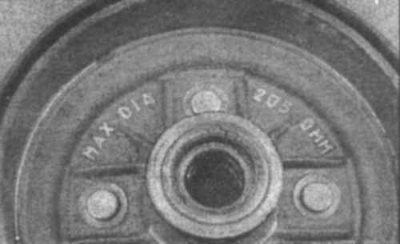
6.19 The maximum permissible diameter of the brake drum is indicated on the surface of the drum
19. Before installation, check the brake drum for cracks, scratches or stains. The maximum permissible drum diameter is indicated on the drum itself (6.19).
20. Install the brake drum and adjust the rear wheel bearings.
21. Install the wheel and lower the car to the ground.
22. Put the car on the handbrake and depress the brake pedal several times to adjust the position of the brake pads.