



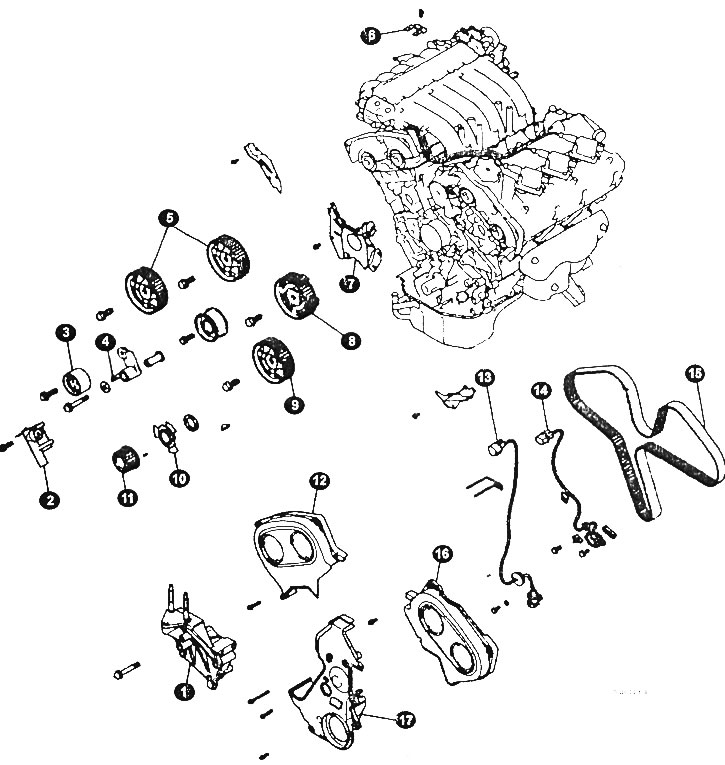
Timing Belt Mounting Elements for 6A12 (DOHC) Engine
1 - engine support; 2 - tensioner regulator; 3 - tension roller, 4 - roller bracket; 3, 9 - toothed, camshaft wheels; 6 - crankshaft speed sensor mounting bracket; 7 - rear middle cover; 8 - camshaft gear (with toothed plate); 10 _ toothed plate; 11 - crankshaft gear; 12 - top right cover; 13, 14 - crankshaft sensors; 15 - toothed belt; 16 - top left cover; 17 - middle cover.
Removal
Before removing the camshaft drive toothed belt, it is necessary to remove the elements shown in the figures above (alternator belt, crankshaft sensor covers, engine brackets).
Set the piston of the first cylinder to TDC of the compression stroke. Align the timing marks.
Mark the timing belt rotation direction arrow on the belt.
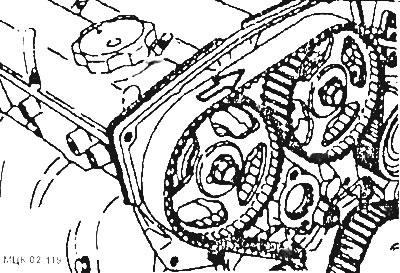
After loosening the mounting bolt, turn the tension roller (loosen the belt tension).
After unscrewing the mounting bolts, remove the tensioner (assembled).
Remove the camshaft drive belt.
If necessary, remove the camshaft gears using the tool.
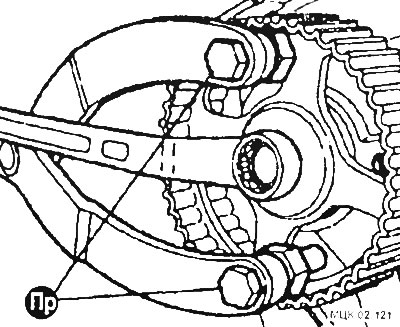
Examination
Visually inspect the condition of the timing belt. If any of the following defects are found, replace the belt.
The teeth are broken or cracked at the base
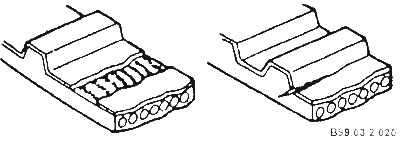
Probable causes of defects; camshaft or distributor seizure; the crankshaft and/or camshaft seals are damaged.
The back side of the belt is badly worn or has cracks
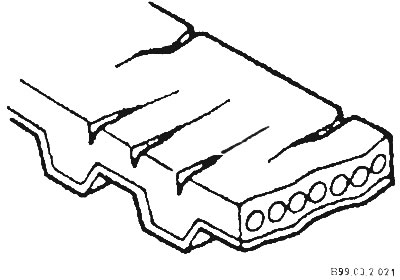
Possible causes of defects: tension roller jamming, engine overheating; the belt is catching on the cover.
The side surface of the belt is worn. The edges of the belt are rounded, the cord threads are frayed and protrude outward
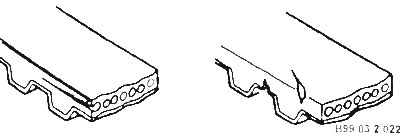
Possible causes of defects: incorrect installation of the belt; the side surfaces of the tension roller are nicked or heavily worn.
Wear of teeth. The outer coating on the thrust surface of the teeth is worn off, the rubber layer underneath is worn and has a whitish color
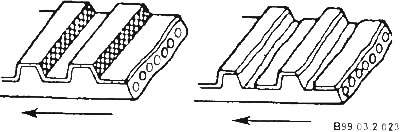
Possible causes of defects: poor sealing of the belt cover; water pump leak; camshaft malfunction; distributor malfunction; excessive belt tension.
Oil, coolant or water getting on the belt
Possible causes of defects: poor sealing in the seals; water pump leak; poor sealing of the belt cover.
Installation
Install the camshaft timing gears.
Clamp the tensioner adjuster in a soft jawed vice (not tilted). Holes (A) and (B) should be facing up.
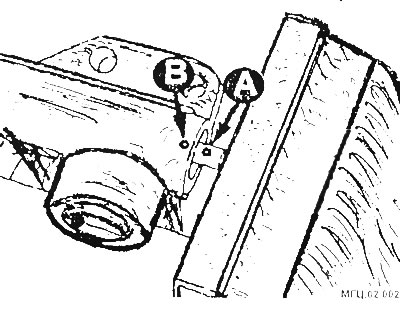
By moving the jaws of the vice, align the holes of the tensioner and insert a wire with a diameter of 1.4 mm.
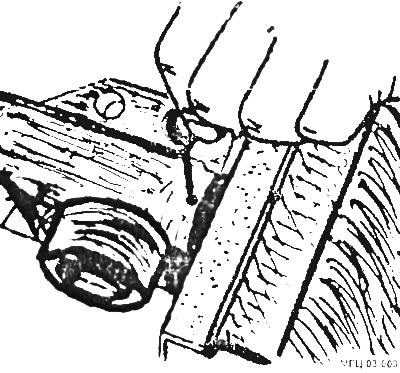
Remove the tensioner adjuster from the vice and install it on the engine.
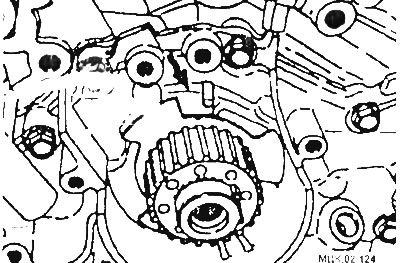
Turn the crankshaft gear so that the timing mark on the gear does not reach the engine crankcase mark (three teeth).
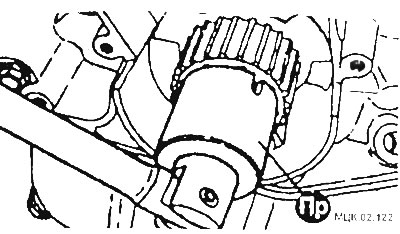
Align the timing marks on the camshaft gears.
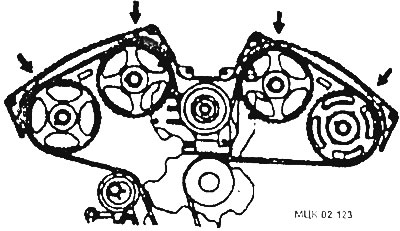
Align the timing marks on the crankshaft gear.
Install the timing belt. Be very careful as the camshafts may rotate freely.
You need to start installing the belt from the crankshaft, then pass the belt through the tension roller (released) onto the toothed wheels of the left camshafts.
ATTENTION: For ease of use, use paper clips (1).
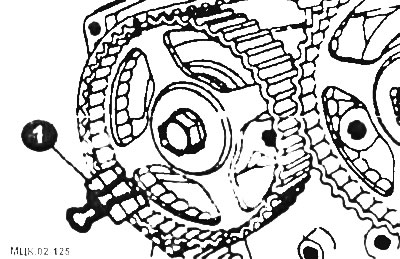
Do not disturb the position of the installation marks.
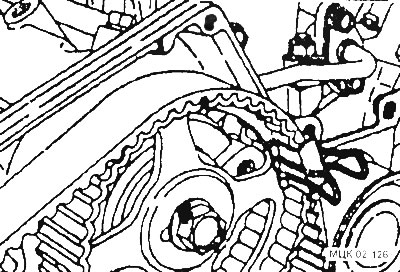
Place the belt on the right camshaft timing gears.
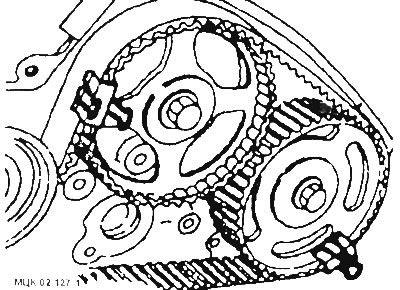
Pass the belt through the water pump sprocket.
CAUTION: If the old belt is installed, its direction of rotation must not be changed.
Loosen the tensioner bolt and move the tension roller toward the toothed belt. Then tighten the bolt to 50 Nm.
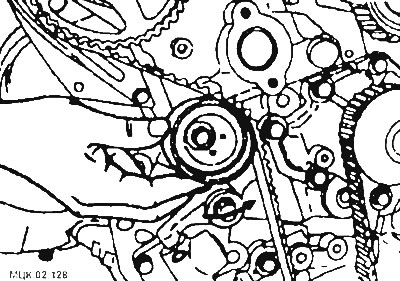
Check that the timing marks on the belt are aligned.
Turn the engine crankshaft counterclockwise 1/4 turn.
Turn the engine crankshaft clockwise until the timing marks on the belt align.
After loosening the special bolt of the tensioner roller, install the device into the hole.
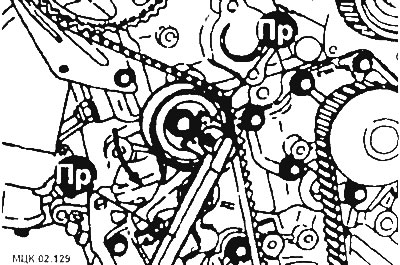
Turn the tension roller counterclockwise to a torque of 3 Nm.
Tighten the center bolt to 48 Nm.
Turn the engine crankshaft two full revolutions and wait for 5 minutes
Remove the wire from the tensioner and release the pusher.
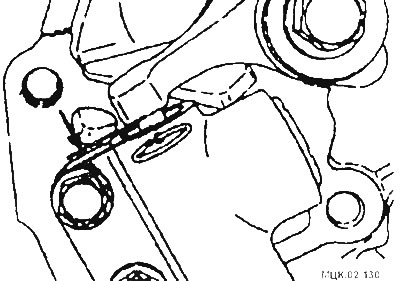
If the wire is difficult to remove and if the amount of protrusion of the pusher does not correspond to the required amount, repeat the above operations.