



Warning: Replacement of drum brake shoes must be performed on both wheels at the same time; never replace the brake pads on just one wheel. In addition, the dust generated in the brake system may contain asbestos, which is harmful to your health. Never blow off dust with compressed air or inhale it. When working with the brakes, wear a cloth mask. Do not use kerosene-based solvents to clean the brake system. Use only special brake system cleaners or alcohol!
Note: When replacing the pads, it is also necessary to replace the automatic pad adjuster (if any) and the retaining springs. Since their tension weakens over time, the pads begin to seize the drum and wear out more intensively than usual. When replacing drum brake pads, use only high-quality pads of recognized factory brands.
1. Loosen the wheel nuts, raise the rear of the car and place it on stands. Block the front wheels to prevent the car from rolling.
2. Release the parking brake.
3. Remove the wheel and brake drum (for brake drum removal procedure, see Chapter 1).
Note: All four rear brake pads should be replaced at the same time, but to avoid mixing parts, work on each unit in turn.
Precis and Mirage (only models produced up to and including 1988)
4. Perform the brake pad replacement procedure as illustrated (from 6.4a to 6.4w). Read the illustration captions carefully and follow the sequence. Then proceed to step 19.
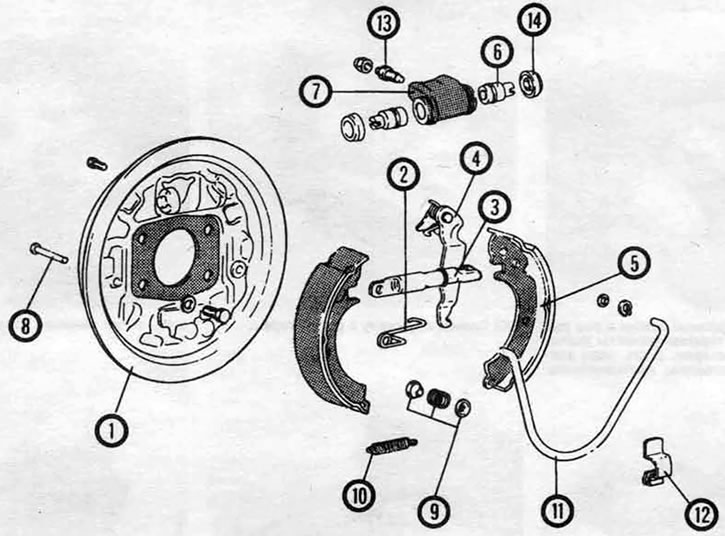
6.4a. Rear drum brake (1988 models and early Mirage and Precis). 1. Brake shield, 2. Spring, 3. Adjuster, 4. Parking brake lever, 5. Brake shoe, 6. Piston, 7. Wheel brake cylinder, 8. Shoe retaining spring pin, 9. Shoe retaining spring, 10. Small shoe holder spring, 11. U-shaped tension spring, 12. Spring clamp, 13. Bleed nipple, 14. Wheel brake cylinder boot
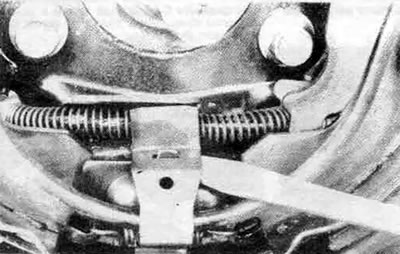
6.4c. Remove the spring clip from the mounting plate at the bottom of the brake shoes
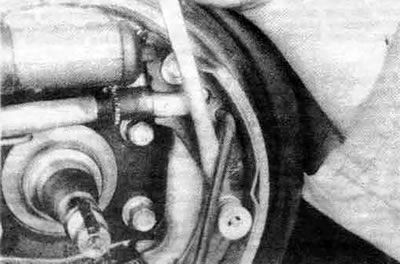
6.4e. Remove the U-shaped tension spring from the holes in the brake shoes
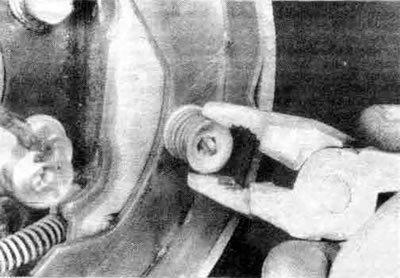
6.4f. Remove the shoe retaining springs from each shoe by pressing down on the retainer cap, turning it 90° to align the slot with the pin, then release the retainer
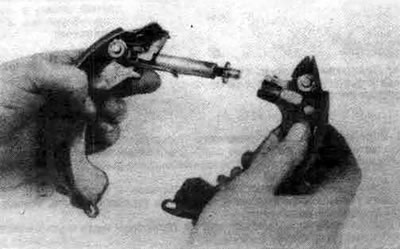
6.4i. Disconnect the release shoe (attached to the parking brake lever) from the pressure shoe
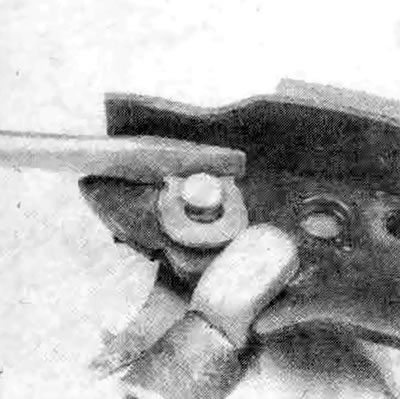
6.4j. Remove the C-clamp from the axle, parking brake lever (there are clamps on both sides, remove the one on the side opposite the lever)
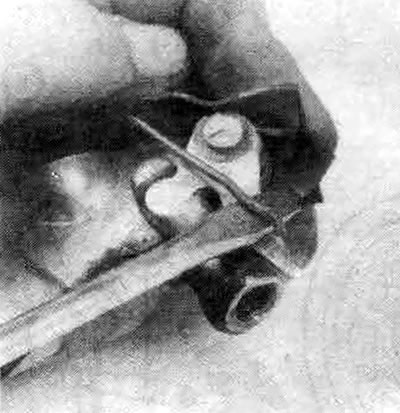
6.4k Remove the spring from the regulator...
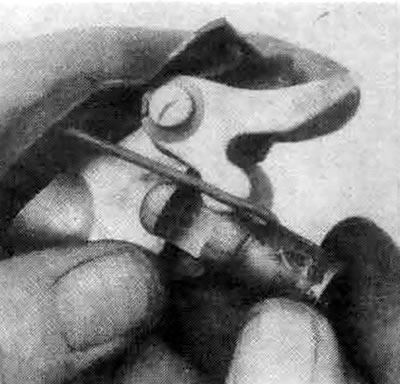
6.4l.... then remove the end of the regulator spacer
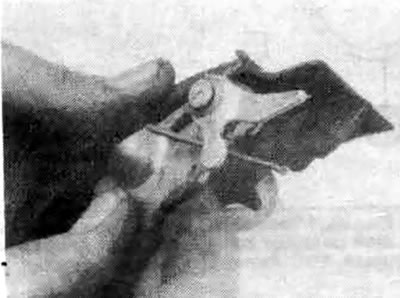
6.4m. Disconnect the parking brake lever from the release shoe, transfer the lever to the new shoe and secure it in place with a C-clamp, clamp it with pliers, then attach the end of the adjuster to the shoe and hook the spring to the adjuster (steps k and l in reverse order)
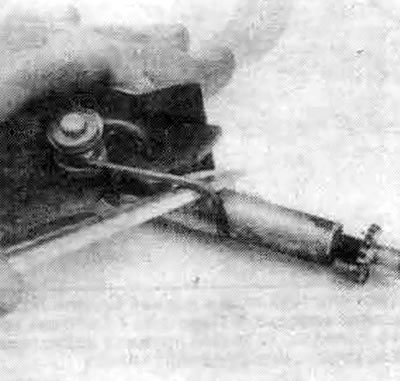
6.4n. Remove the spring from the regulator screw
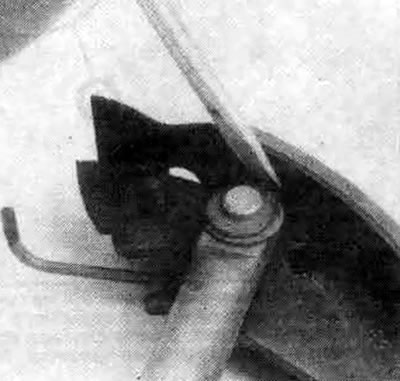
6.4o. Remove the C-clamp from the back of the pressure pad, then remove the adjuster screw
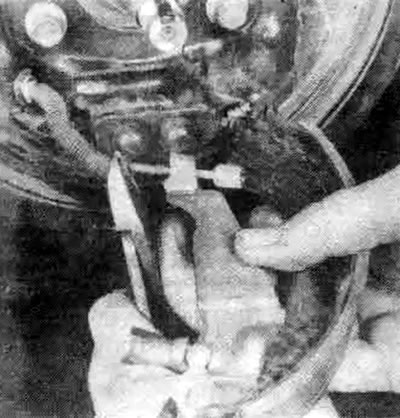
6.4r. Attach the parking brake cable to the lever, again pushing the spring back with pliers
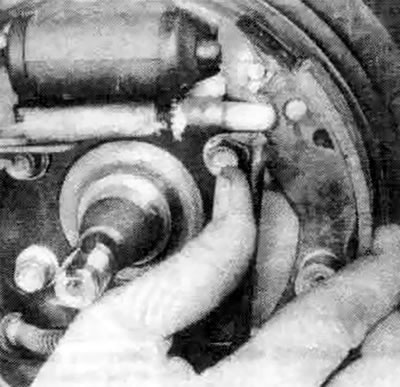
6.4u. Install one end of the spring between the pads into the hole for it, then the other end into the corresponding hole, making sure that the ends are completely inserted
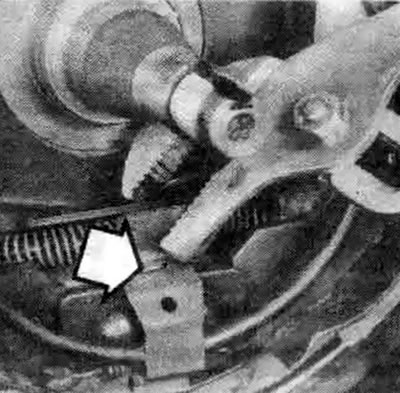
6.4w. Hook the spring clip onto the base of the shoe, then pull it up over the top of the base so that the tab on the base (arrowed) fits into the slot on the clip
Precis and Mirage (since 1989). Cordia/Tredia and Galant
5. See illustration 6.4b. Clean the brake mechanism.
6. Using pliers, clamp the spring between the shoe and the spacer (Cordia/Tredia models) or the spring between the shoe and the lever (other models), then unhook the spring from the adjuster lever and remove the spring and lever.
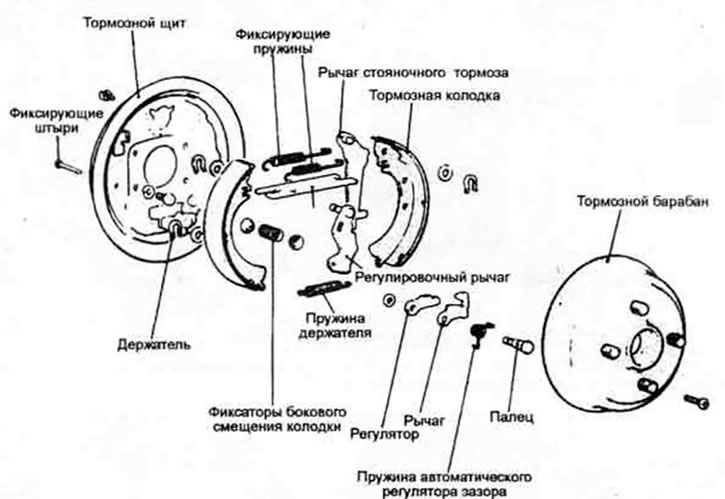
6.6a. Rear drum brake assembly (CordiafTredia models)
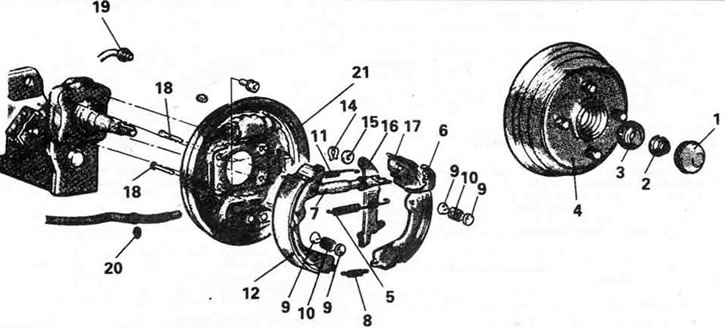
6.6b. Rear drum brake assembly (all Galant models, as well as Mirage models from 1989 onwards and Precis models). 1. Hub Cap, 2. Wheel Bearing Nut, 3. Outer Wheel Bearing, 4. Brake Drum, 5. Spring Between Shoe and Lever, 6. Adjuster Lever, 7. Automatic Adjuster Assembly, 8. Holder Spring, 9. Retainer Caps, 10. Retainer Springs, 11. Spring Between Shoe, 12. Brake Shoe, 13. Not Used, 14. C-Clamp, 15. Washer, 16. Parking Brake Lever, 17. Brake Shoe, 18. Retainer Pins, 19. Brake Pipe, 20. Ferrule, 21. Brake Shield
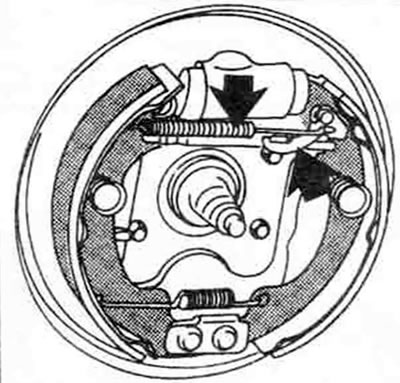
6.6s. Unhook the regulator spring, then remove the spring and lever (shown by arrows)
7. Move the pads apart and remove the adjuster or spacer.
8. Clamp the spring between the pads using pliers and remove it.
9. Remove the retaining springs from each shoe in the manner shown in Illustration 6.4f.
10. Remove the pressure shoe from the brake shield, then unhook the parking brake cable from the parking brake lever.
11. Clean the regulator screw and lubricate its threads with multi-purpose grease.
12. Lubricate the surfaces of the brake shield that contact the pads with multi-purpose grease.
13. Transfer the parking brake lever from the old release shoe to the new one. You will need to remove the C-clamp from the lever shaft and install it in place after attaching the lever to the new shoe.
14. Attach the parking brake lever to the parking brake cable and position the rear shoe on the brake shield. Install the retaining spring.
15. Position the front shoe on the brake shield and install the retaining spring.
16. Attach the spring between the cold parts to the lower parts of the pads.
17. Spread the tops of the pads apart and install the adjuster or spacer. Make sure that the projections on the ends of the adjuster or spacer fit into the corresponding slots on the pads.
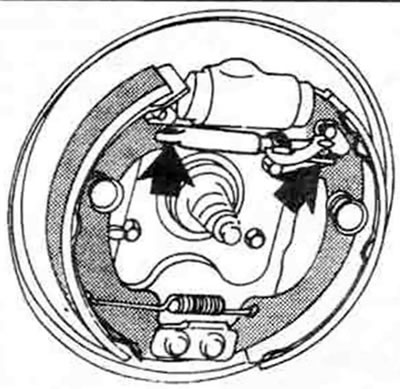
6.17. Make sure that the projections on the ends of the adjuster (or spacer) fit into the slots on the pads
18. Install the regulator lever and automatic regulator spring.
All models
19. Before installing the brake drum, it must be checked for cracks, nicks, deep scratches and corrosion spots, which are small discolored areas. If the above-mentioned defects cannot be eliminated with sandpaper, the drum must be processed in a mechanical workshop.
Note: It is recommended that the drum be resurfaced each time brake work is performed. Resurfacing will prevent the drum from becoming out of round. If the drum is worn to the point where it cannot be resurfaced without exceeding the minimum diameter (stamped on the drum), the drum must be replaced. If you choose not to have the drum resurfaced by a machine shop, at a minimum, sand the drum using a circular motion with sandpaper.
20. Install the brake drum and adjust the rear wheel bearings (see Chapter 1).
21. Install the wheel, tighten the mounting nuts, lower the car to the ground. Tighten the nuts to the torque specified in chapter 1 specifications.
22. Apply the handbrake or press the brake pedal several times to adjust the shoes on the drum.
23. Before starting normal operation of the vehicle, carefully check the operation of the brakes.